How to Shuffle your bracket and set up the Continuous Play scheduling tool
In this guide, we will walk you through the steps to How to Shuffle your bracket and set up the scheduling tool called Continuous Play.
Go to compusport.ca
1. Click here
Select your tournament
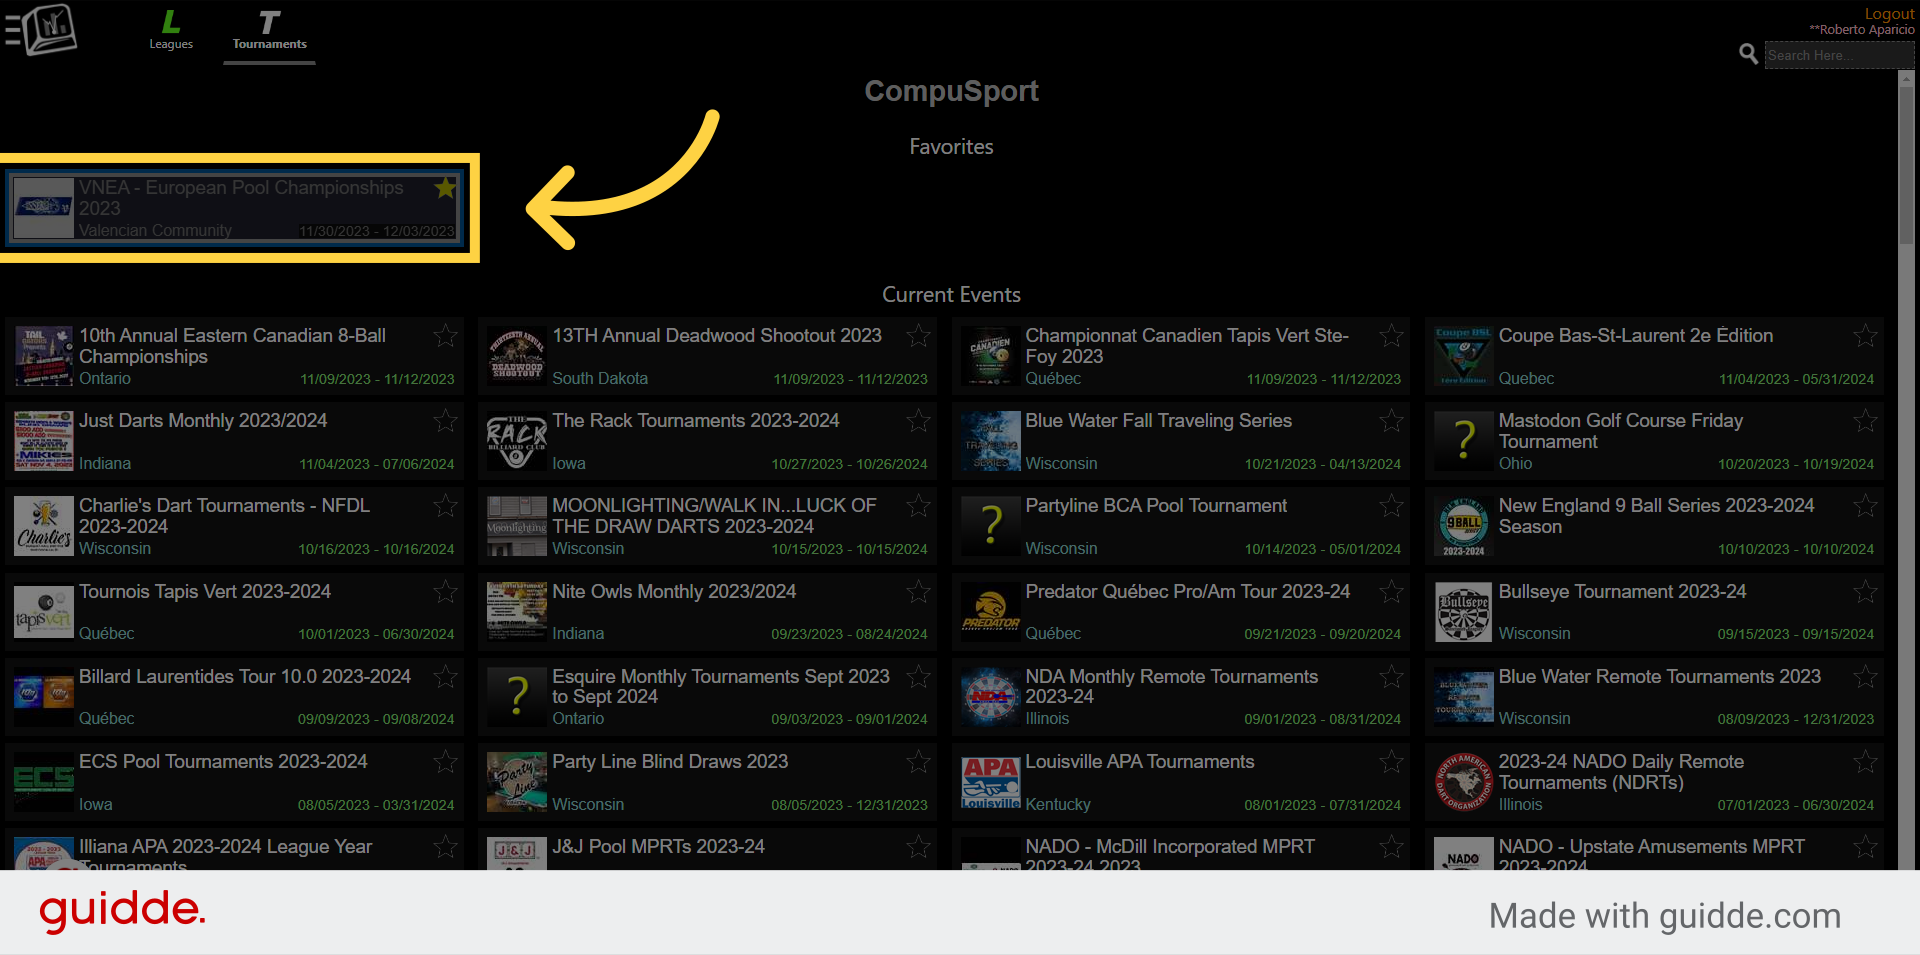
2. Click here
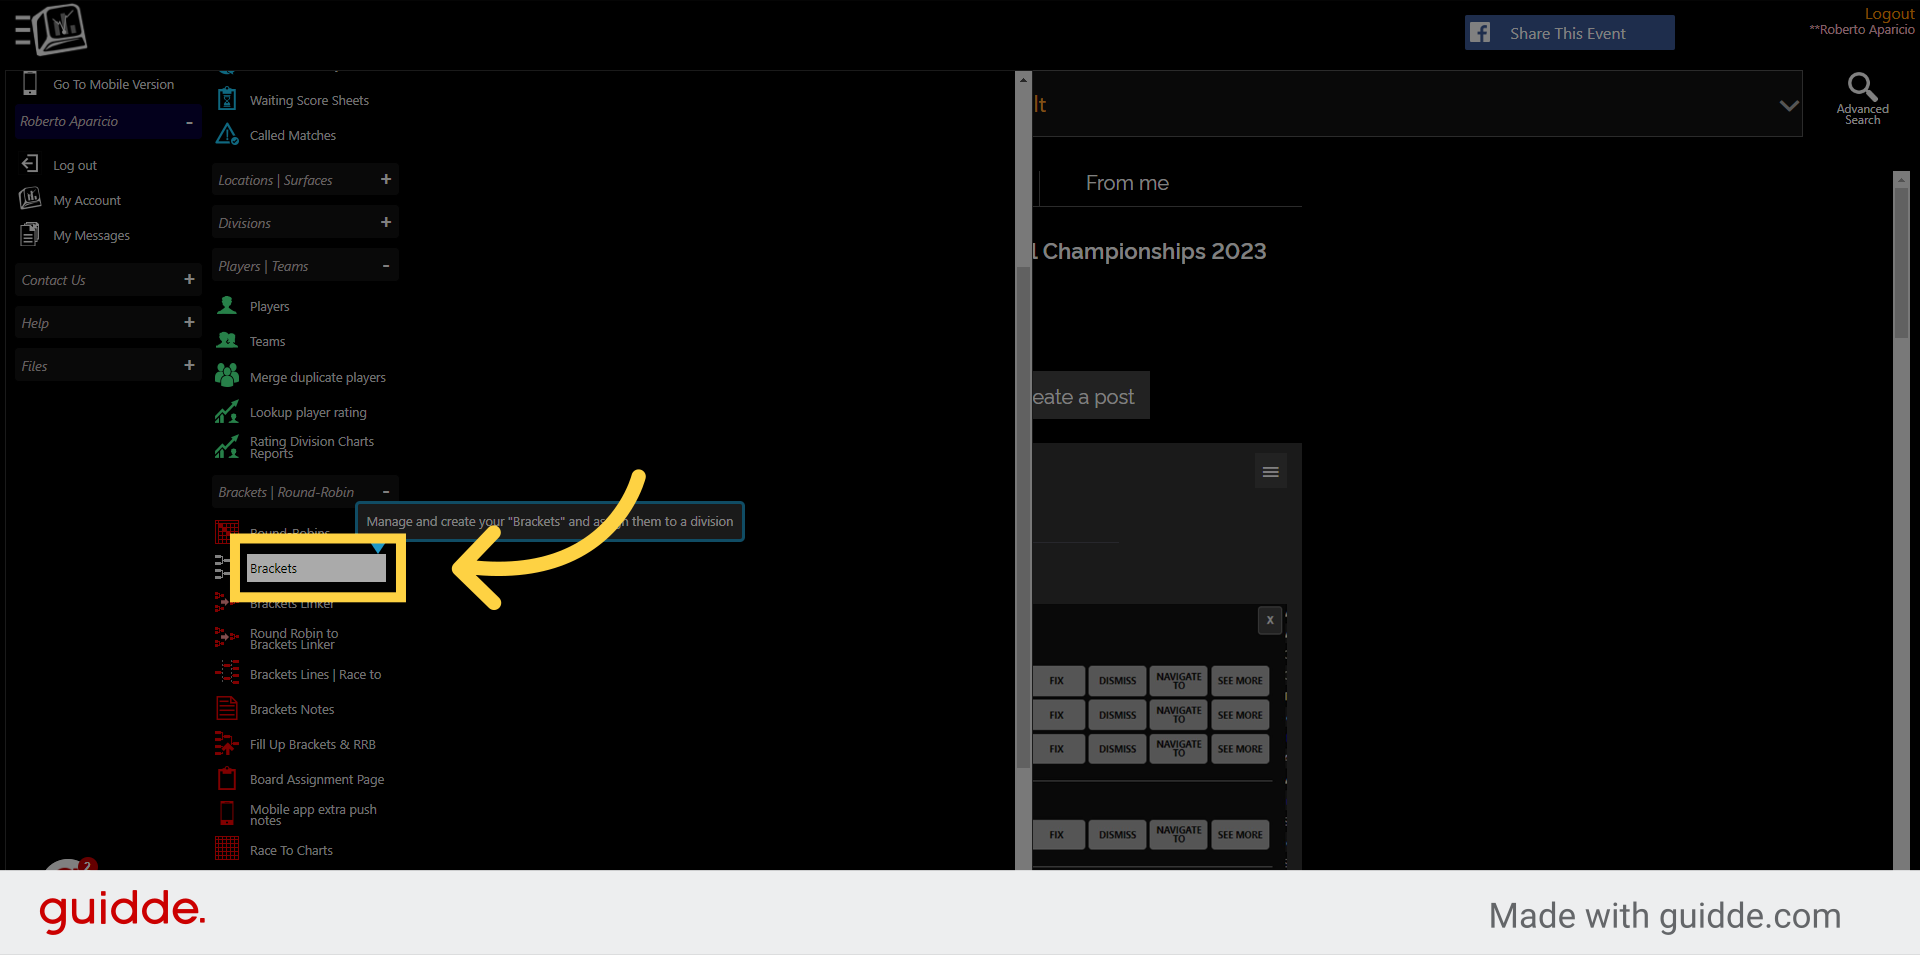
Click the selected button called Menu

3. Click "Brackets"
Go to Menu > Manage > Brackets/Round-Robin > Brackets
4. Click on your bracket
Select your bracket
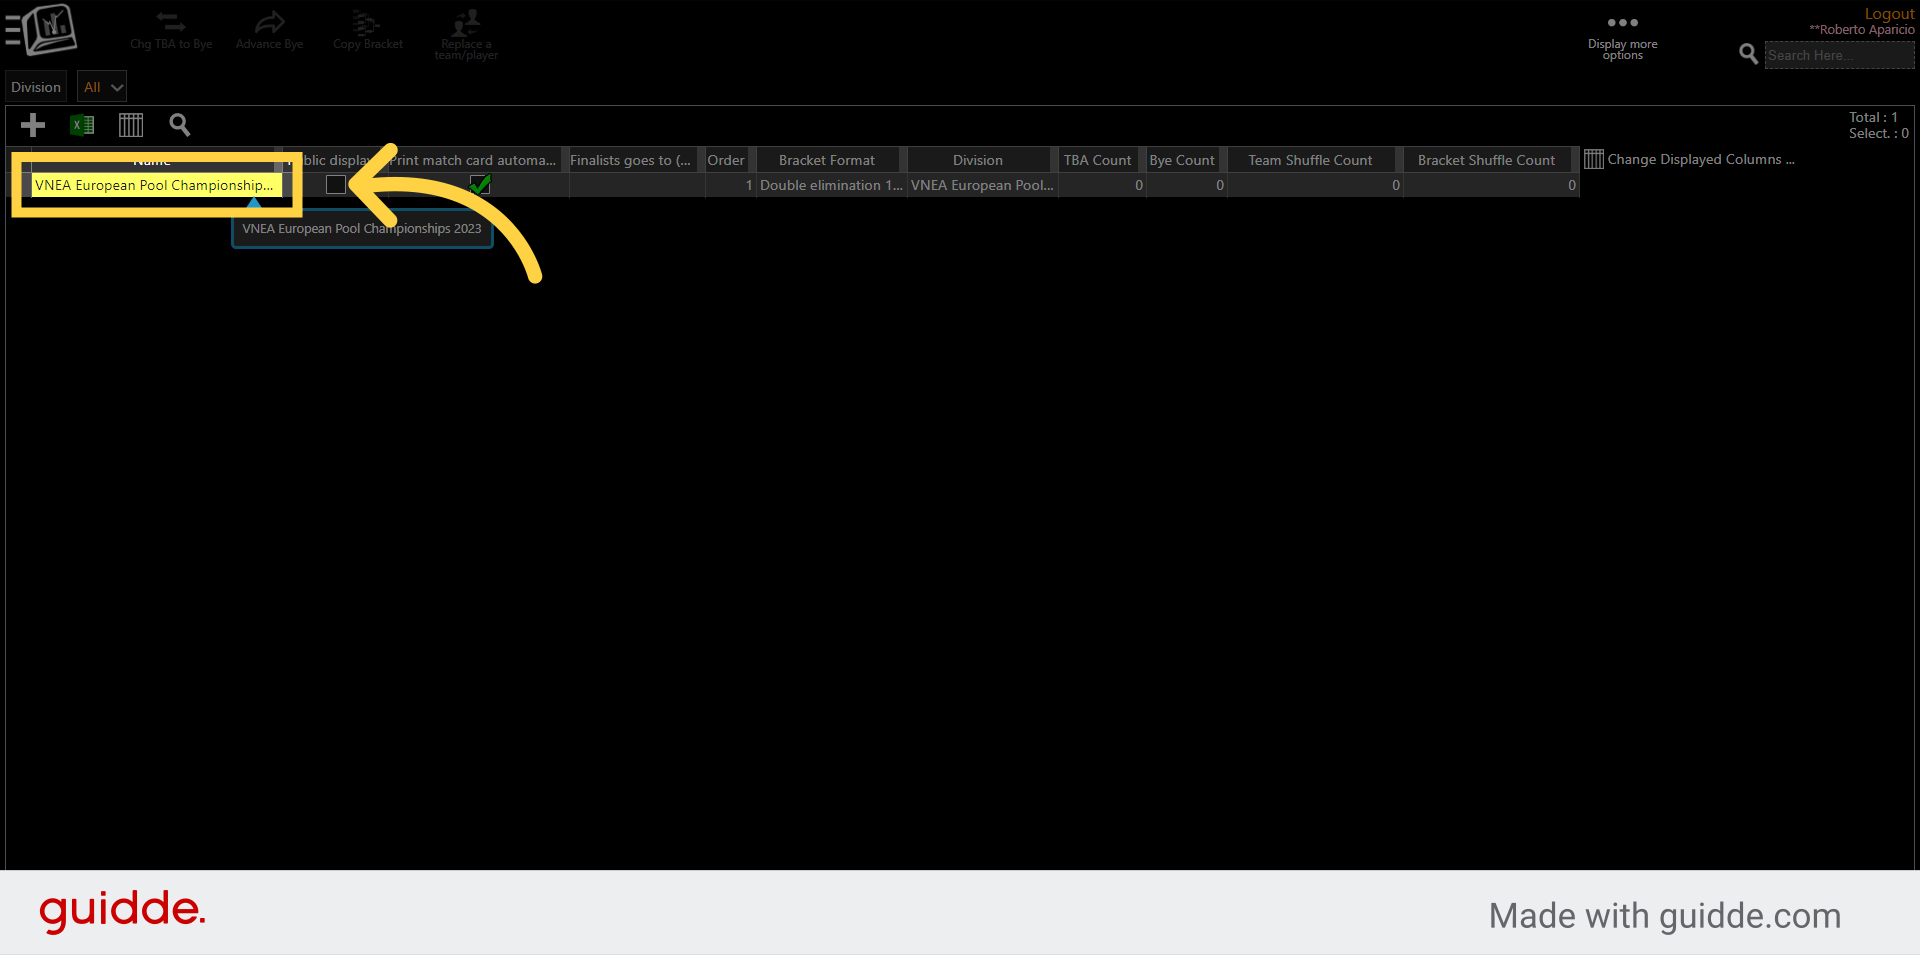
5. Click here
Click on the Pencil to edit.
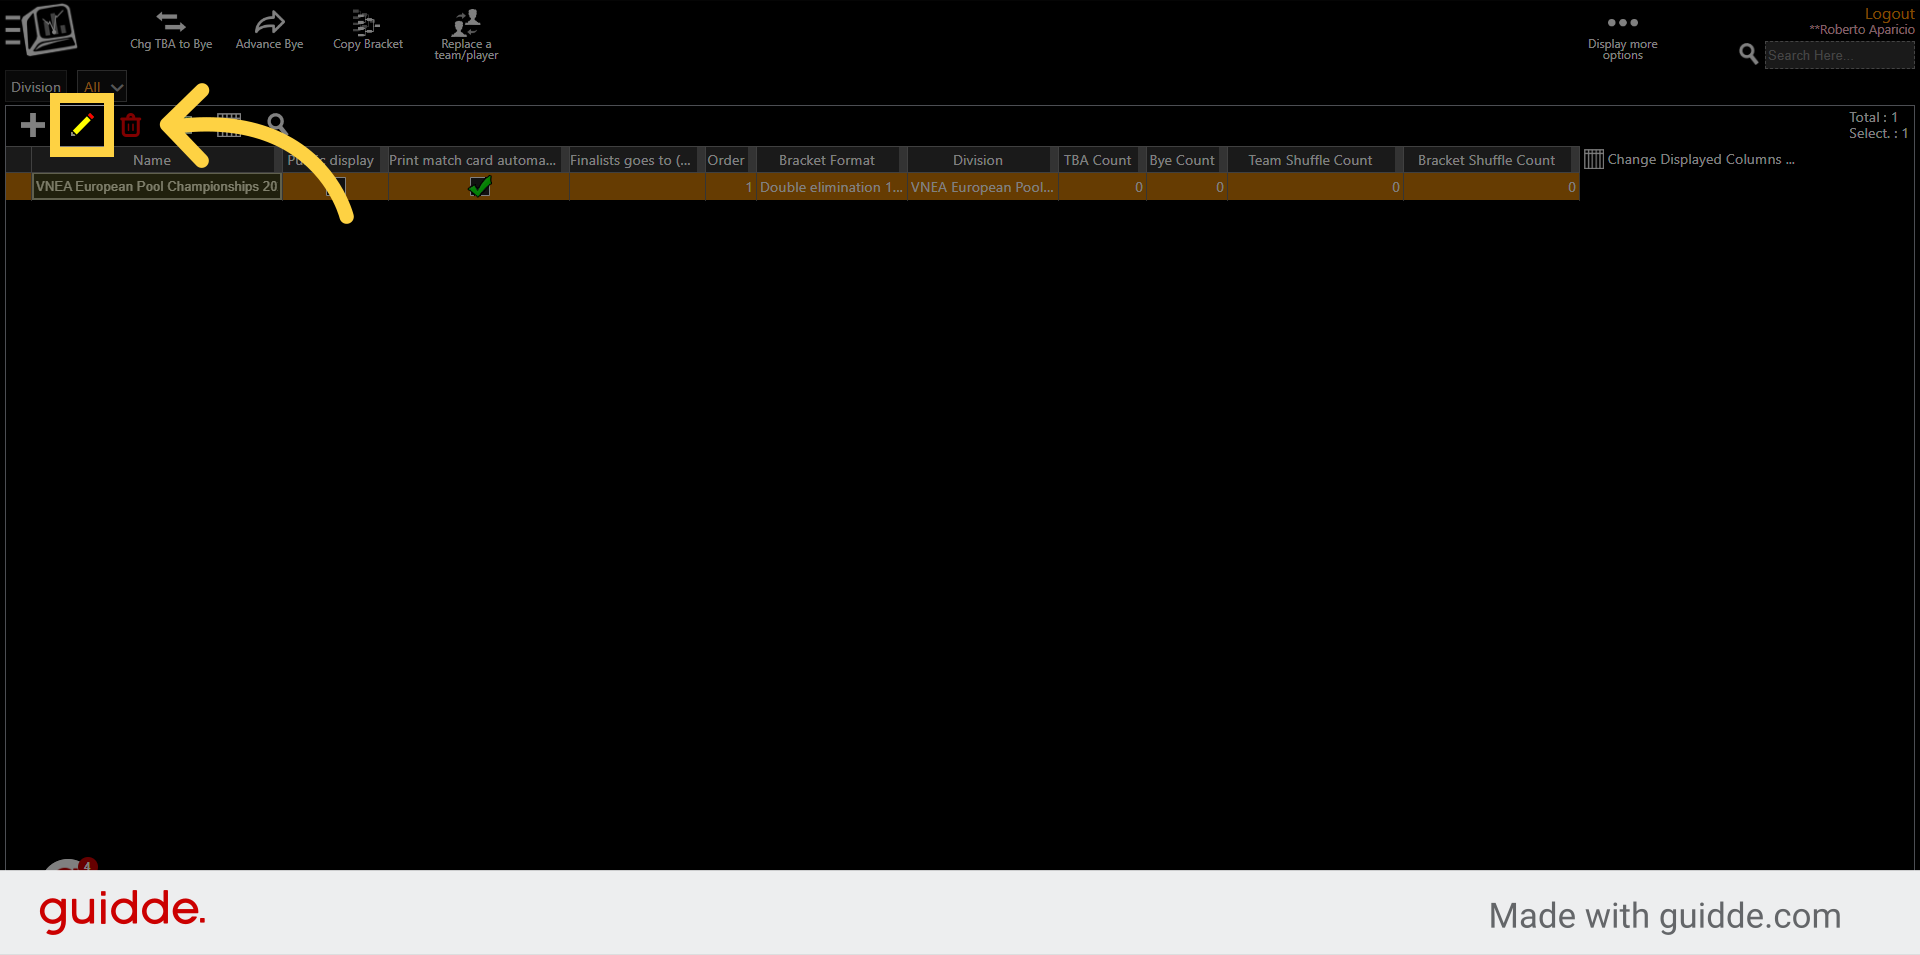
6. Select the bracket format dropdown
Choose the Double Elimination 128 (2,4,6 out) if you want the bracket to end with the people coming out, they don't play each other. The bracket would finish with two, four or six people that are going into another finals bracket.
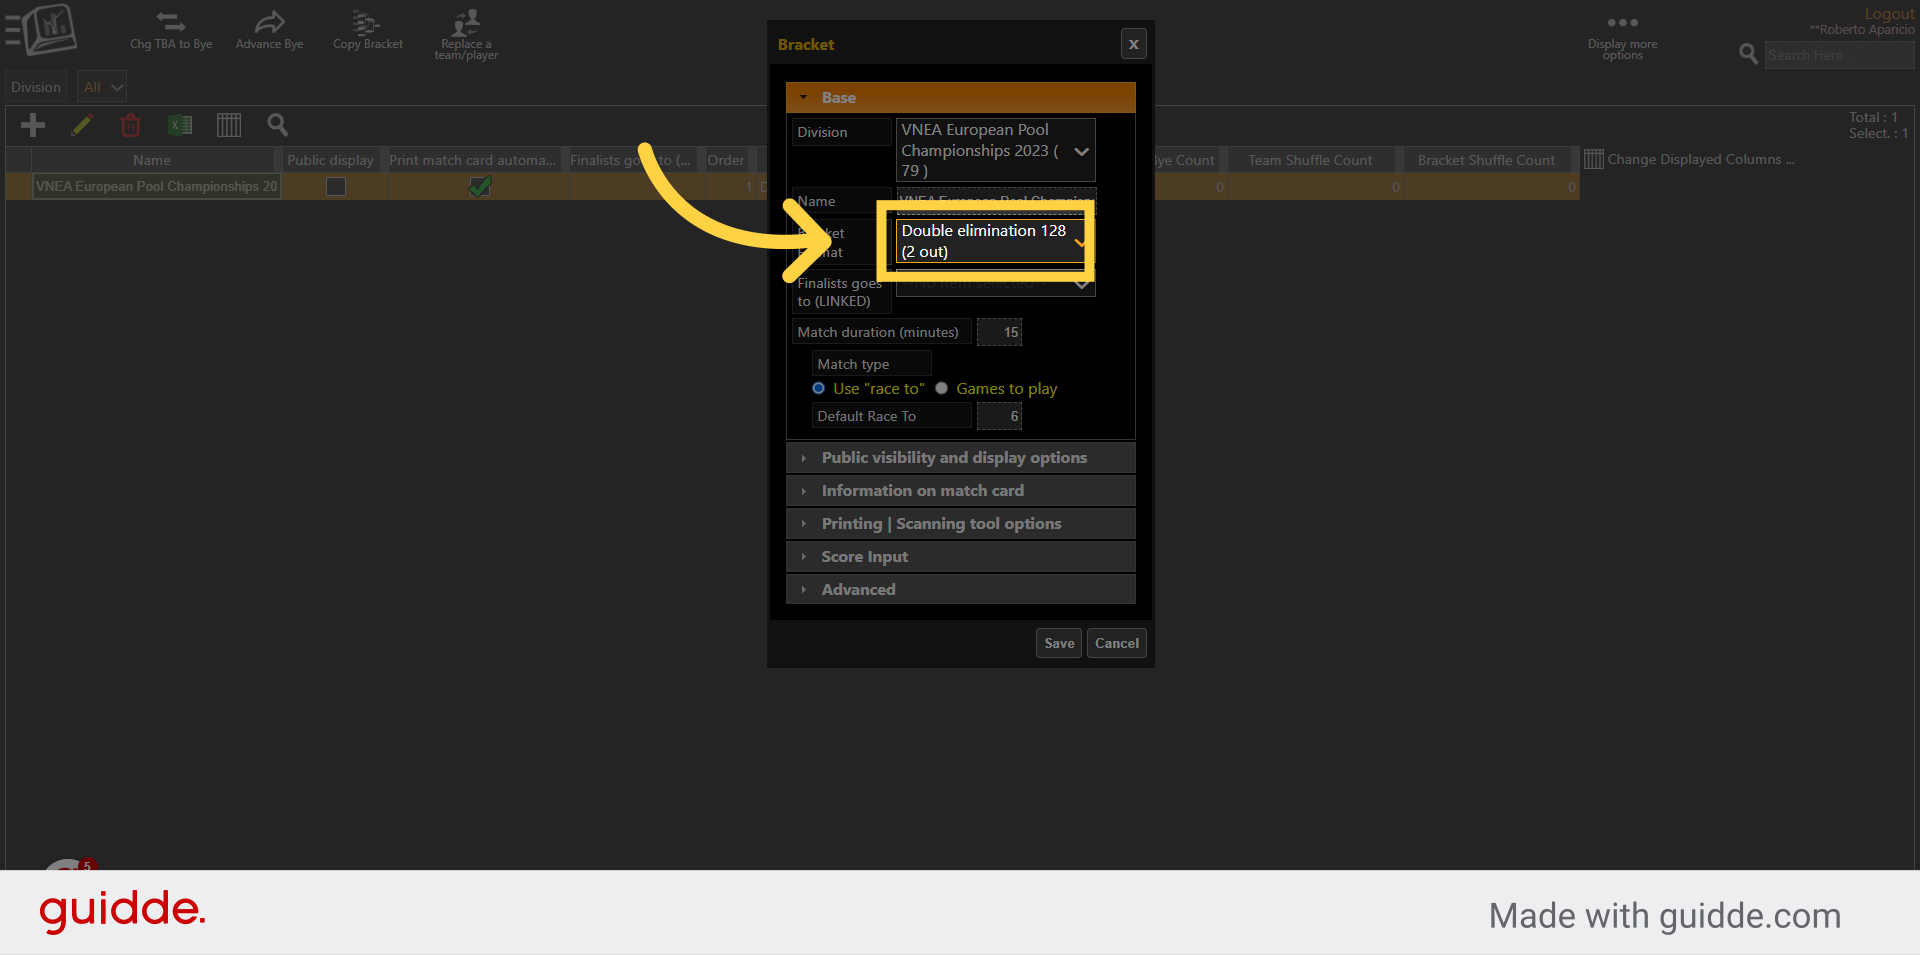
7. Choose Double Elimination 128
If you want just one winner, choose the "Double elimination 128" option (with NO 2,4,6 out) at the end. This will make the loser side come to the winner side and play against each other to have one winner.

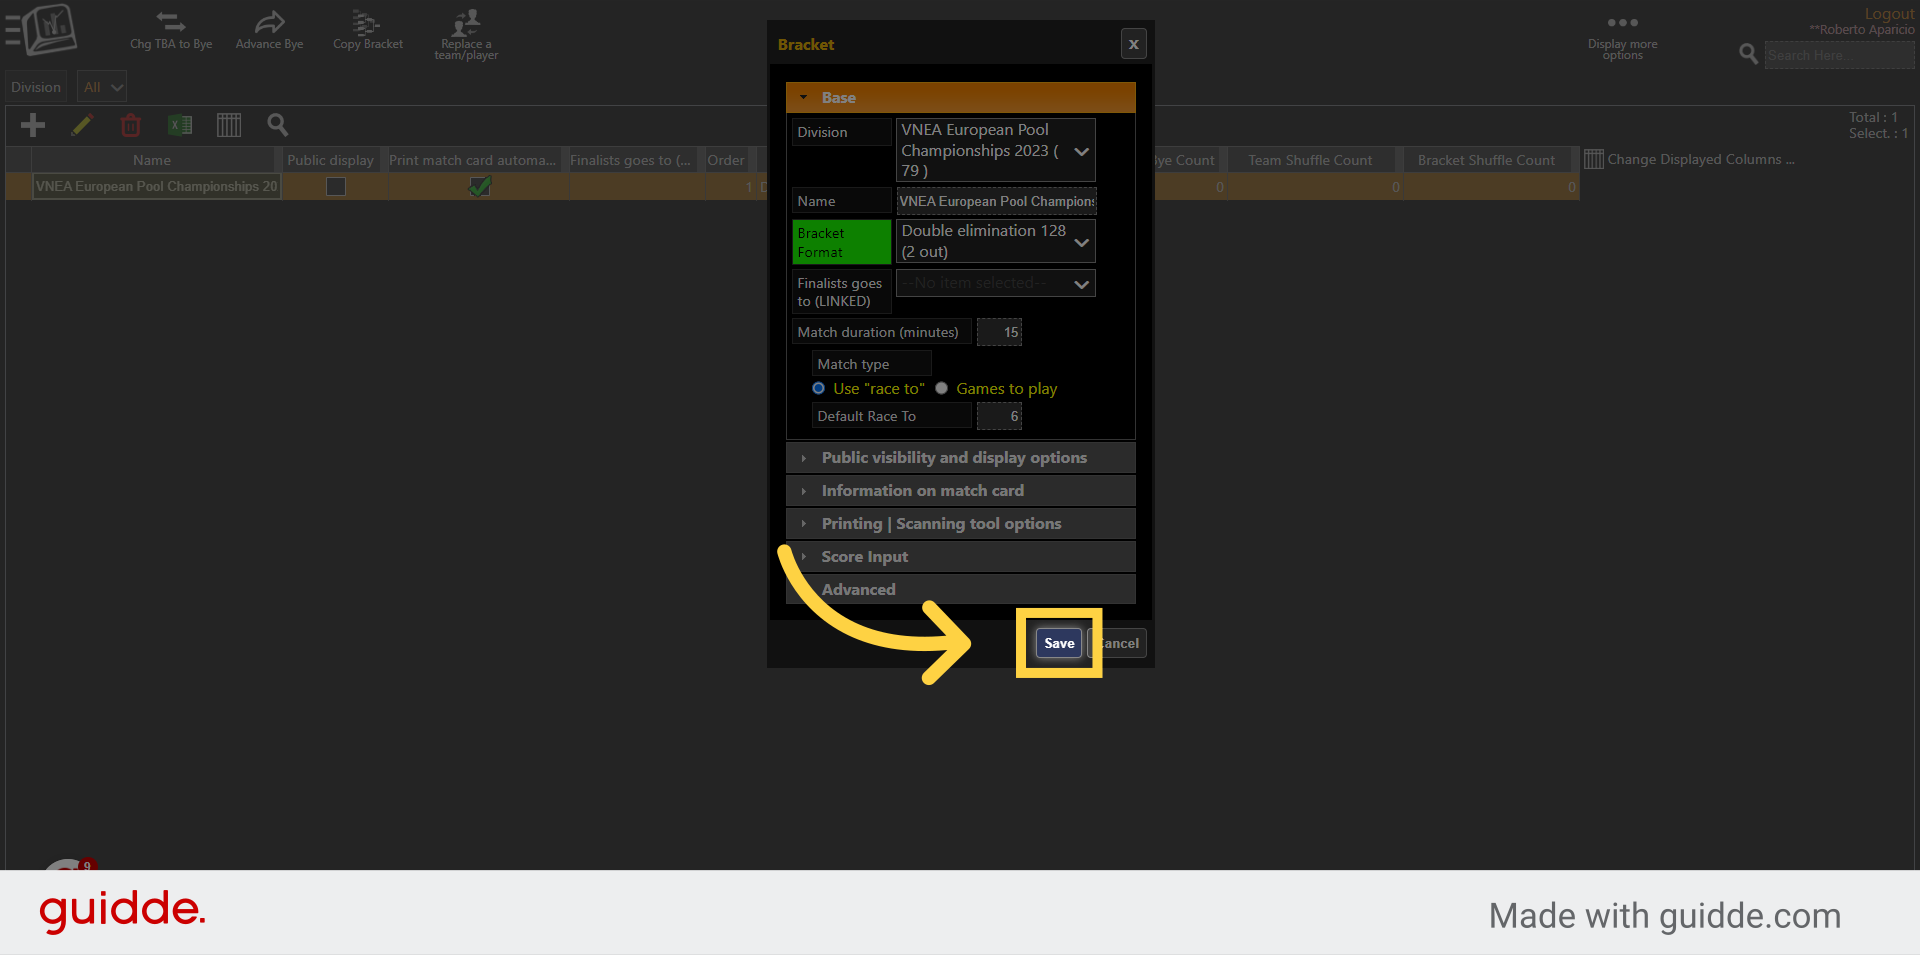
8. Click "Save"
Select the option to "Save"
NOW TO SHUFFLE YOUR BRACKET
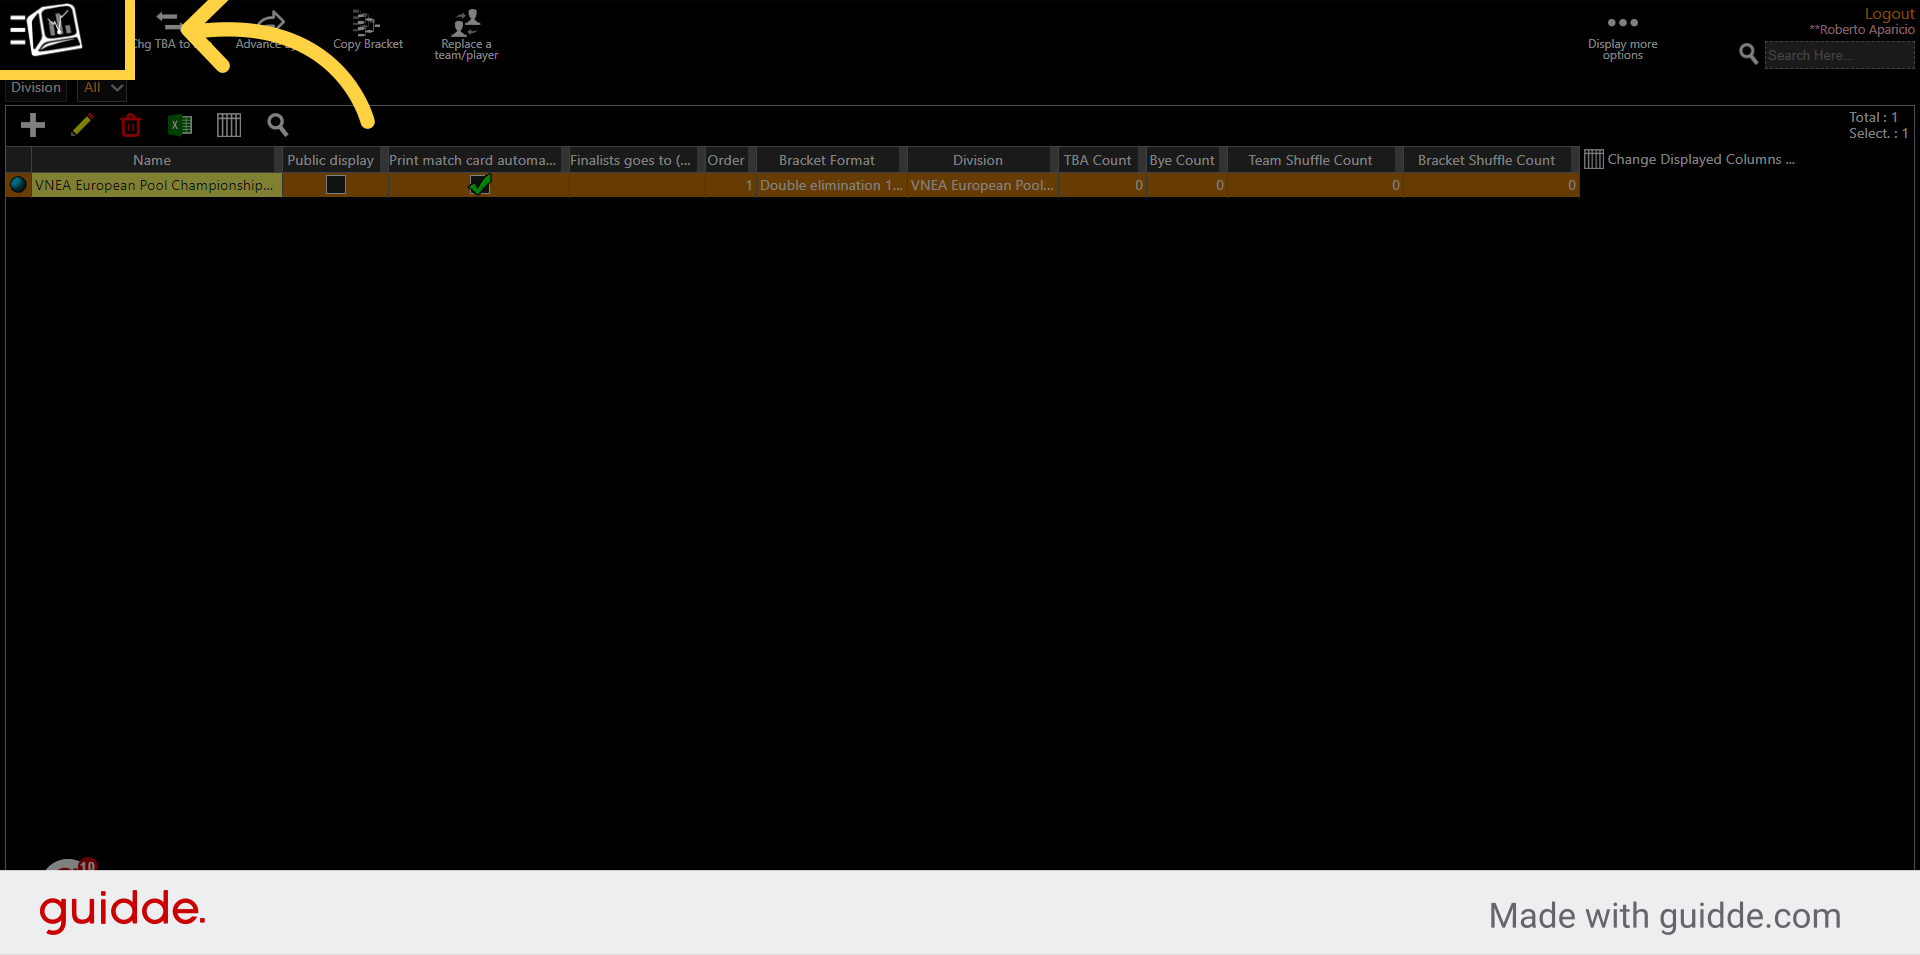
9. Click here
Go back to Menu
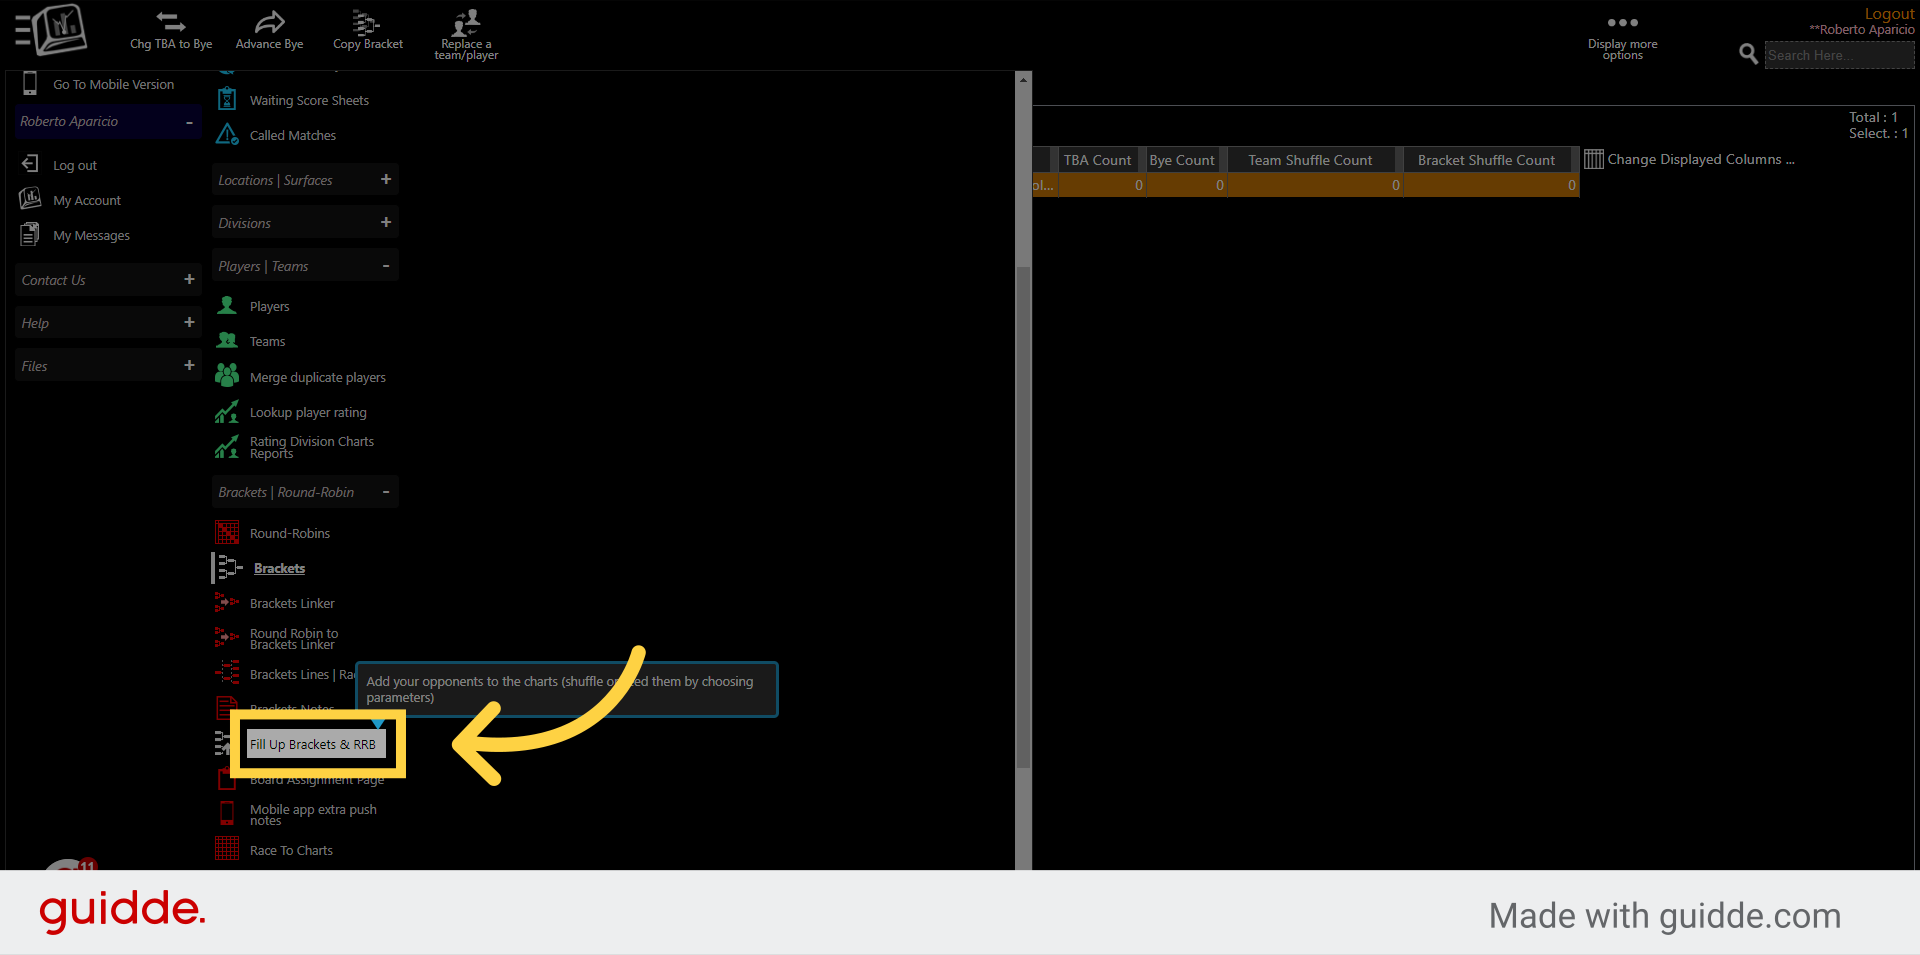
10. Click "Fill Up Brackets & RRB"
Navigate to the "Fill Up Brackets & RRB" section, this tool is to shuffle the players on your list onto the actual bracket.
11. Click here
Click on the dropdown
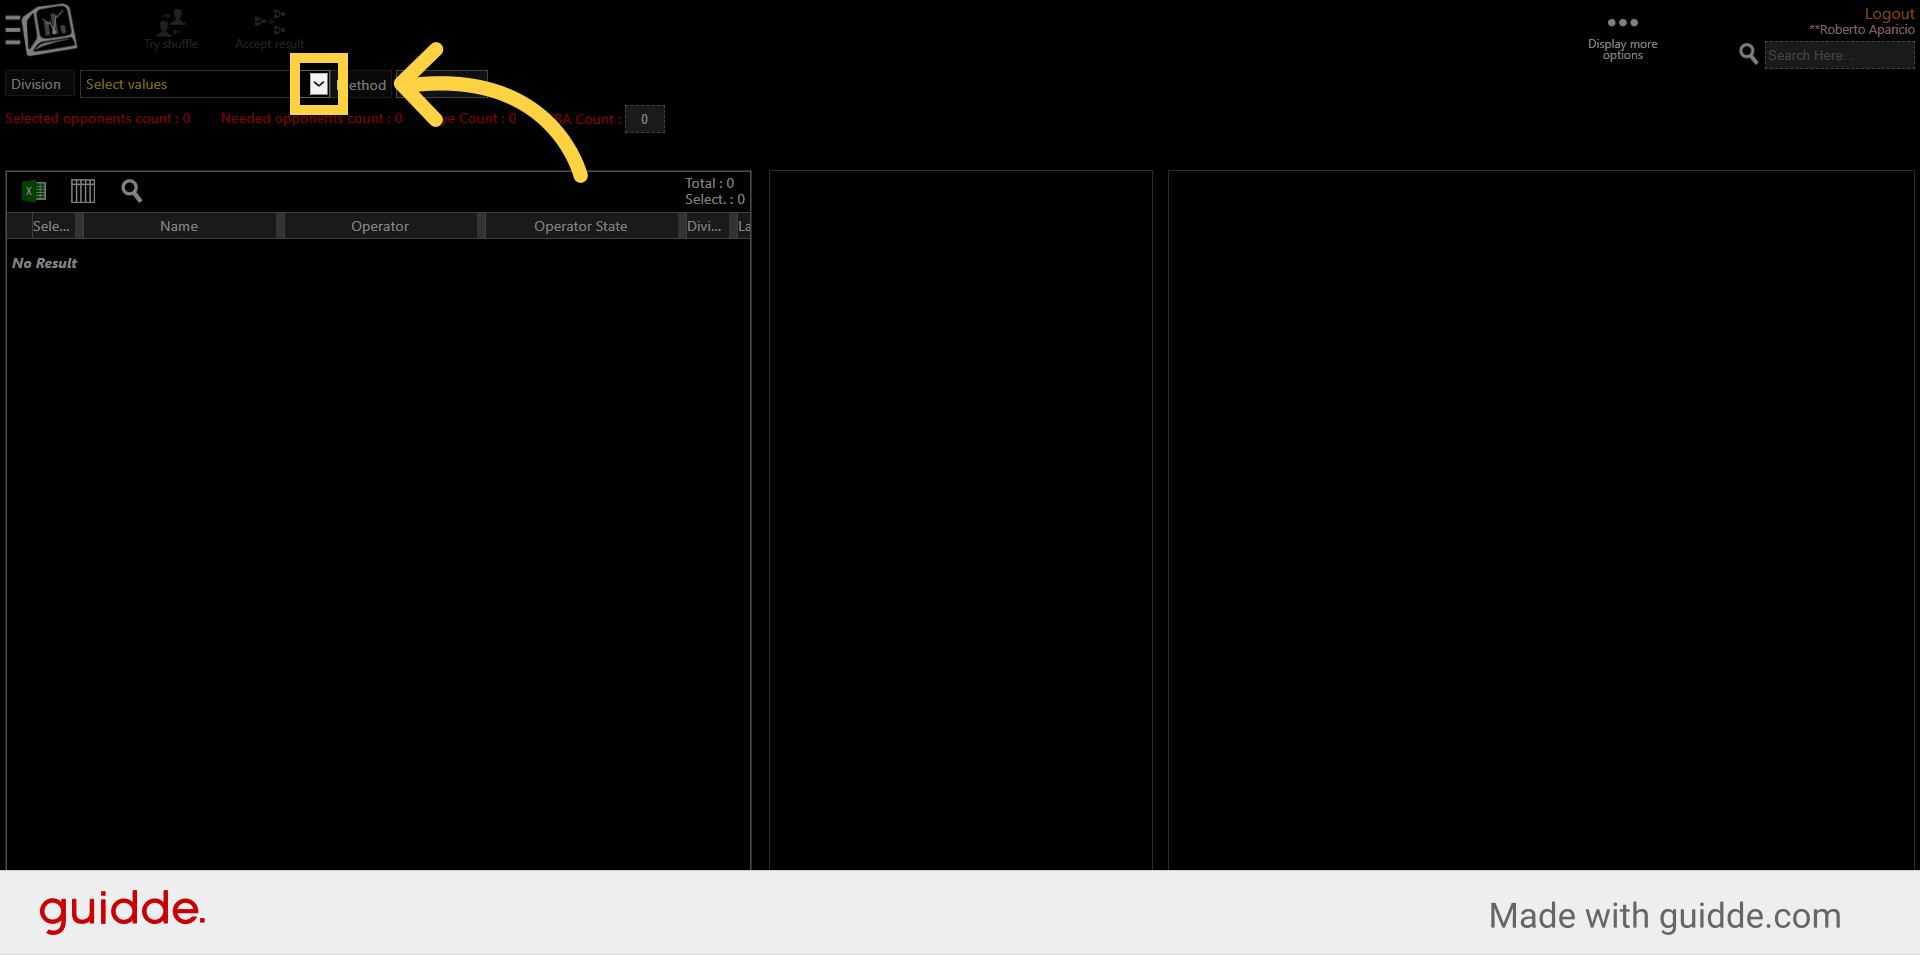
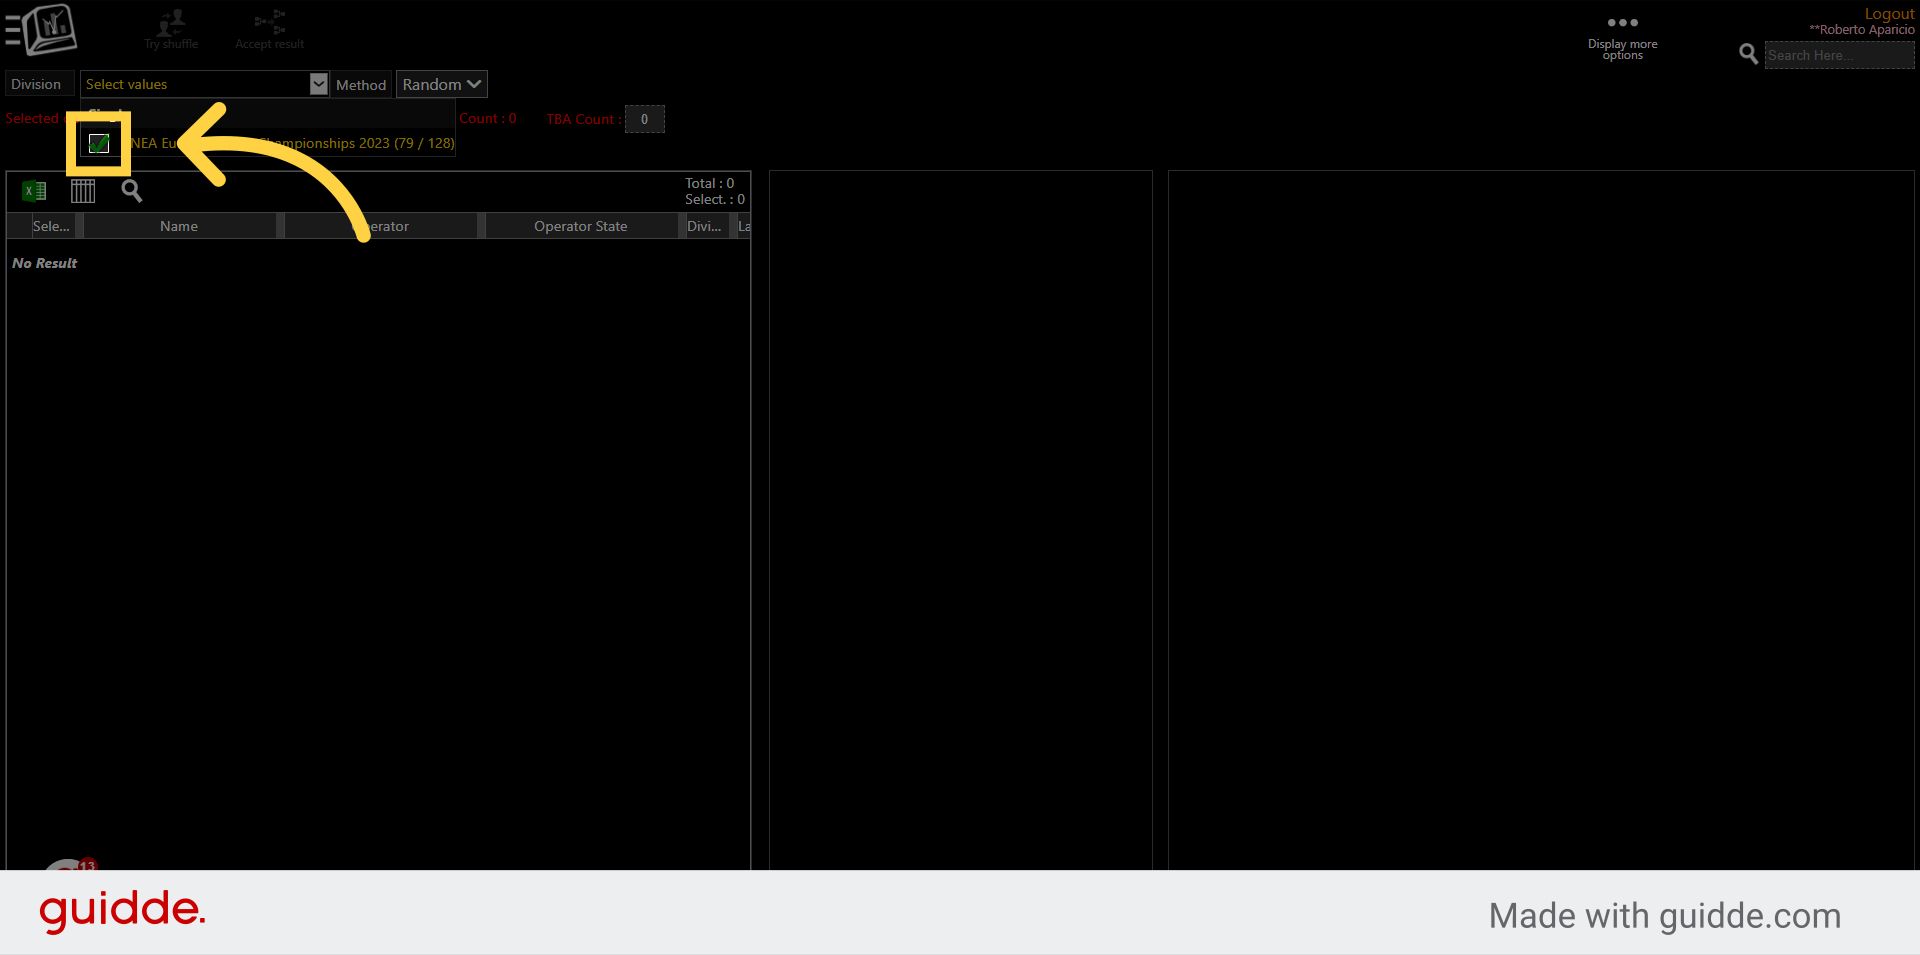
12. Click here
Select the division you want to shuffle.
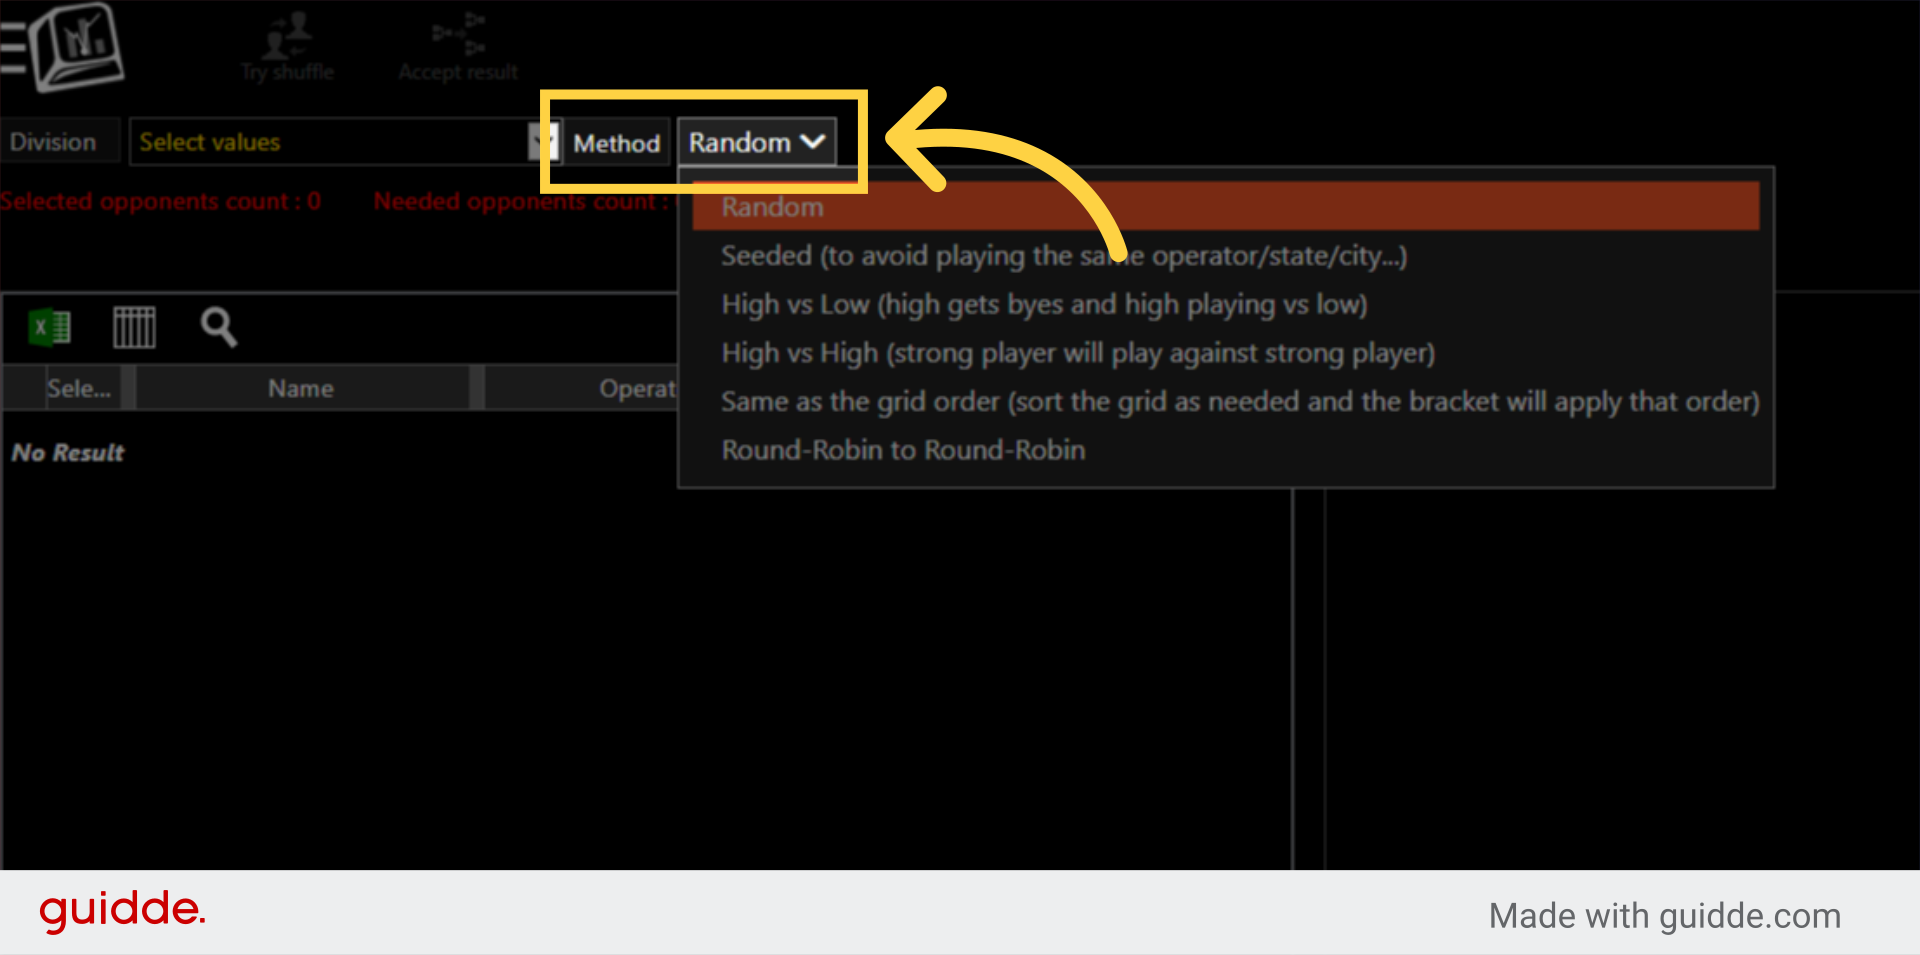
13. Select a method of shuffling
Choose how you want to shuffle the players onto the bracket. Do you want it to be random, do you want to seed them by the city for example, this way they don't want someone they know, or high vs high, high vs low, etc. (if you use anything else than random, the information has to be inserted under players or teams, either city, ranking, etc for the system to use that information to seed well.
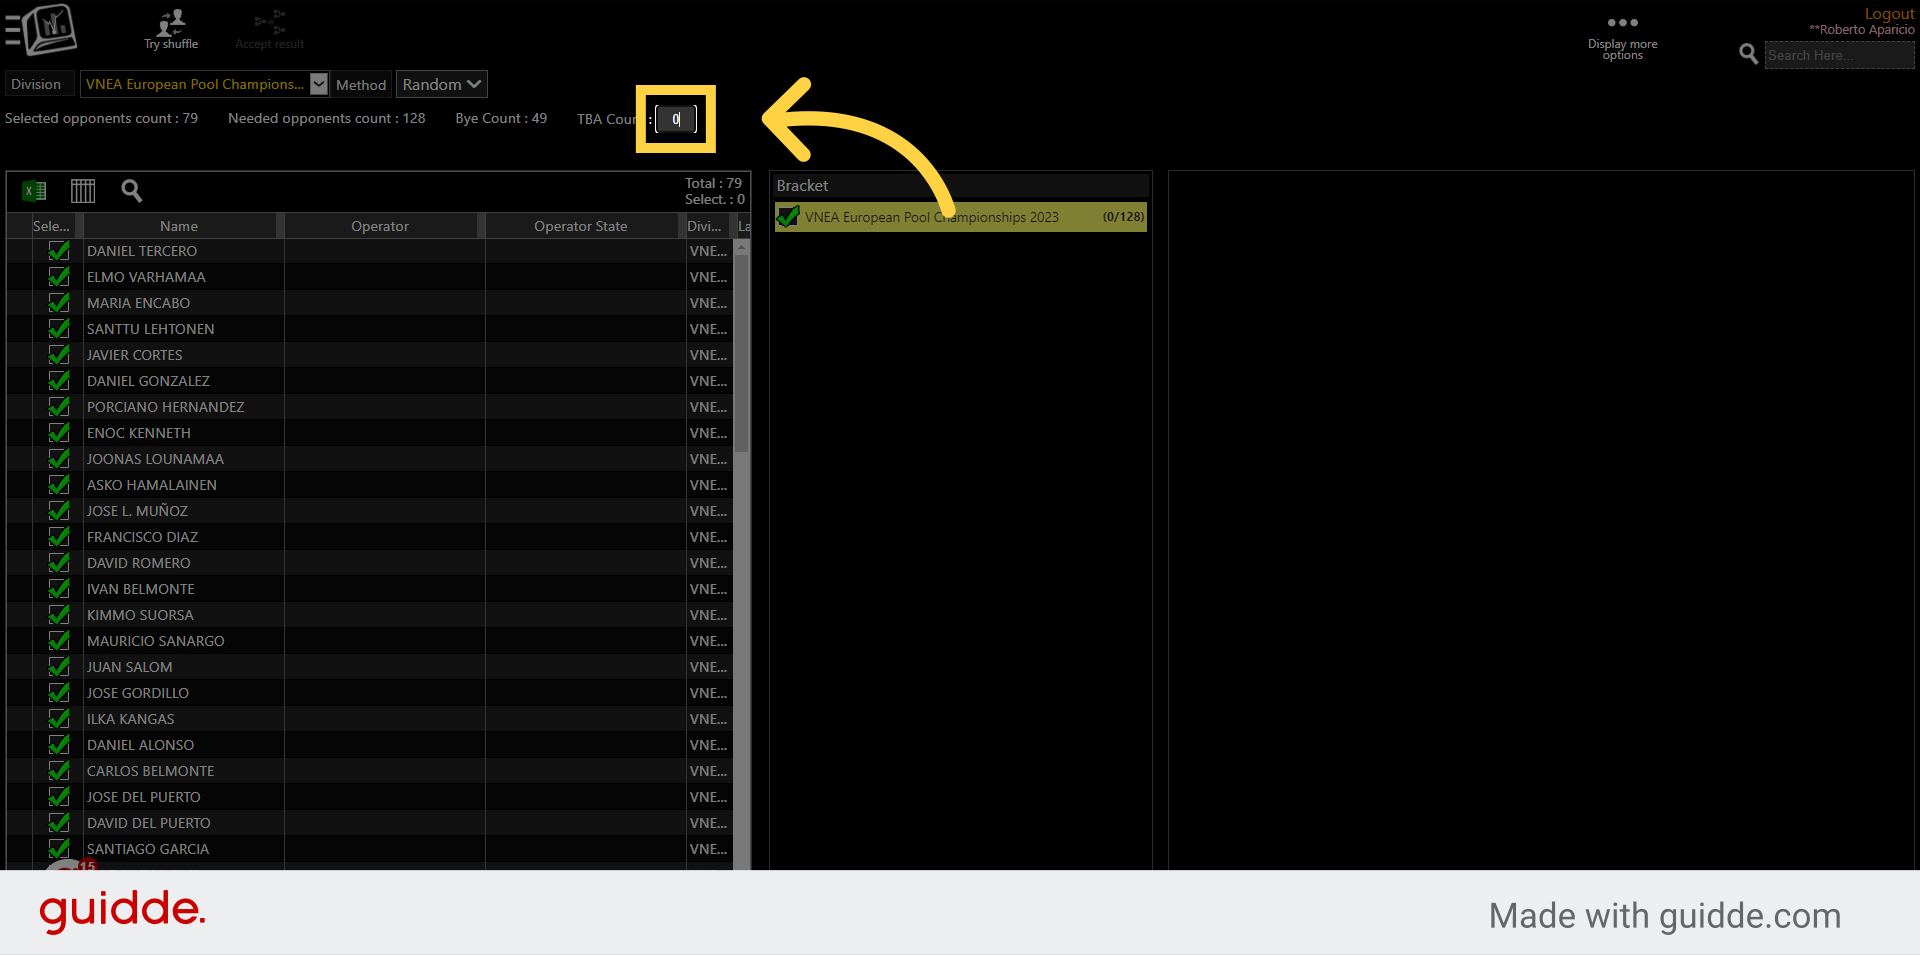
14. Insert TBA's (optional)
If you want to put a few TBA (TBA means To Be Announced) spots on the bracket, you can choose how many you want to insert. This is good if you want to leave a few spots for last minute registrations. Or else, the rest will automatically be Byes. TBA's will let the opponent know that they MIGHT get an opponent. Compared to players who will see they have a Bye.
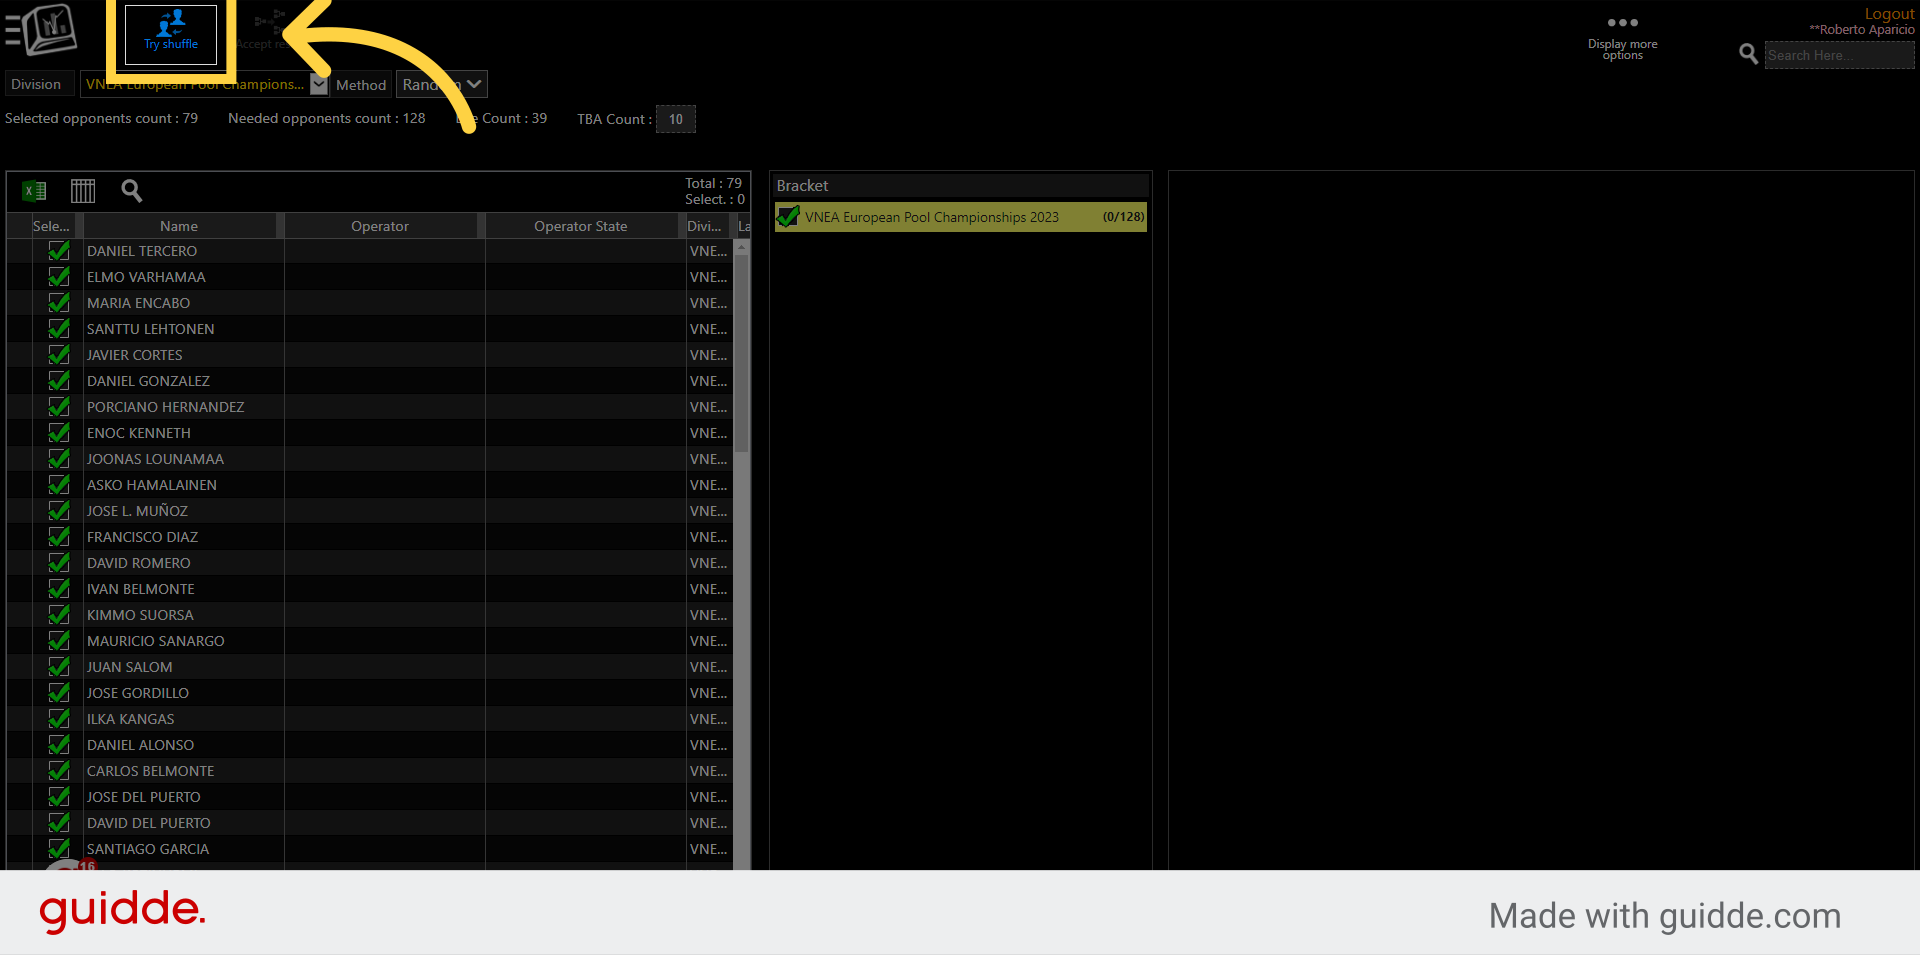
15. Click here
Click on Try Shuffle, on the right you will see the layout of how they will be inserted on the bracket.
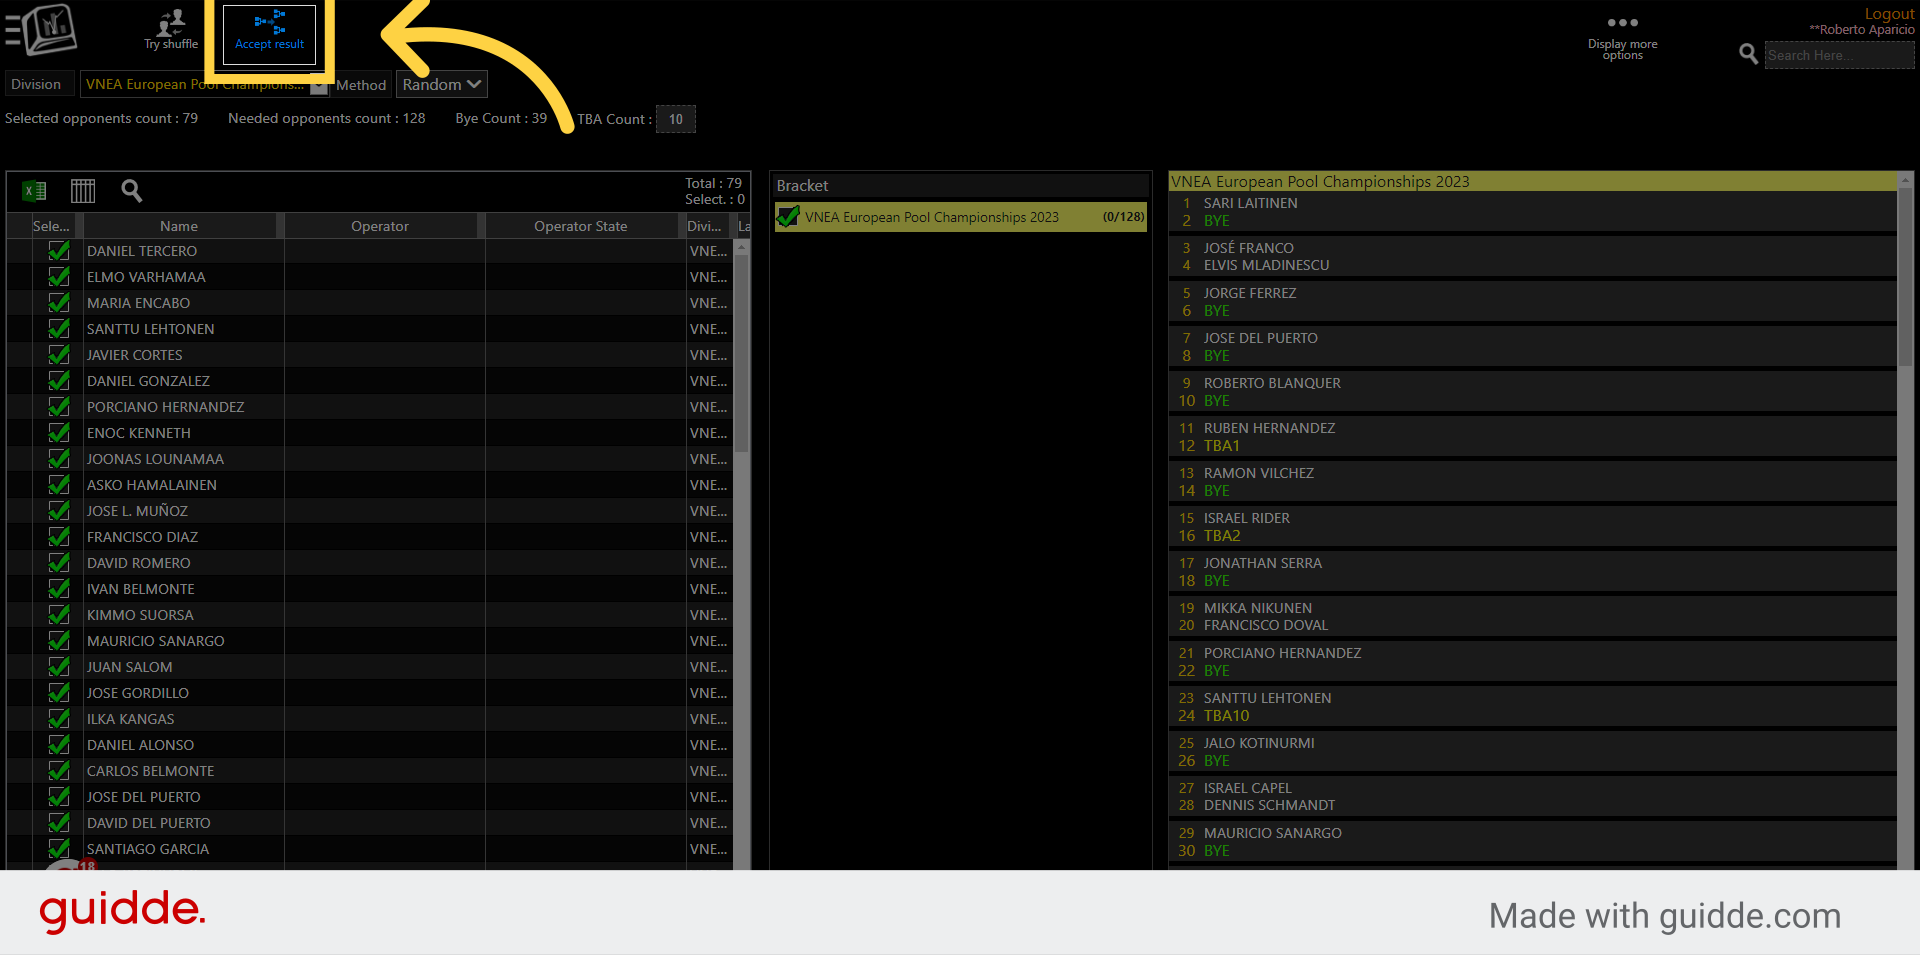
16. Click here
Click on Accept Results (once you click on Accept Results) it makes the bracket line up official, if you have to make changes, you will have to delete the opponents from the bracket and restart the shuffling process.
*To delete the opponents, you have to go to Menu > Manage > Brackets/Round-Robin > Brackets. Select the bracket. Click on Display More Options. Click on Remove opponents from Bracket.
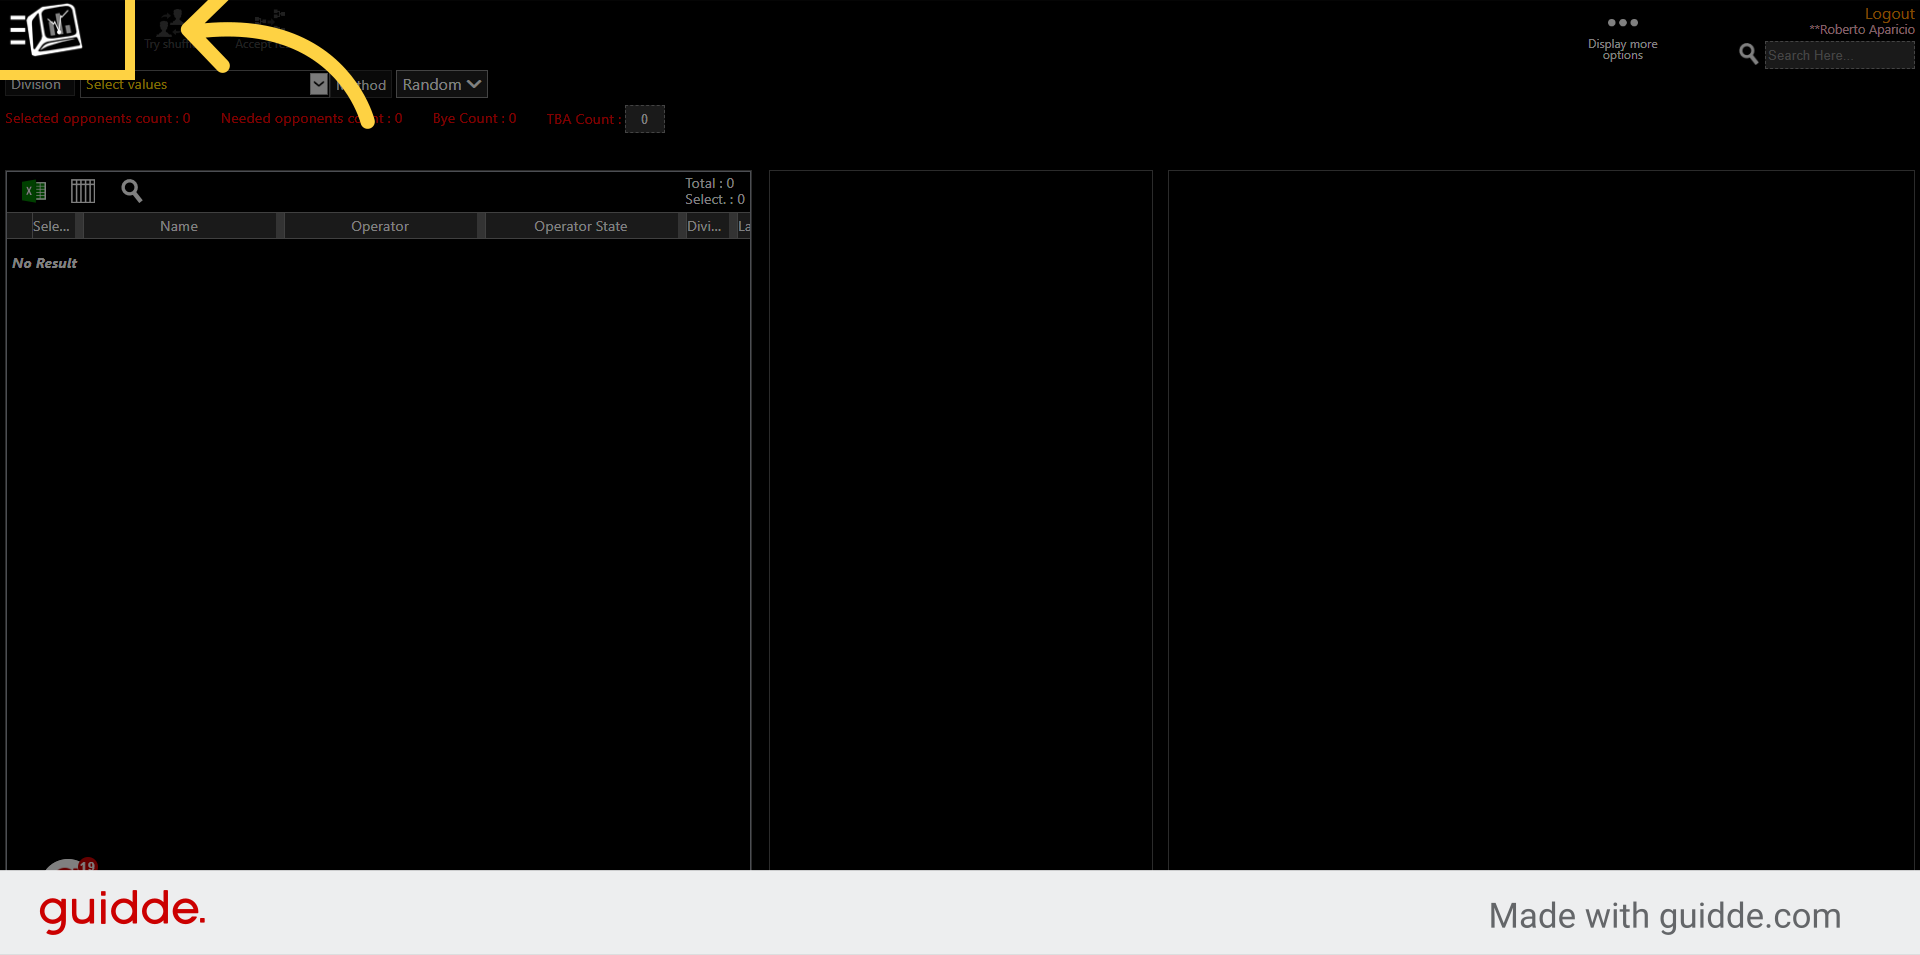
17. Click here
Navigate to the bracket to see what it looks like.
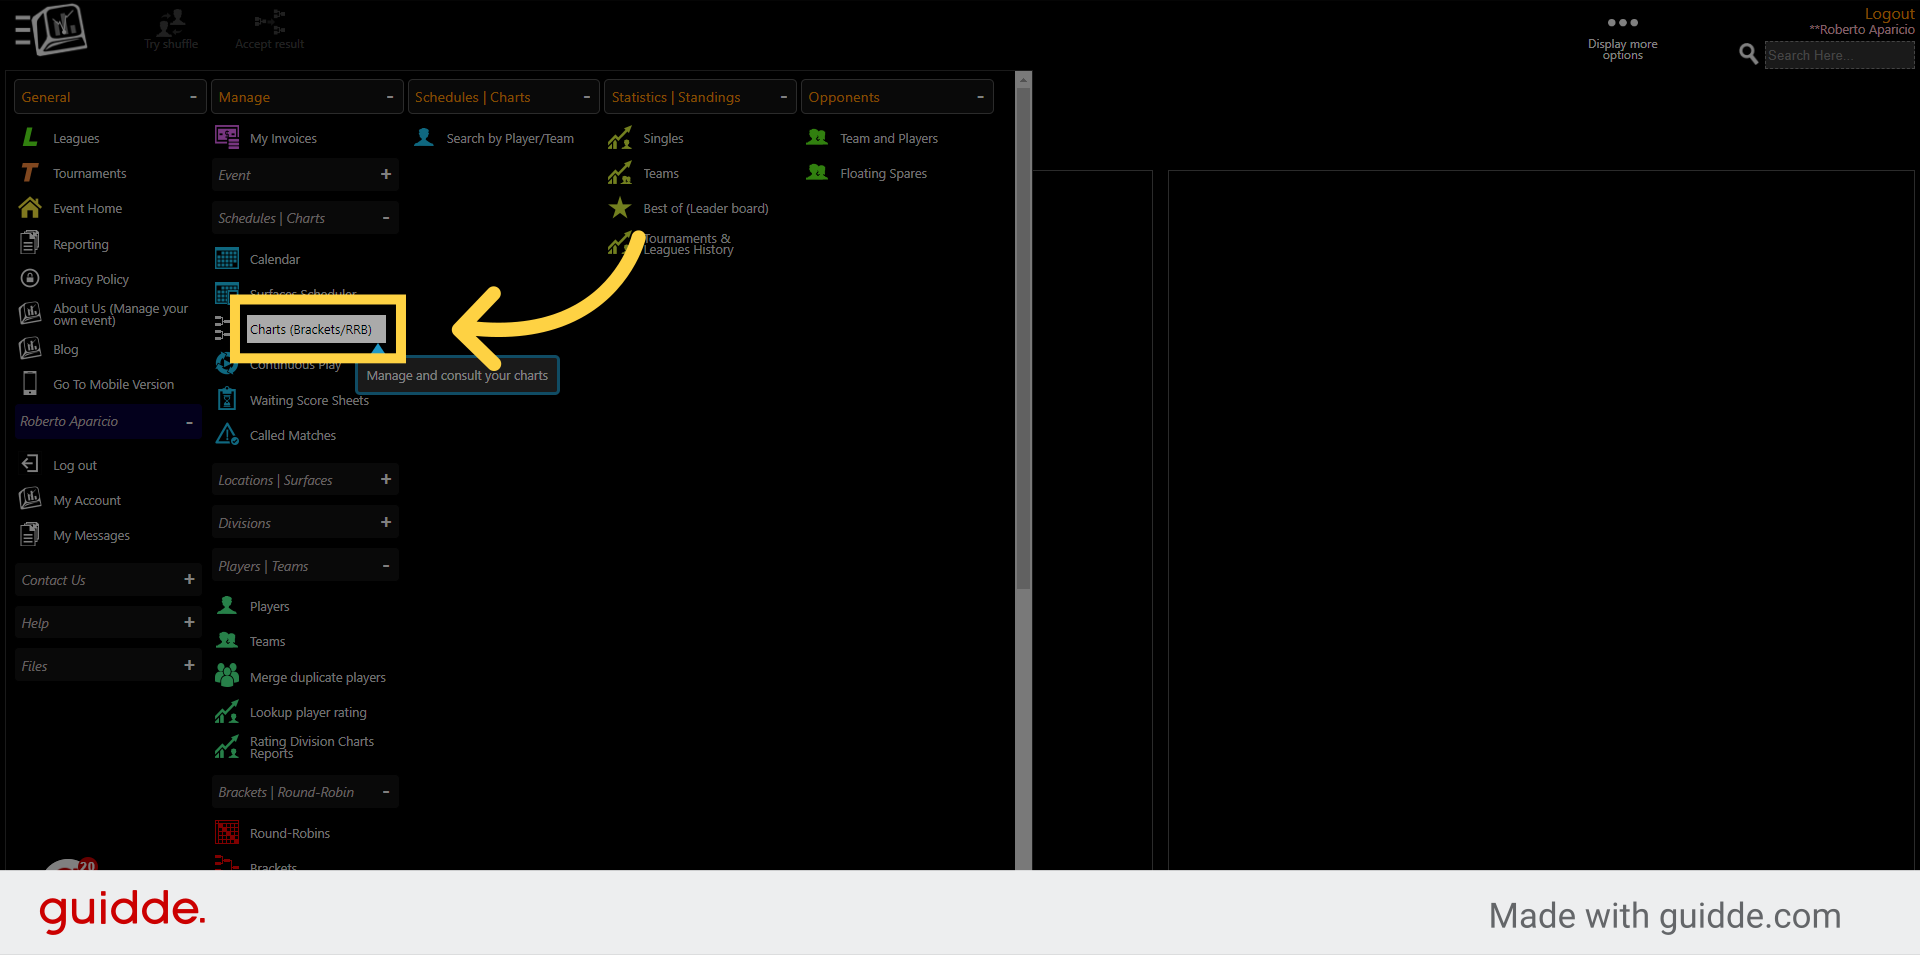
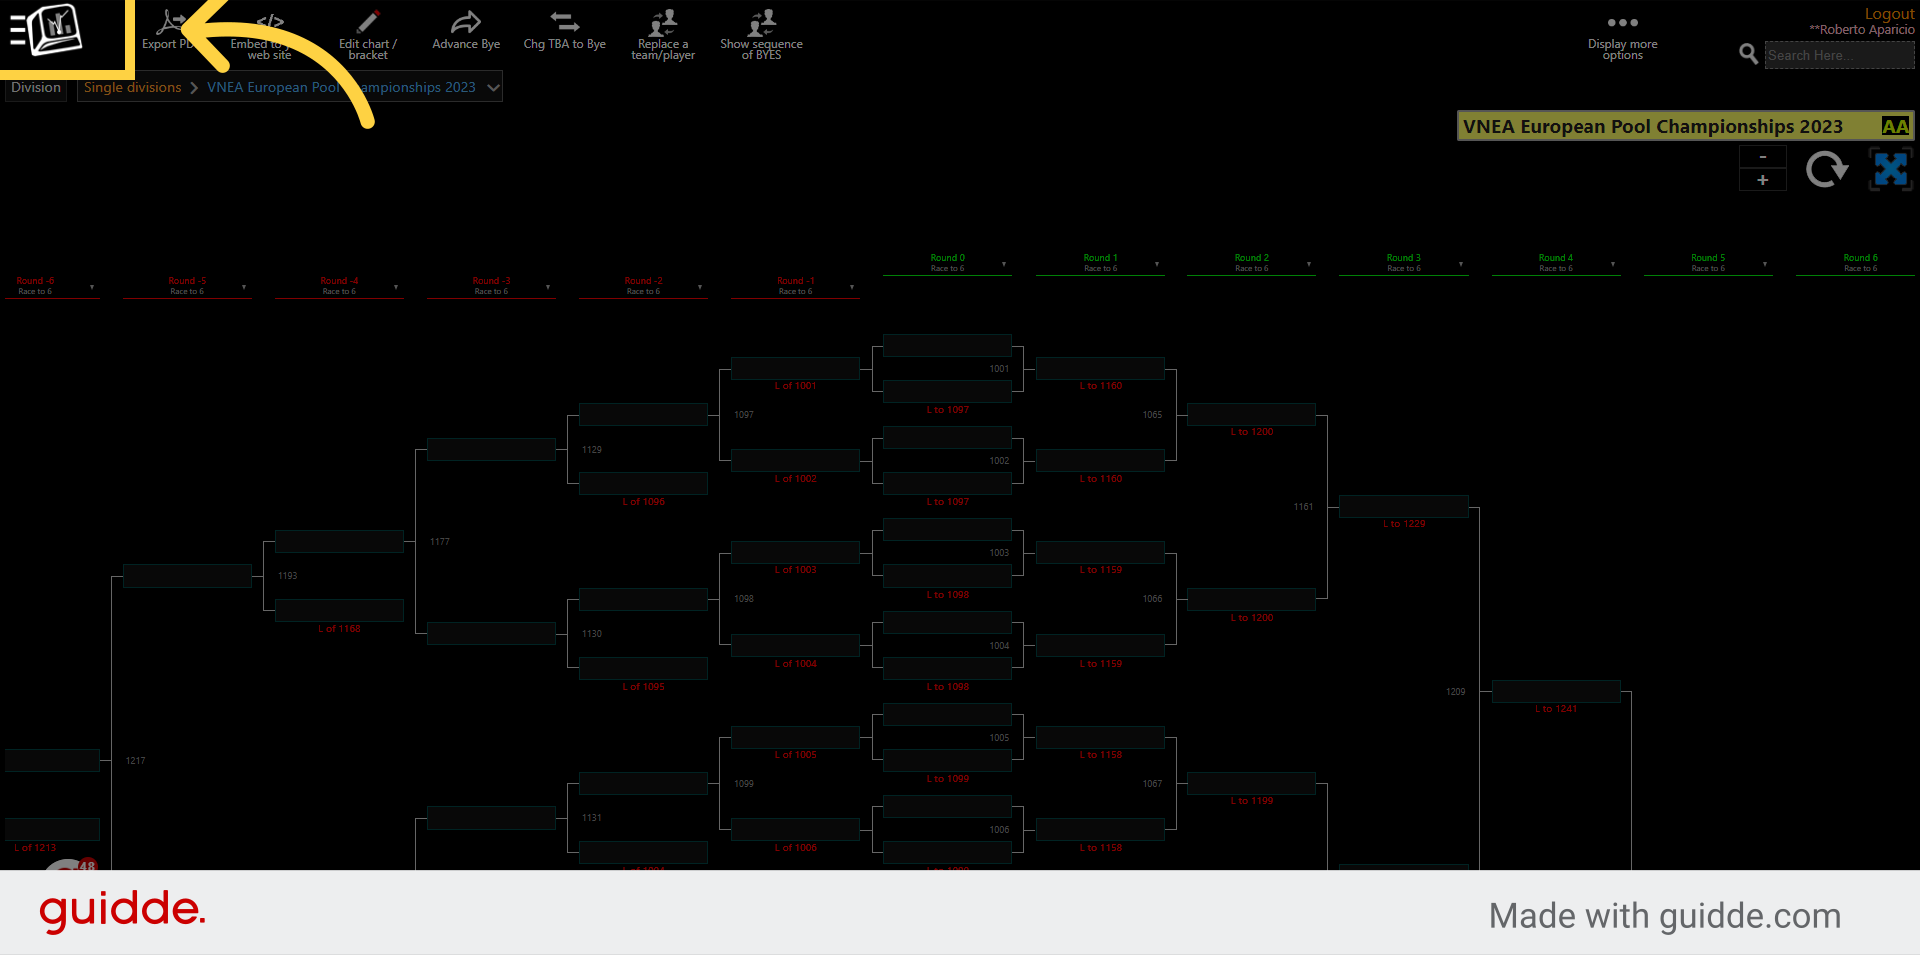
18. Click "Charts (Brackets/RRB)"
Navigate to "Charts (Brackets/RRB)"
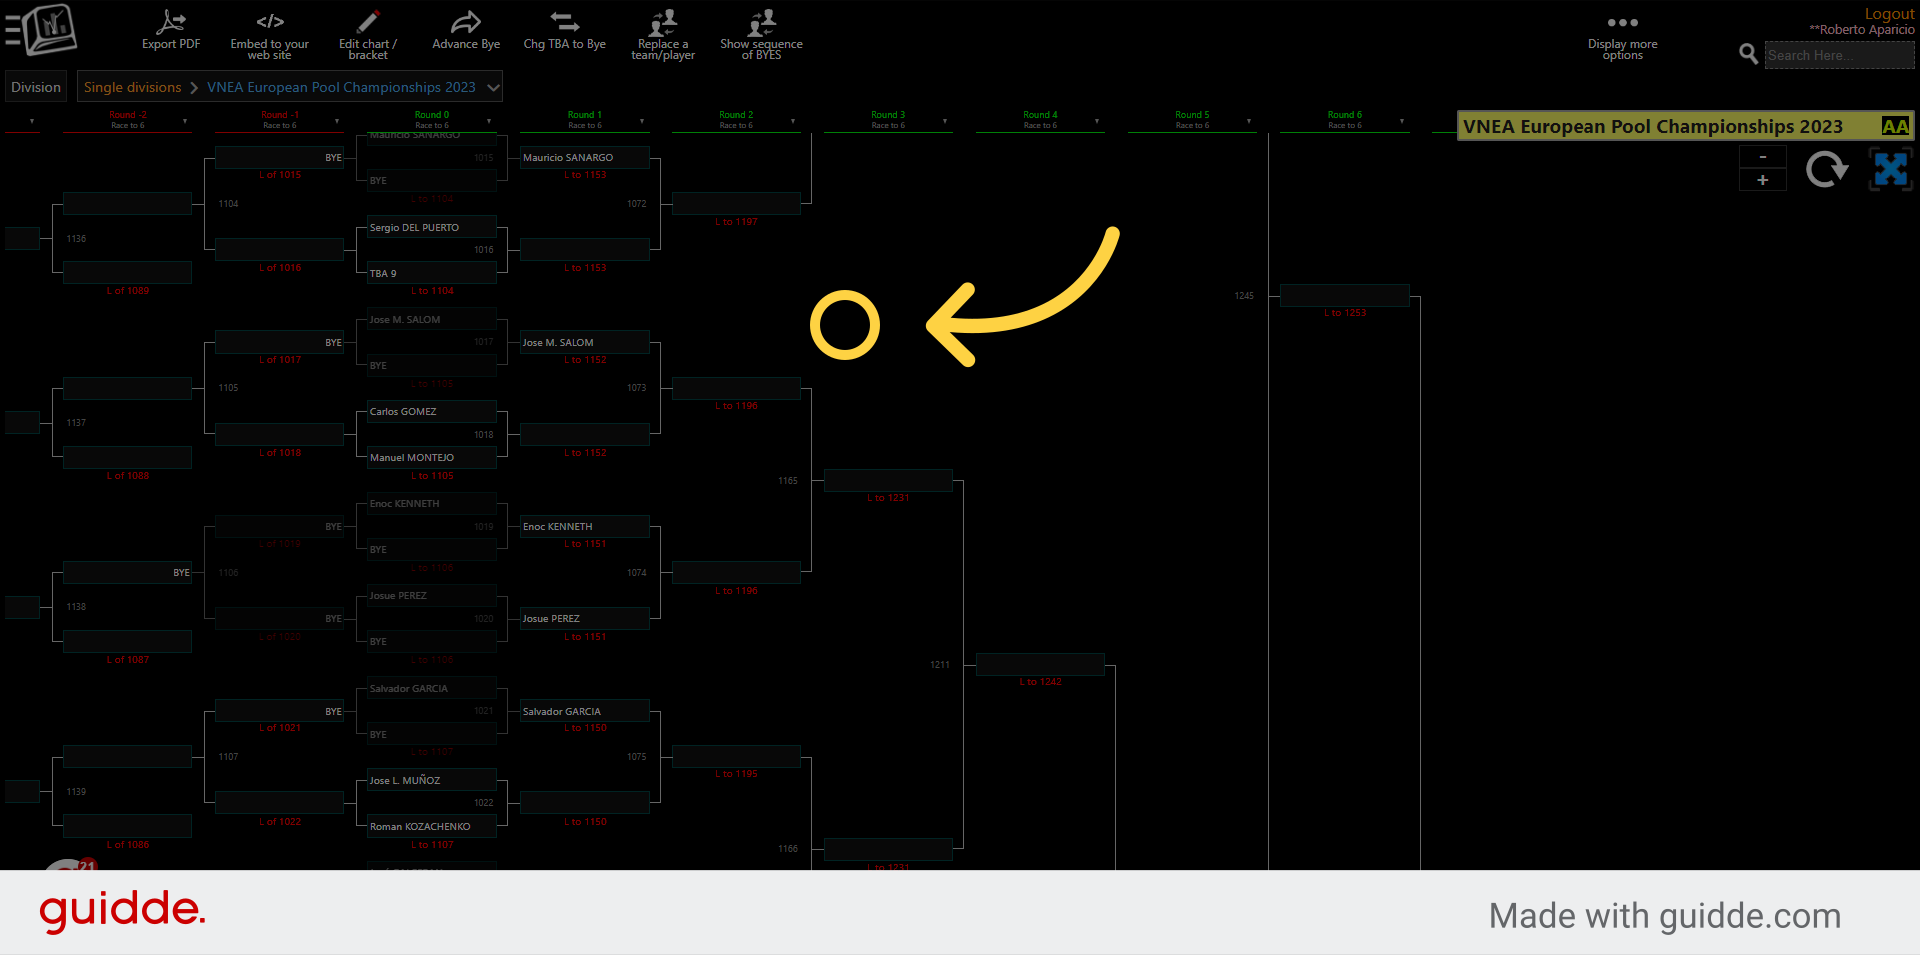
19. Zoom in and out
You can zoom in and out and scroll to see the names on the bracket
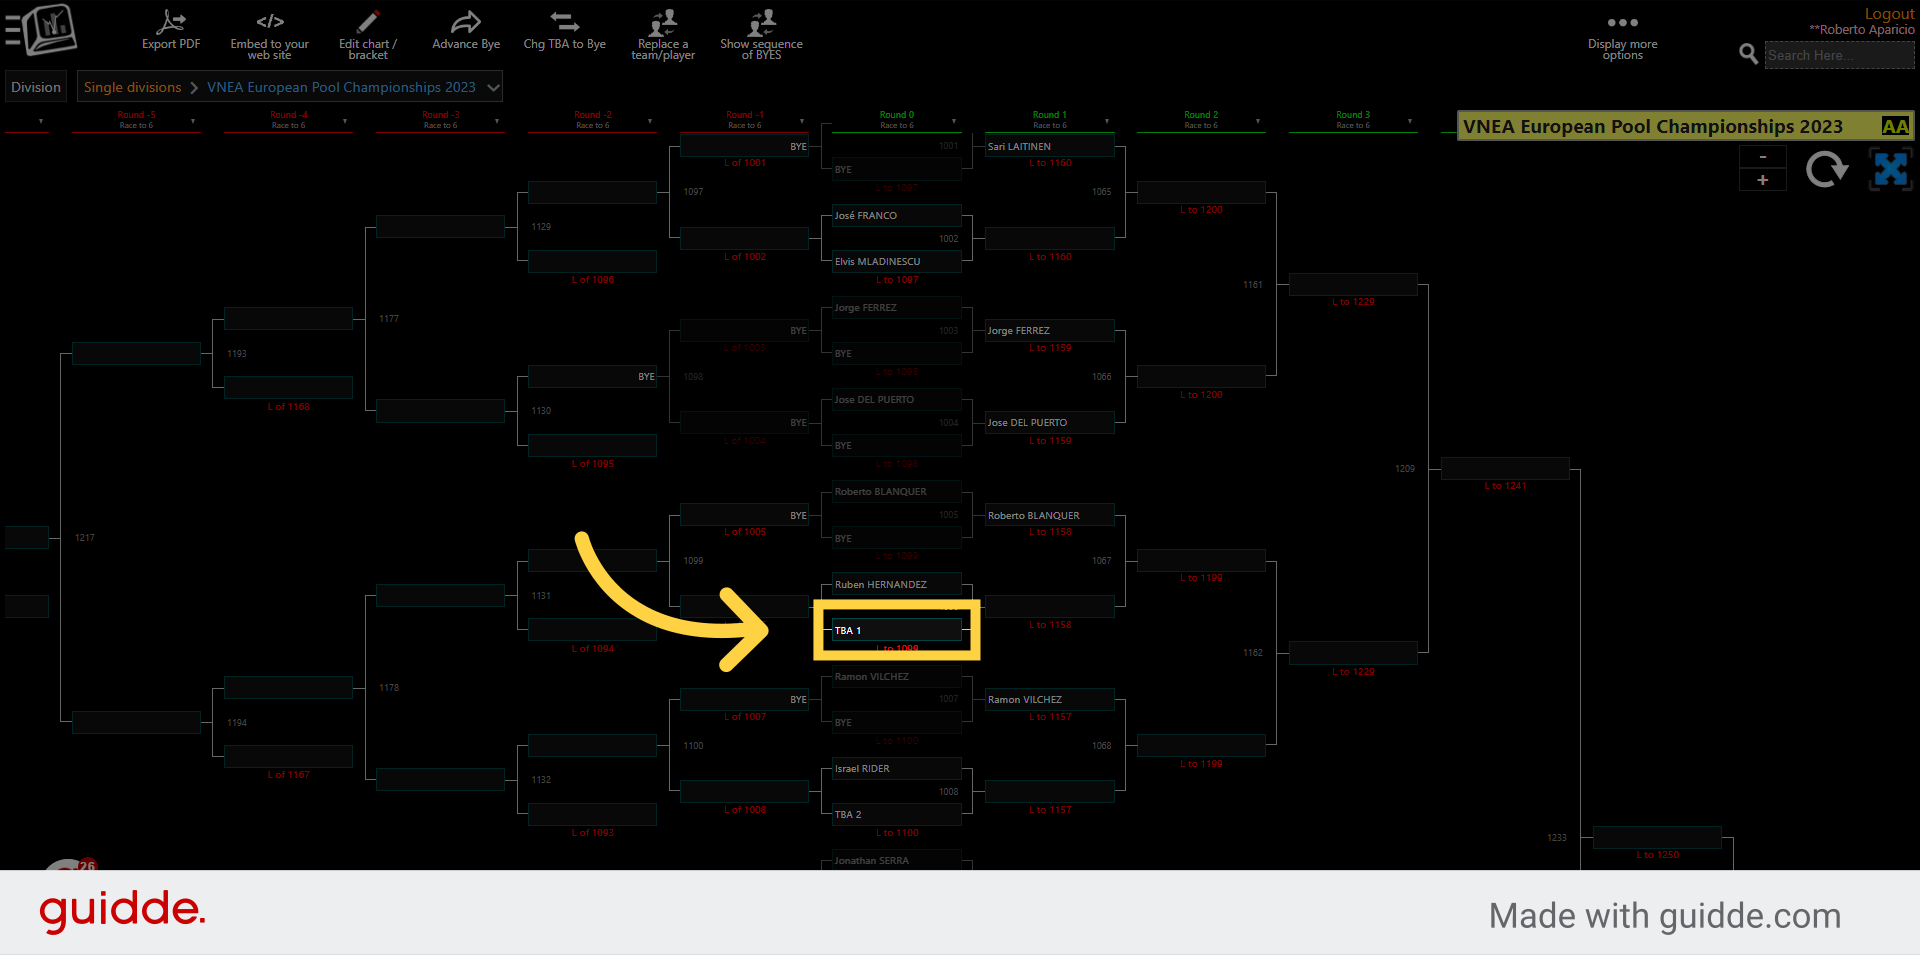
20. Find TBA 1
In this example, I made a few TBA's, you can see there are TBAs and Byes on the bracket. If you get a late entry, you can click on TBA1 and replace it by a player. TBAs are strategically placed where players would of went if shuffled. If you get a second entry, choose TBA 2 and so on.
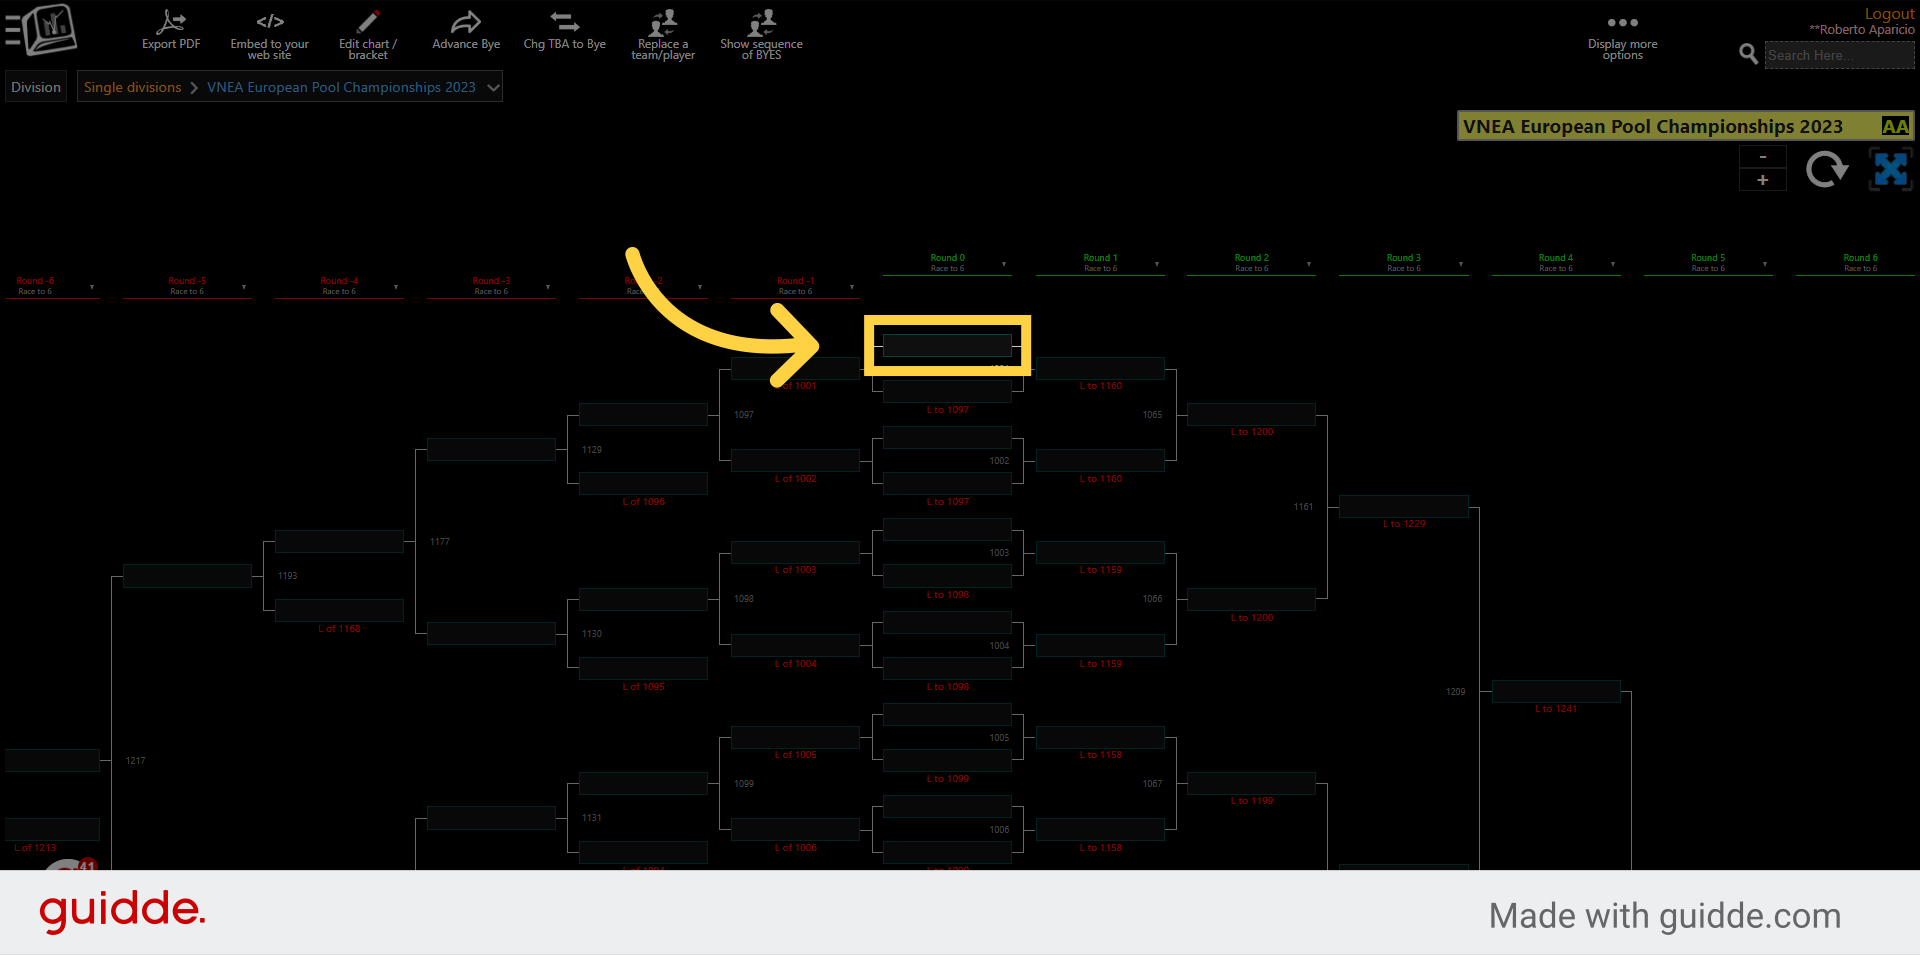
21. For your information
If you don't want to shuffle them, another option is to insert them manually into the bracket directly.
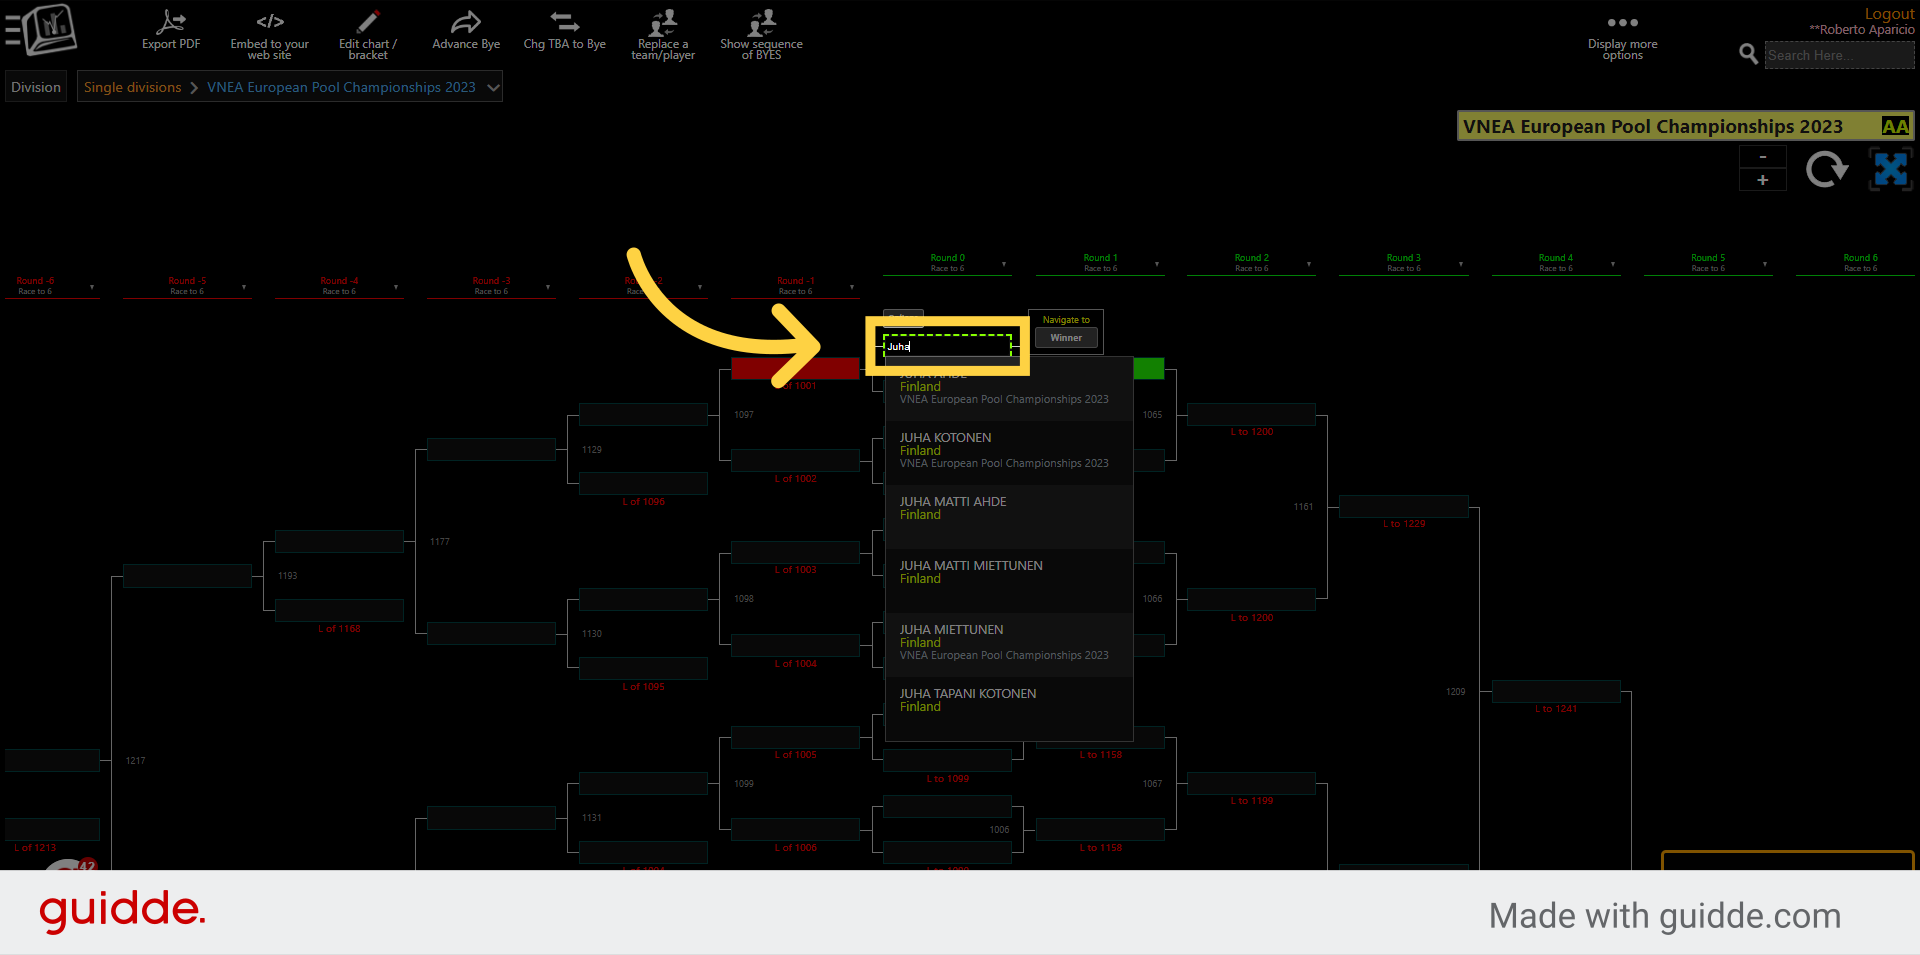
22. Enter team or player name
If you already have your teams or players into the divisions this will ease the entry into the bracket. Plus eliminates creating junk and duplicates.
Prepare your scheduling tool
23. Next step is to prepare your scheduling tool
Click on the Menu
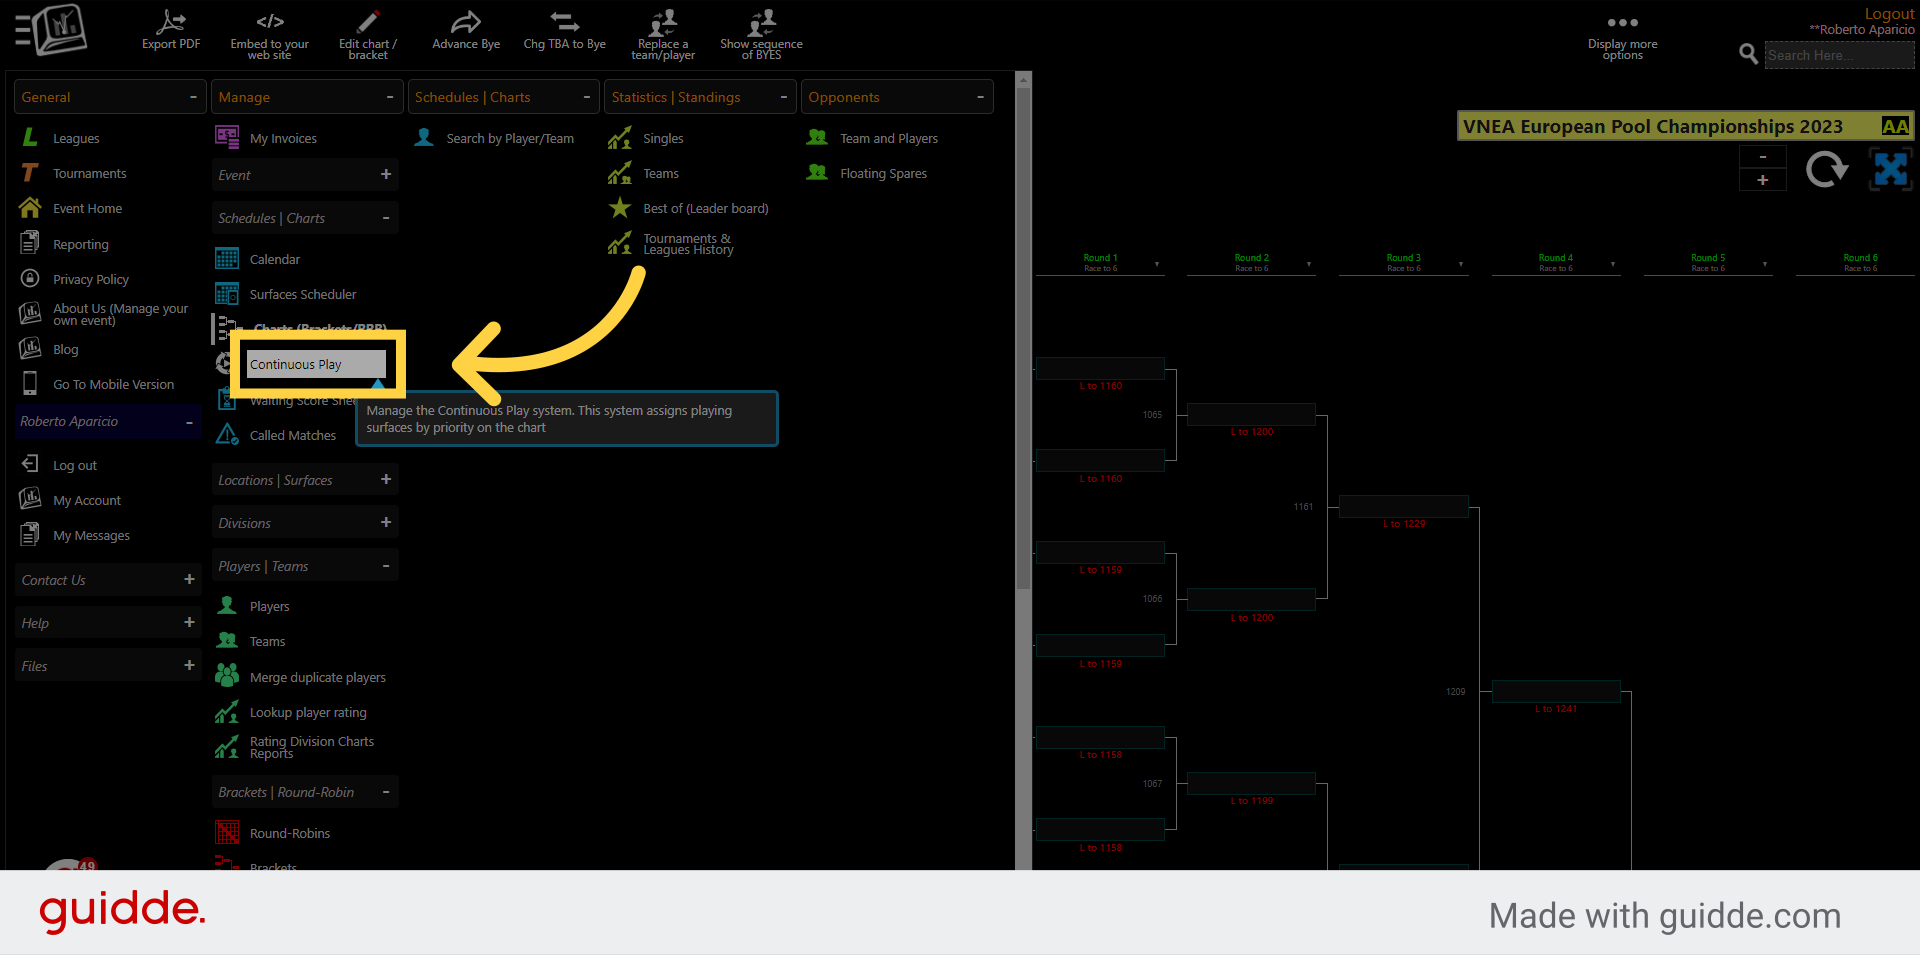
24. Click "Continuous Play"
Navigate to "Continuous Play". Continuous Play is a tool that will select the next available match (in a priority order) and assign them a time and a surface. Players receive a notification on the CompuSport app every time a time and surface are assigned to them.
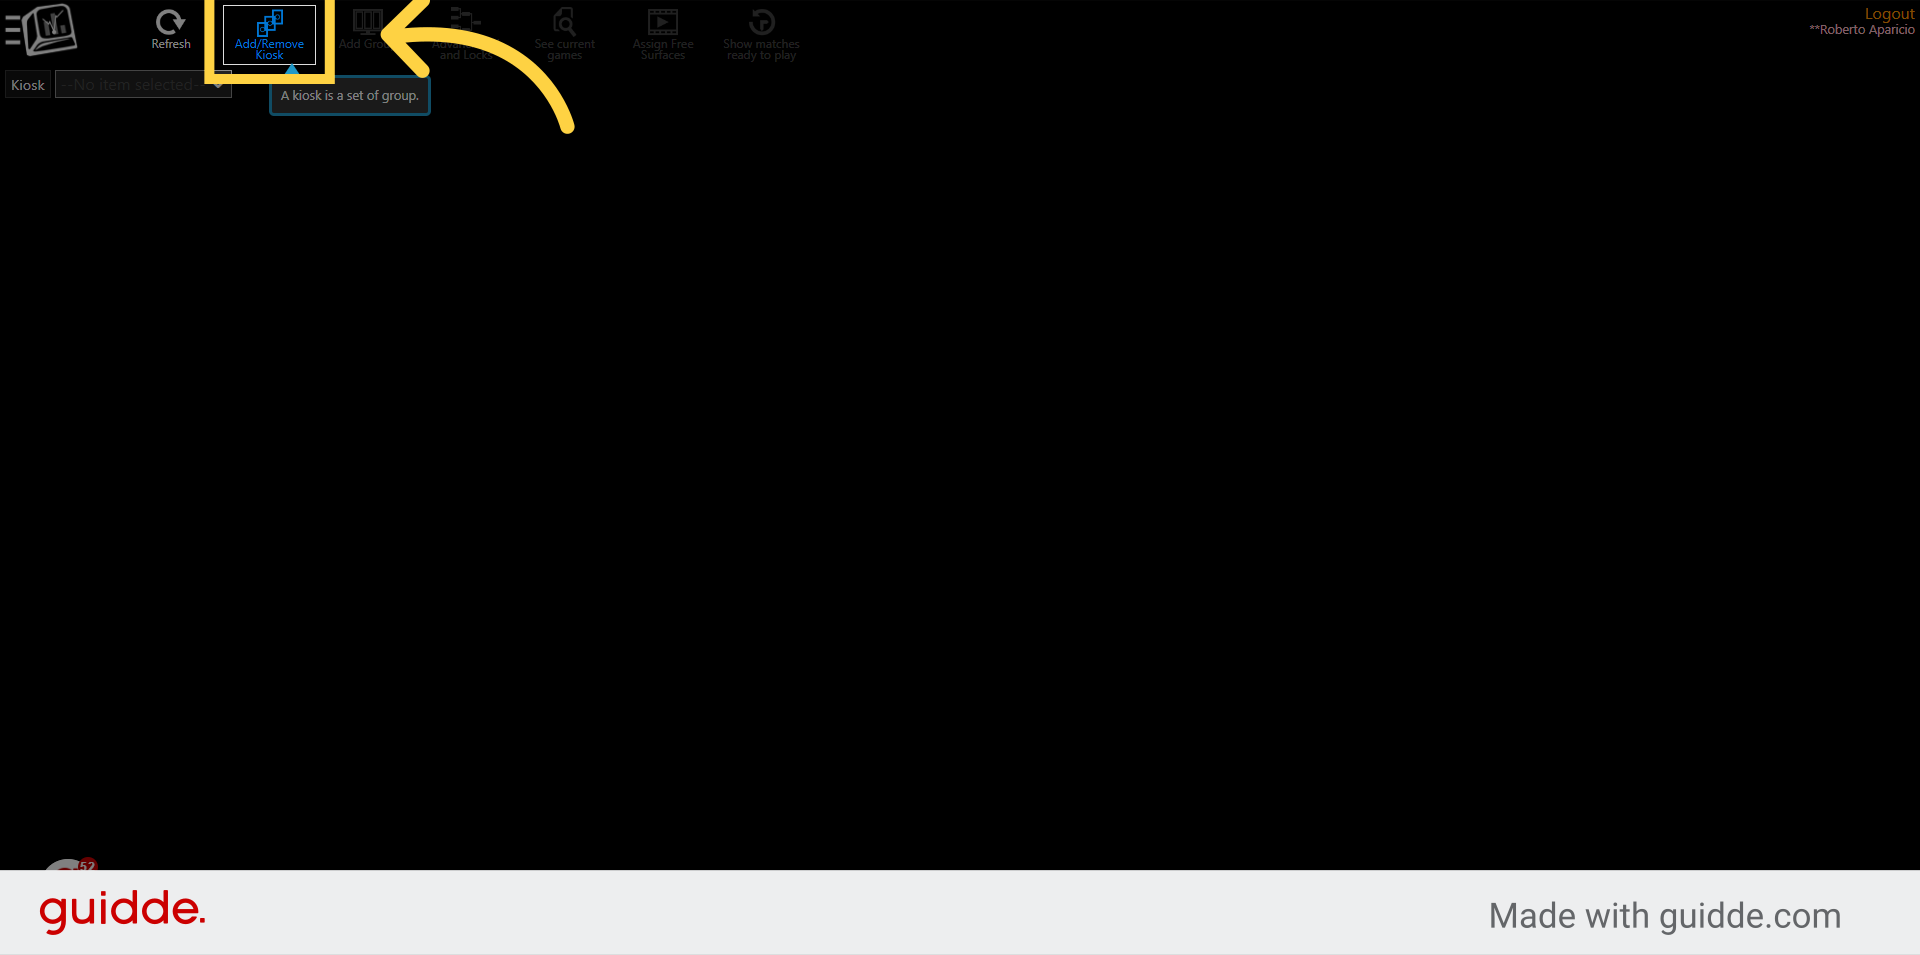
25. Click on Add/Remove Kiosks
Name the kiosk by the day or the type of bracket. A tournament with a lot of bracket might enjoy making a kiosk for every day of the tournament, this way, you can filter to see the brackets of the day.
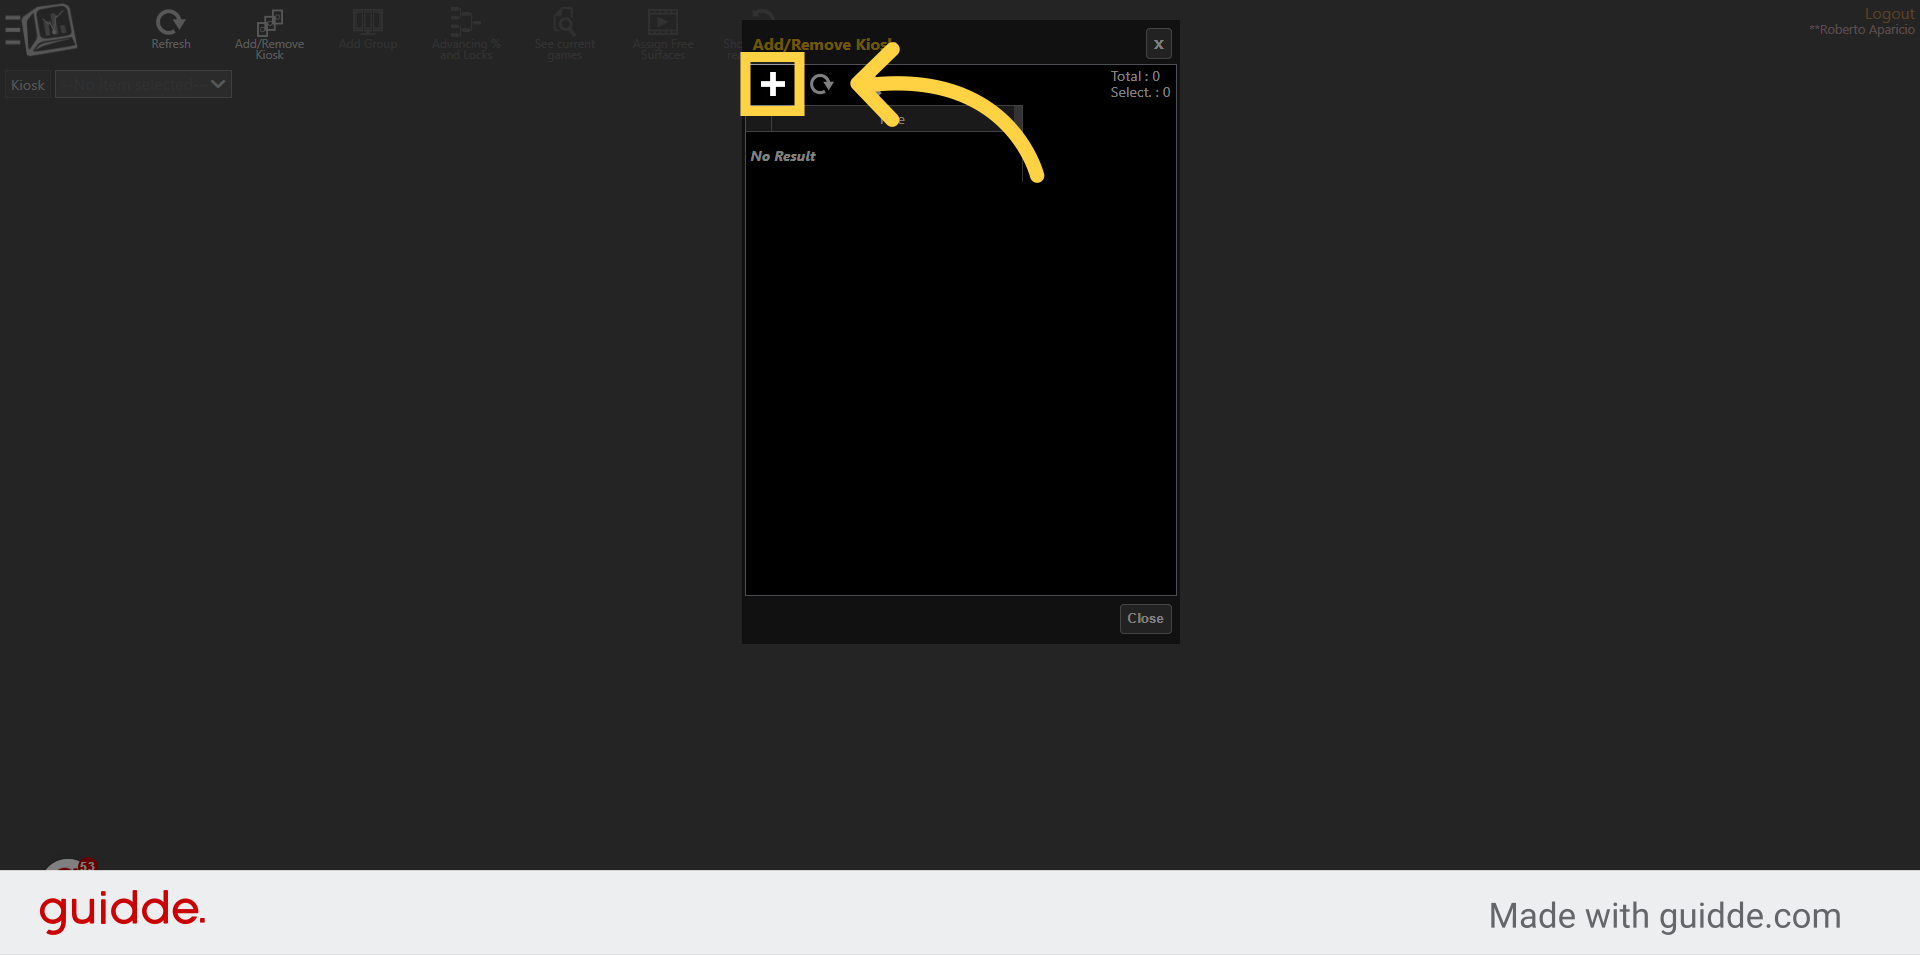
26. Click here
In the pop up, click on the Plus to create a Kiosk.
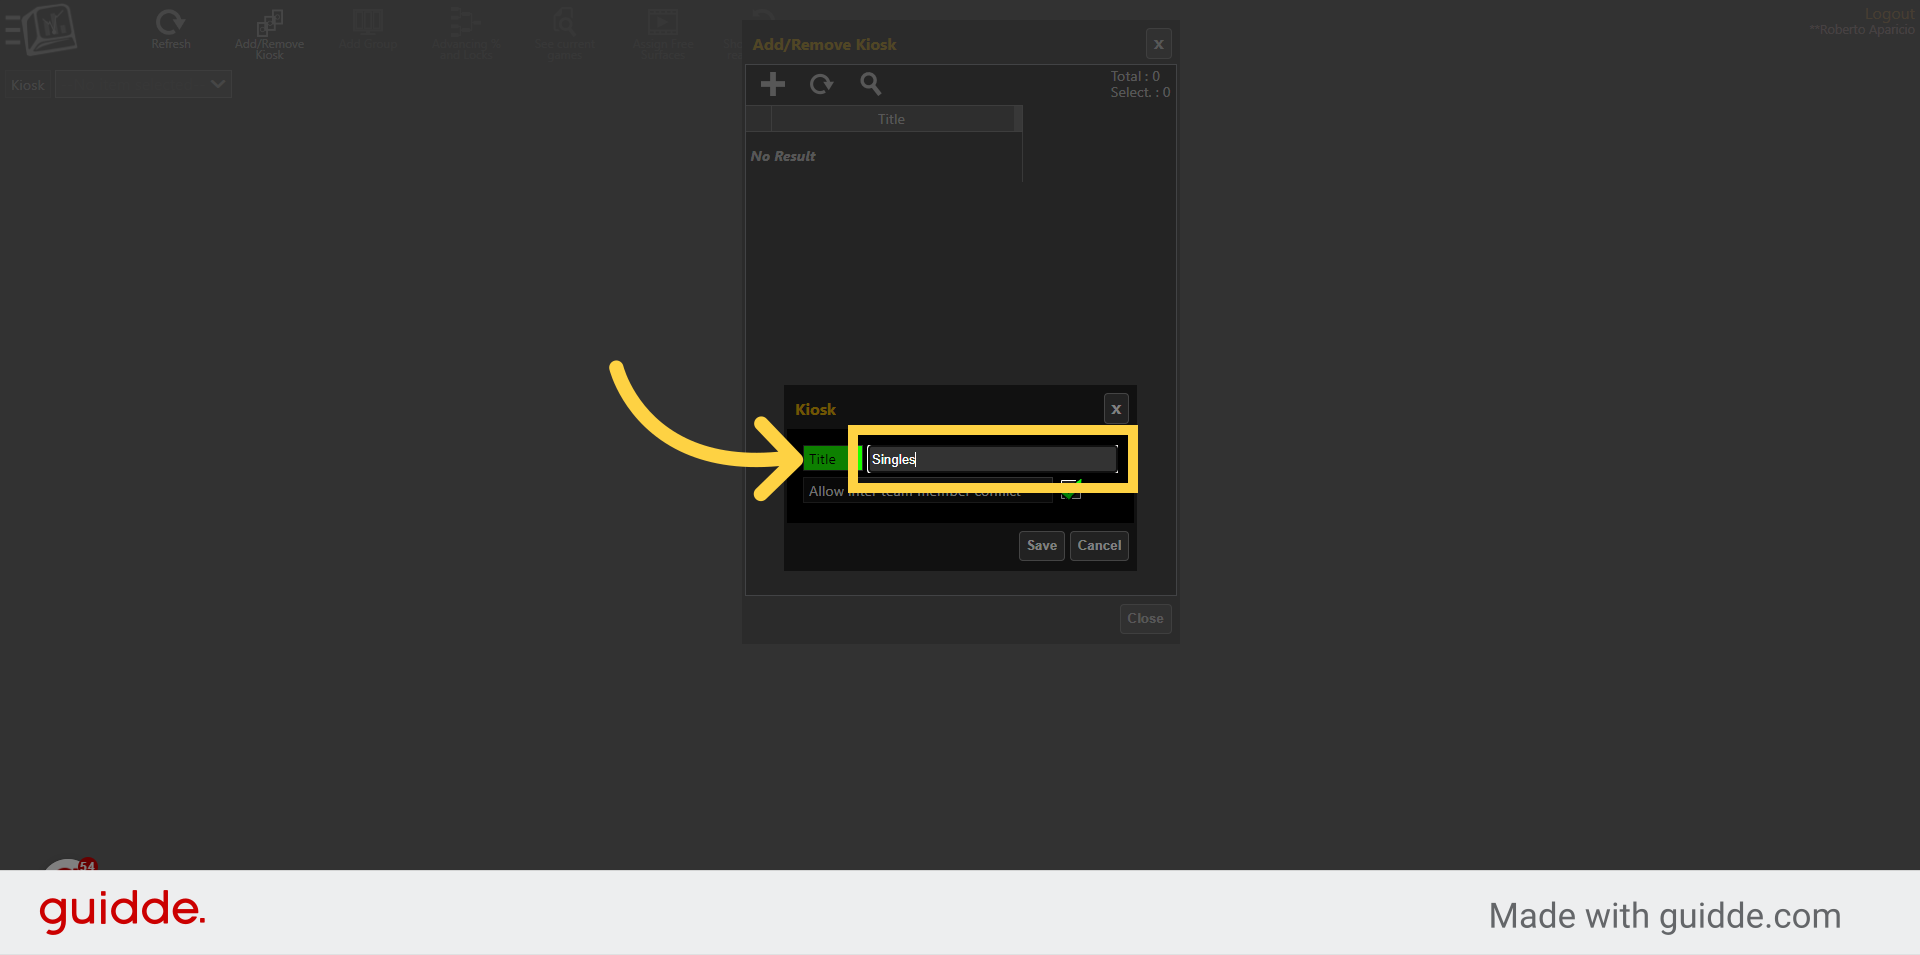
27. Insert name
In this example, there is one singles bracket, therefor I named it singles, but as mentioned earlier, if could be Friday, Saturday, Sunday specially when you have multiple brackets on the same day.
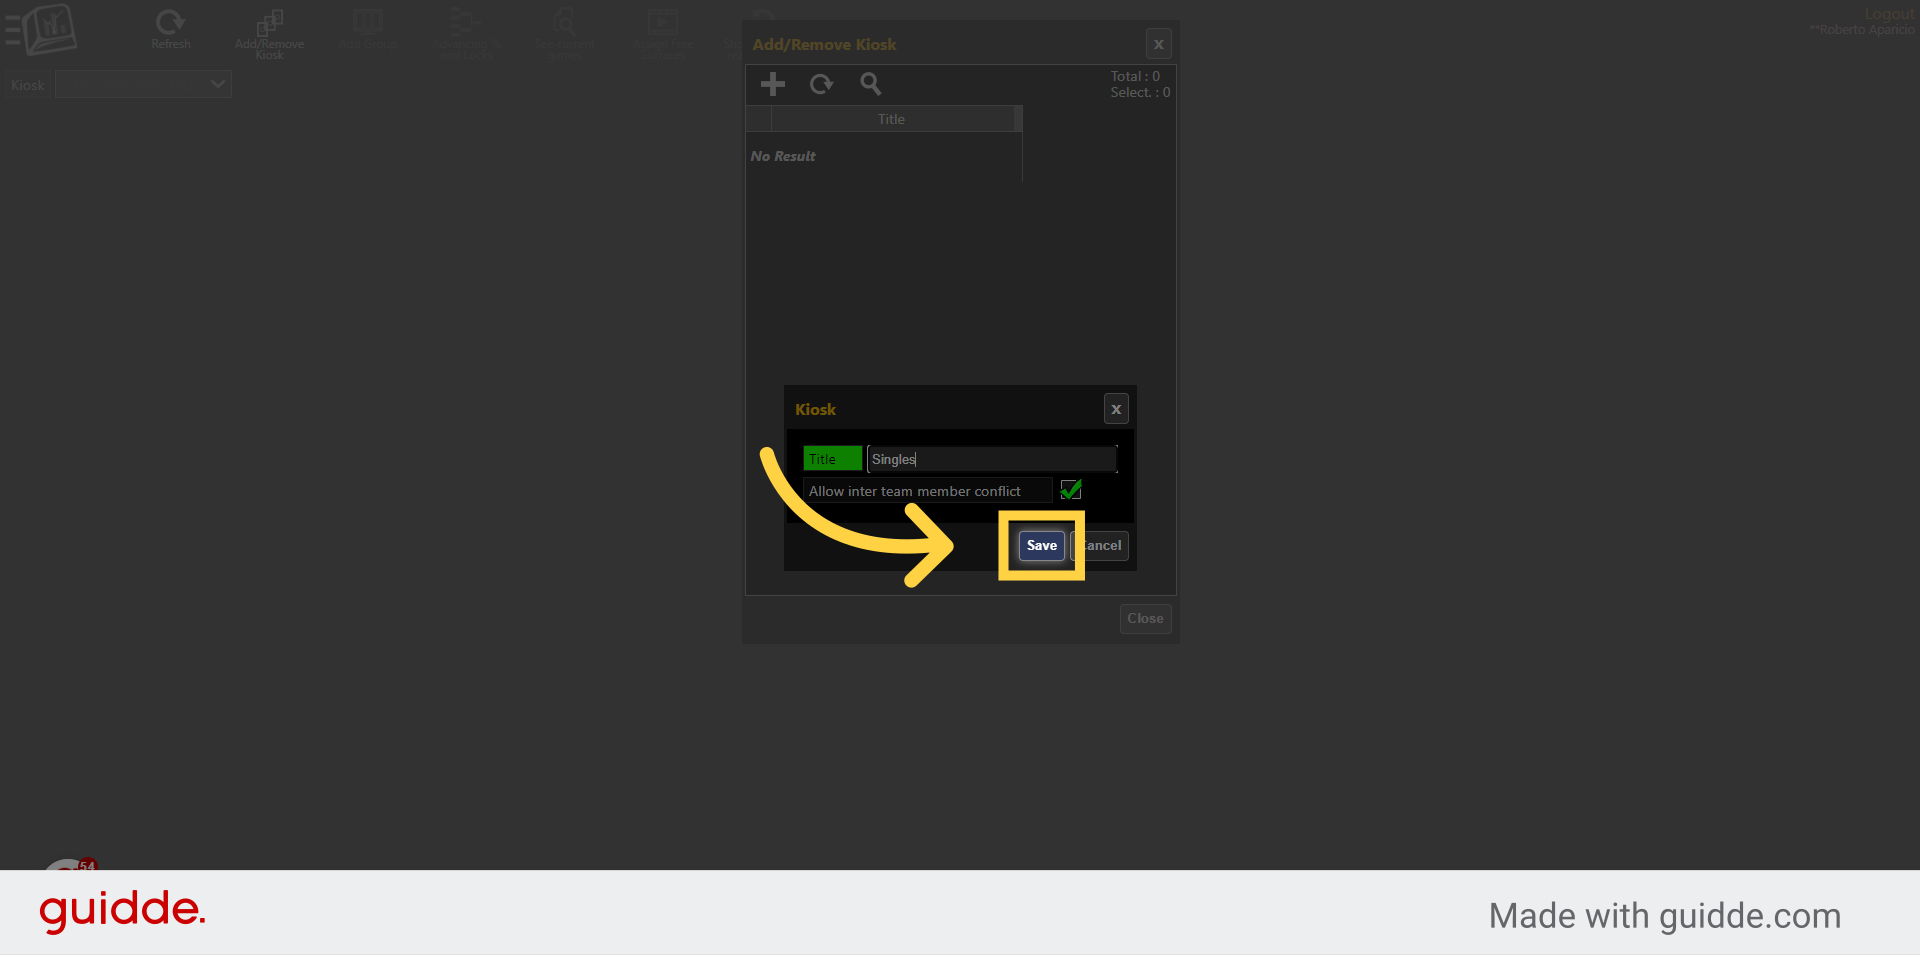
28. Click "Save"
Click on the "Save" field
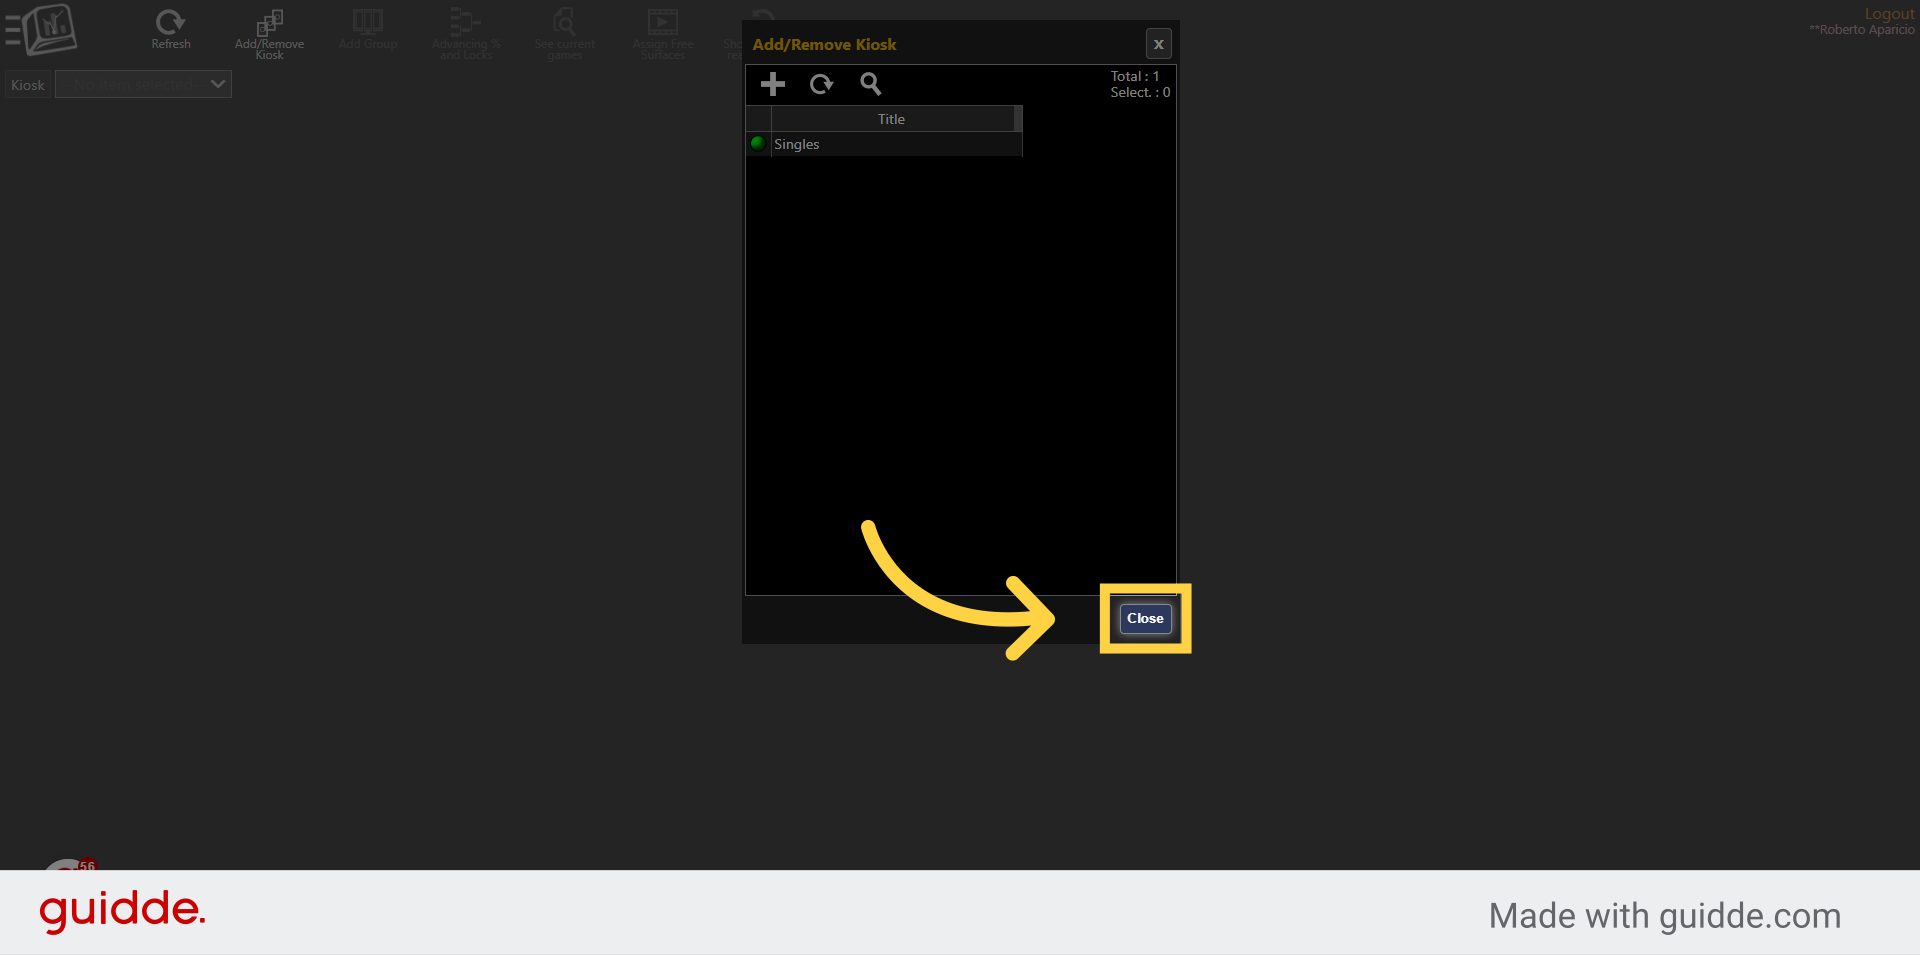
29. Click "Close"
Select the option to "Close"
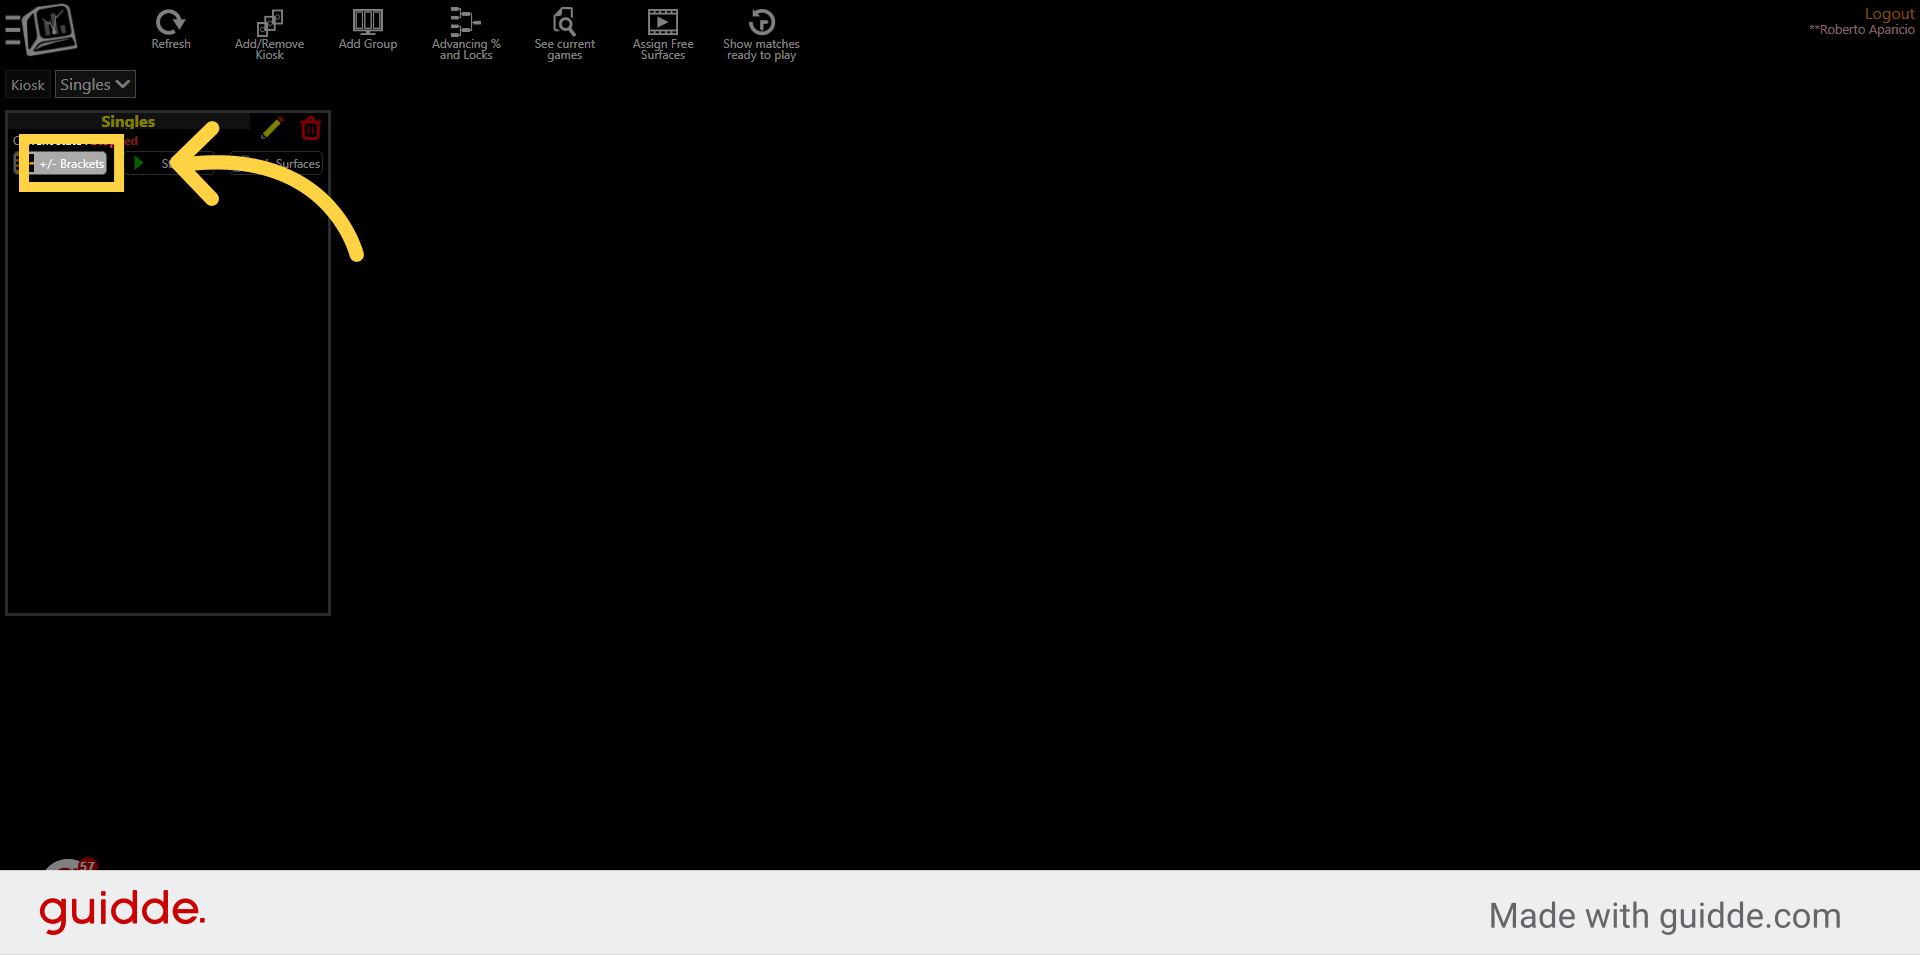
30. Click "+/- Brackets"
In the group (a box), click on the "+/- Brackets" button to insert which brackets you want to use.
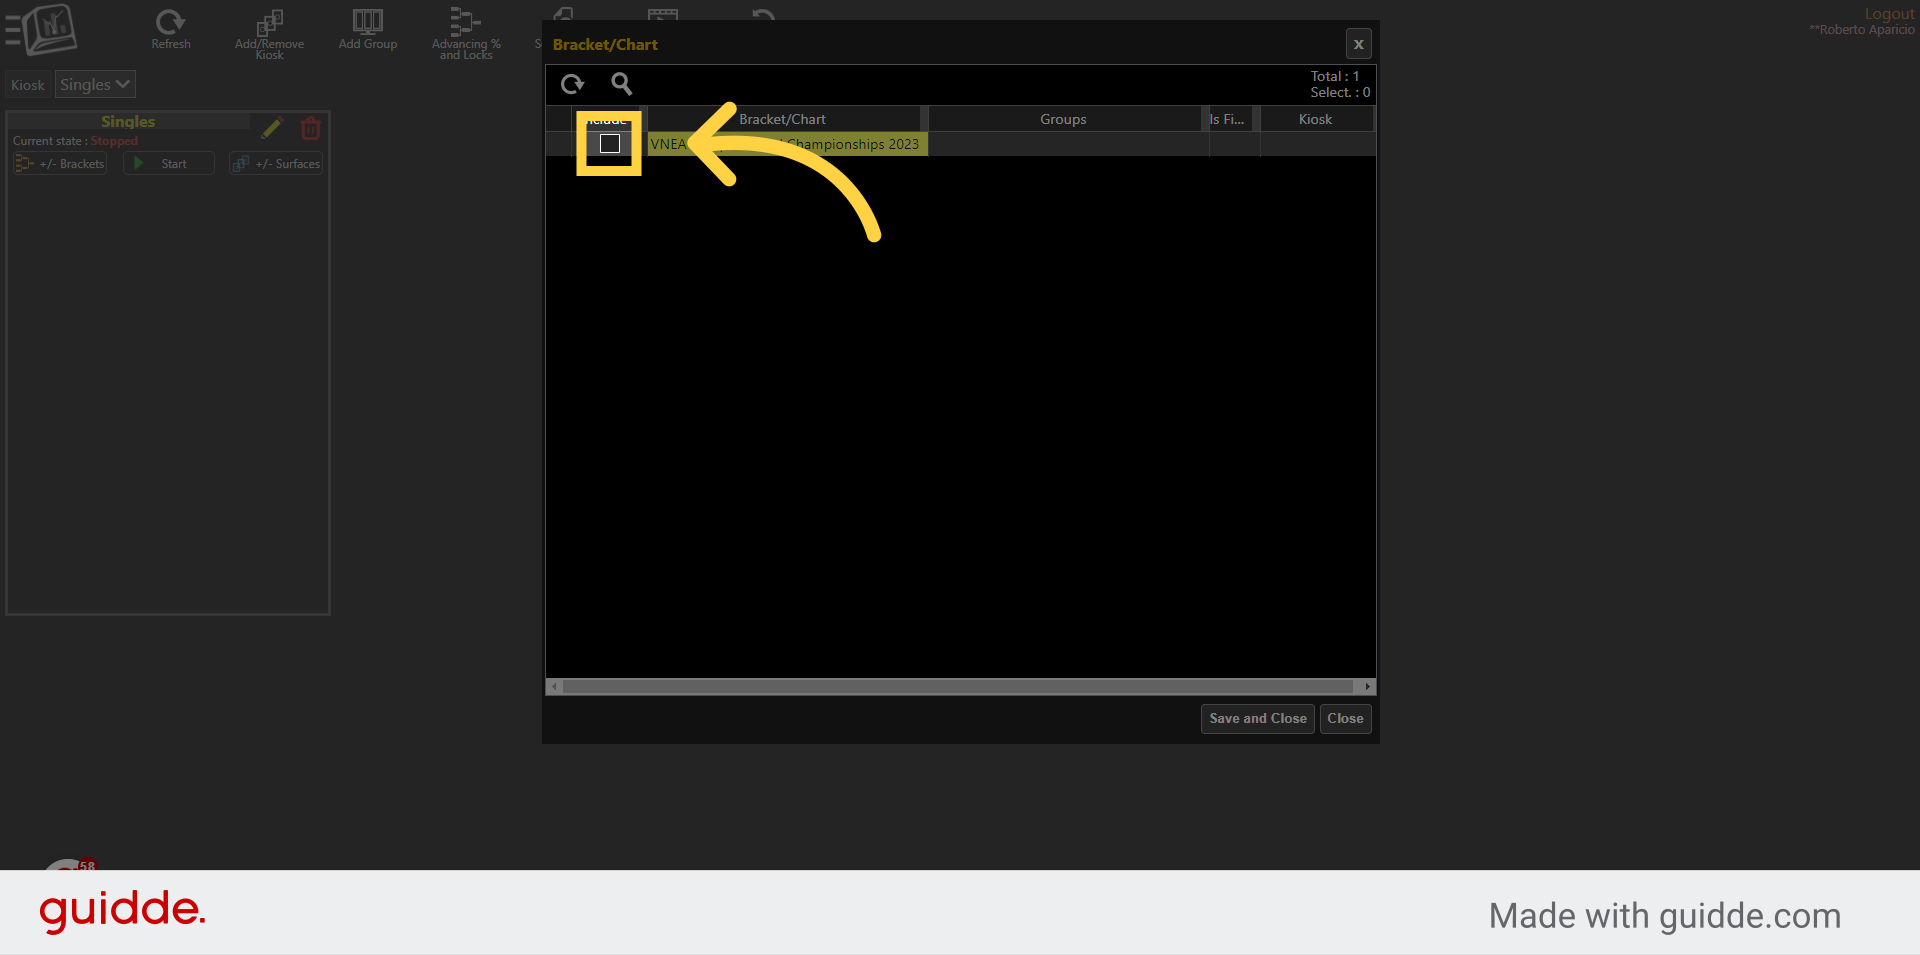
31. Click here
Select the brackets you want.
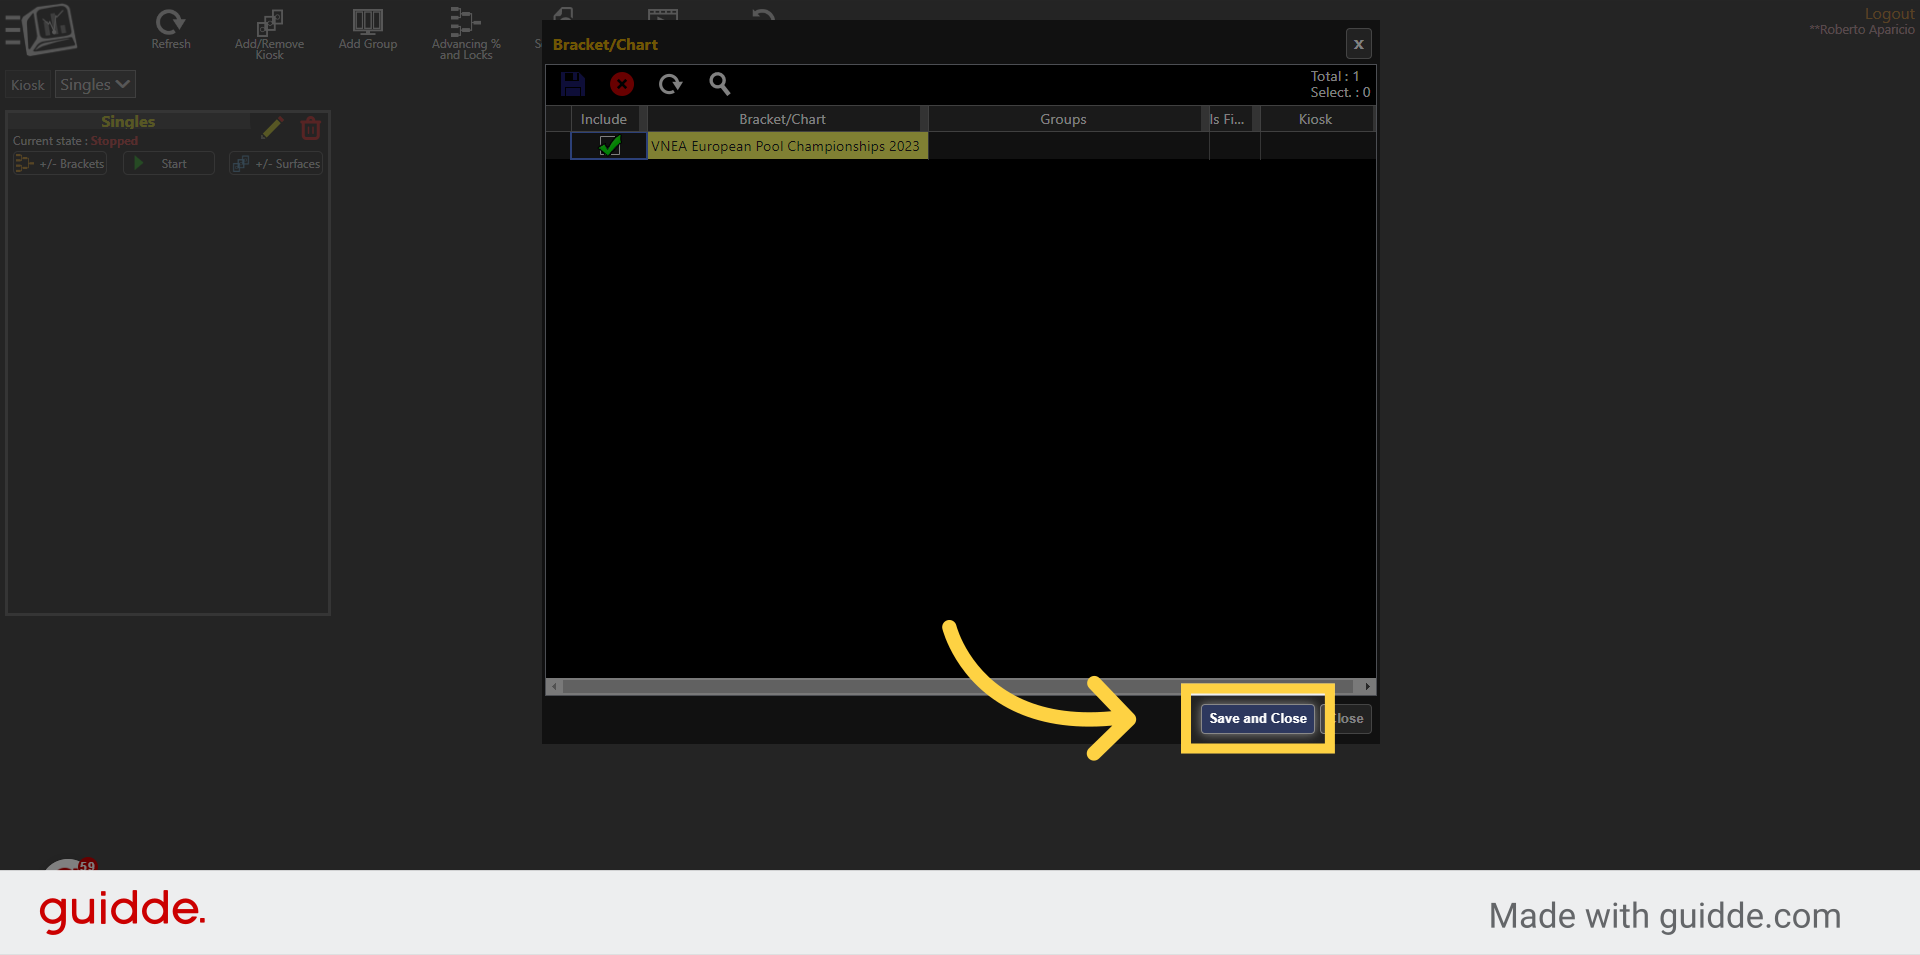
32. Click "SaveAndClose"
Click "SaveAndClose"
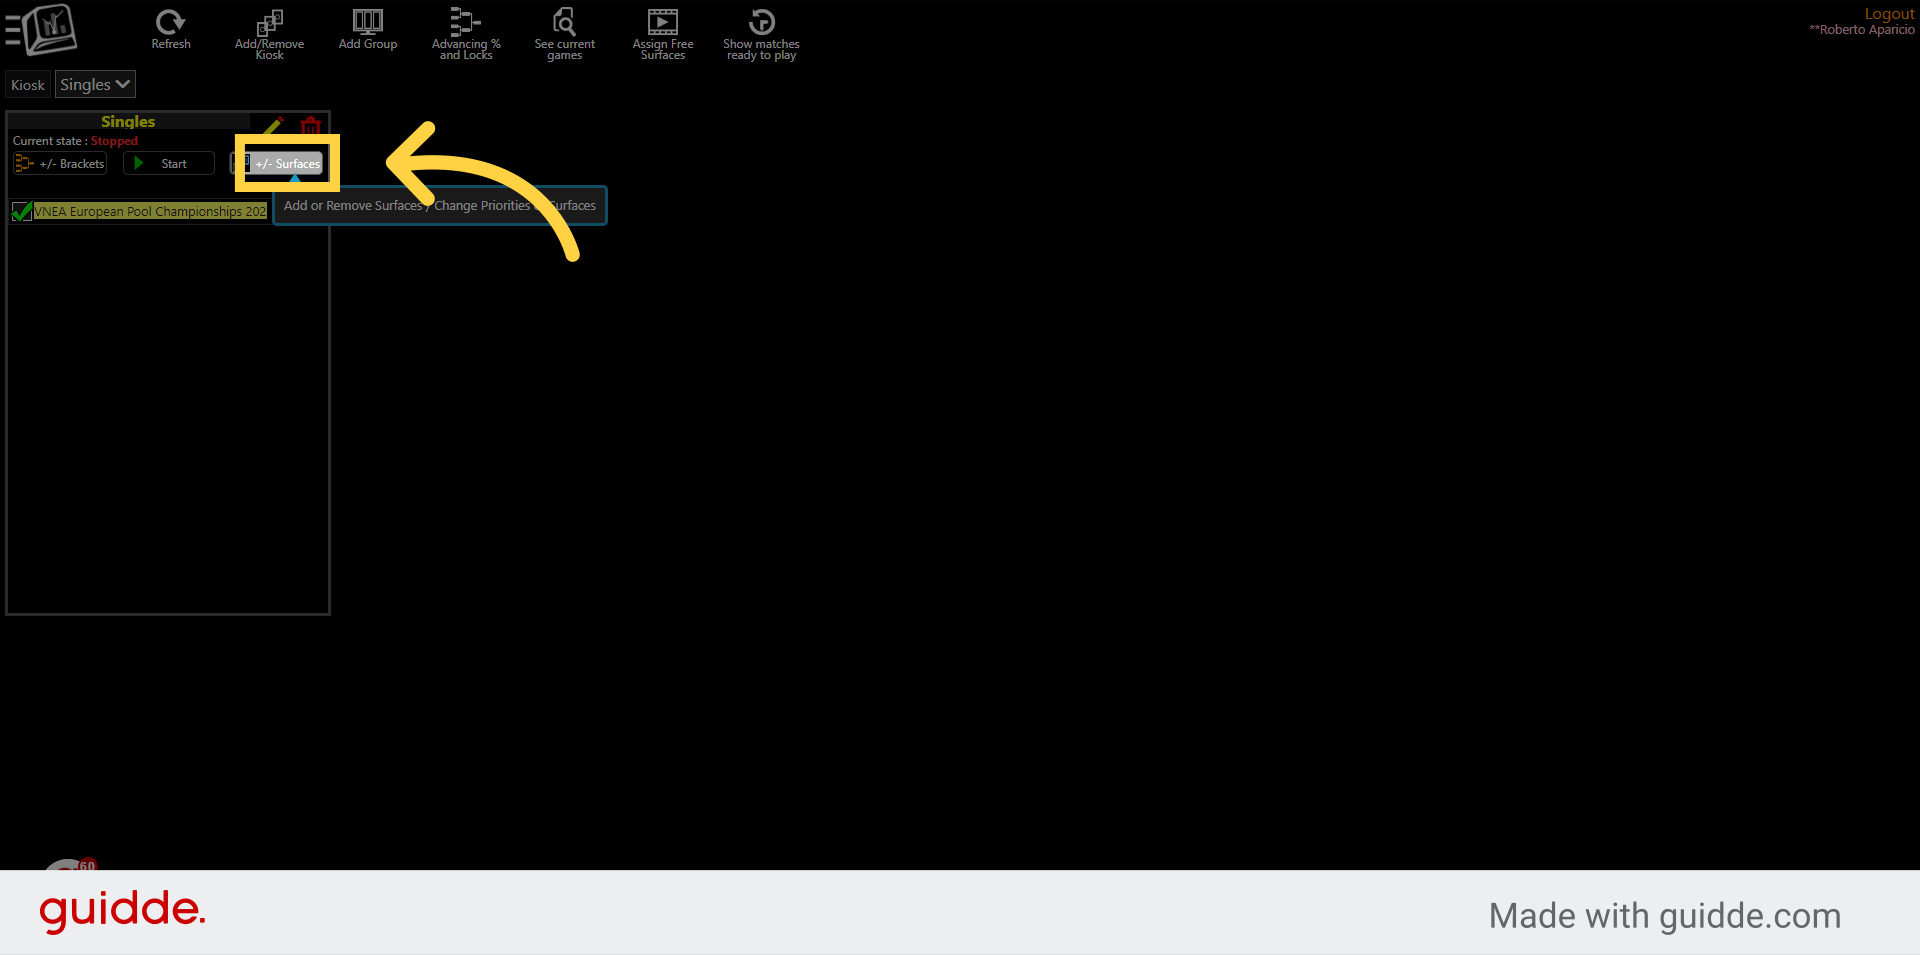
33. Click "+/- Surfaces"
Click on "+/- Surfaces" to add the surfaces you want the brackets to use. The system will only assign the surfaces in the group.
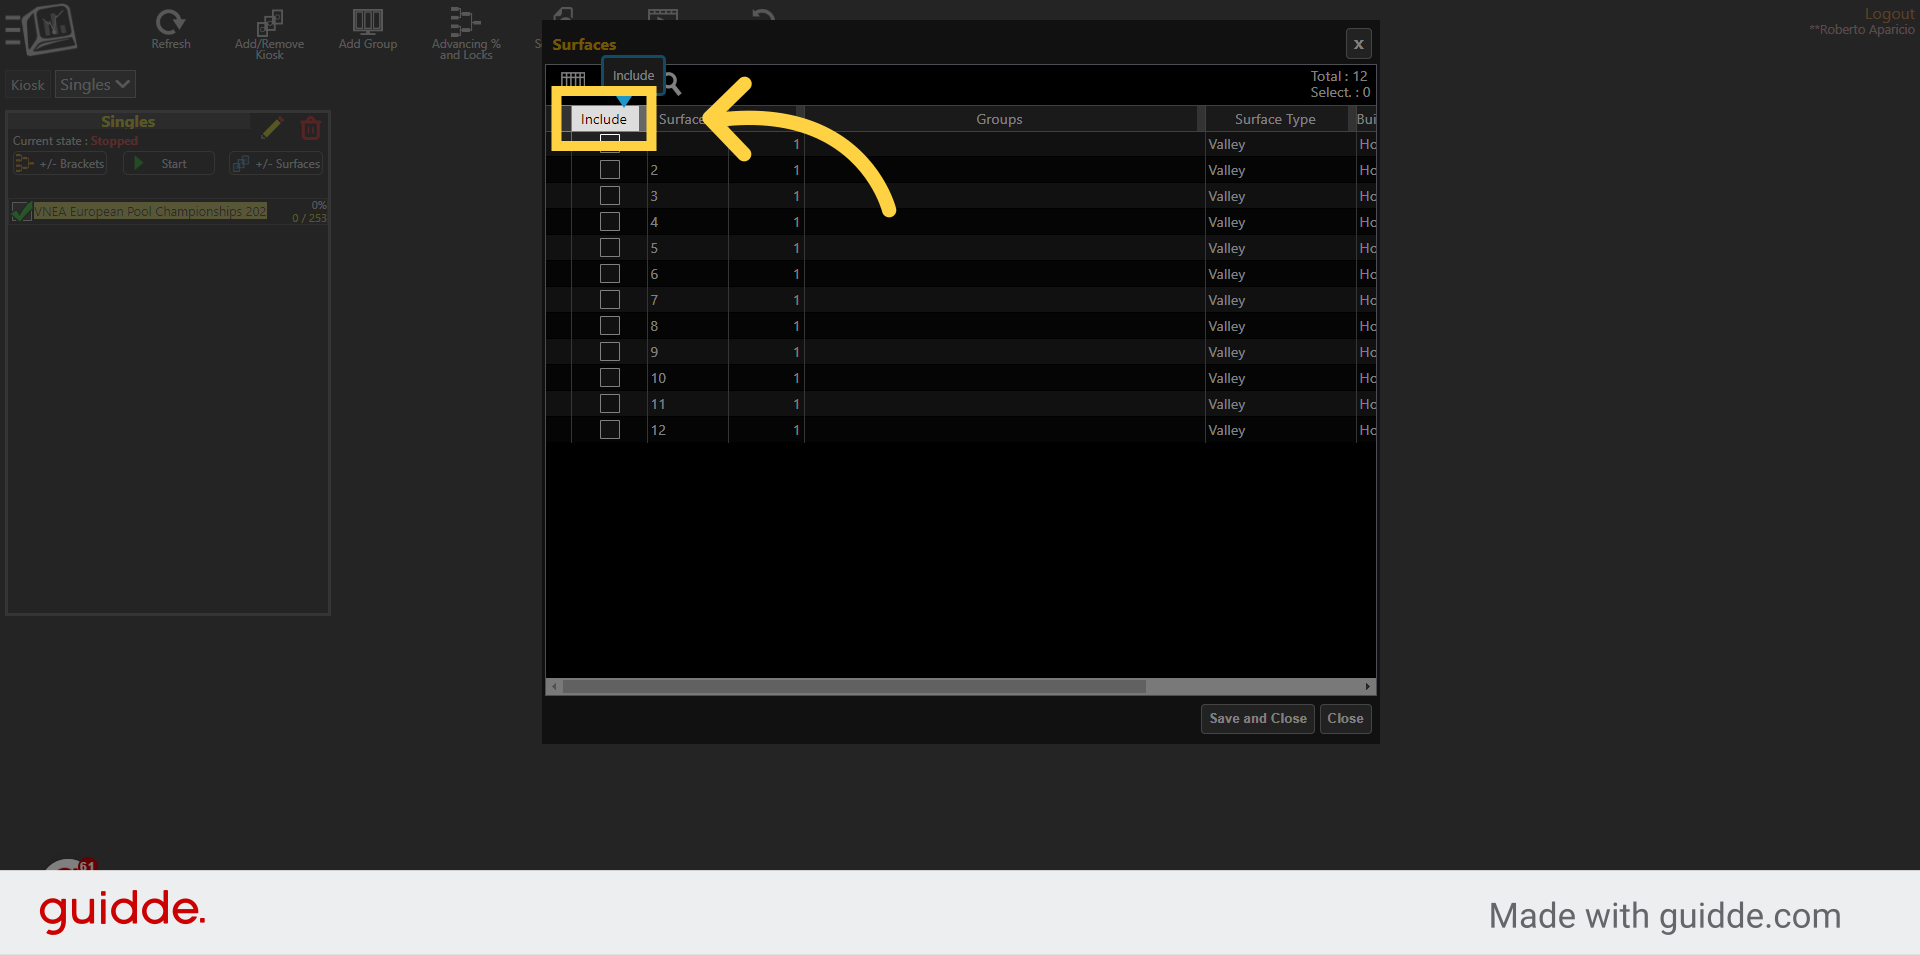
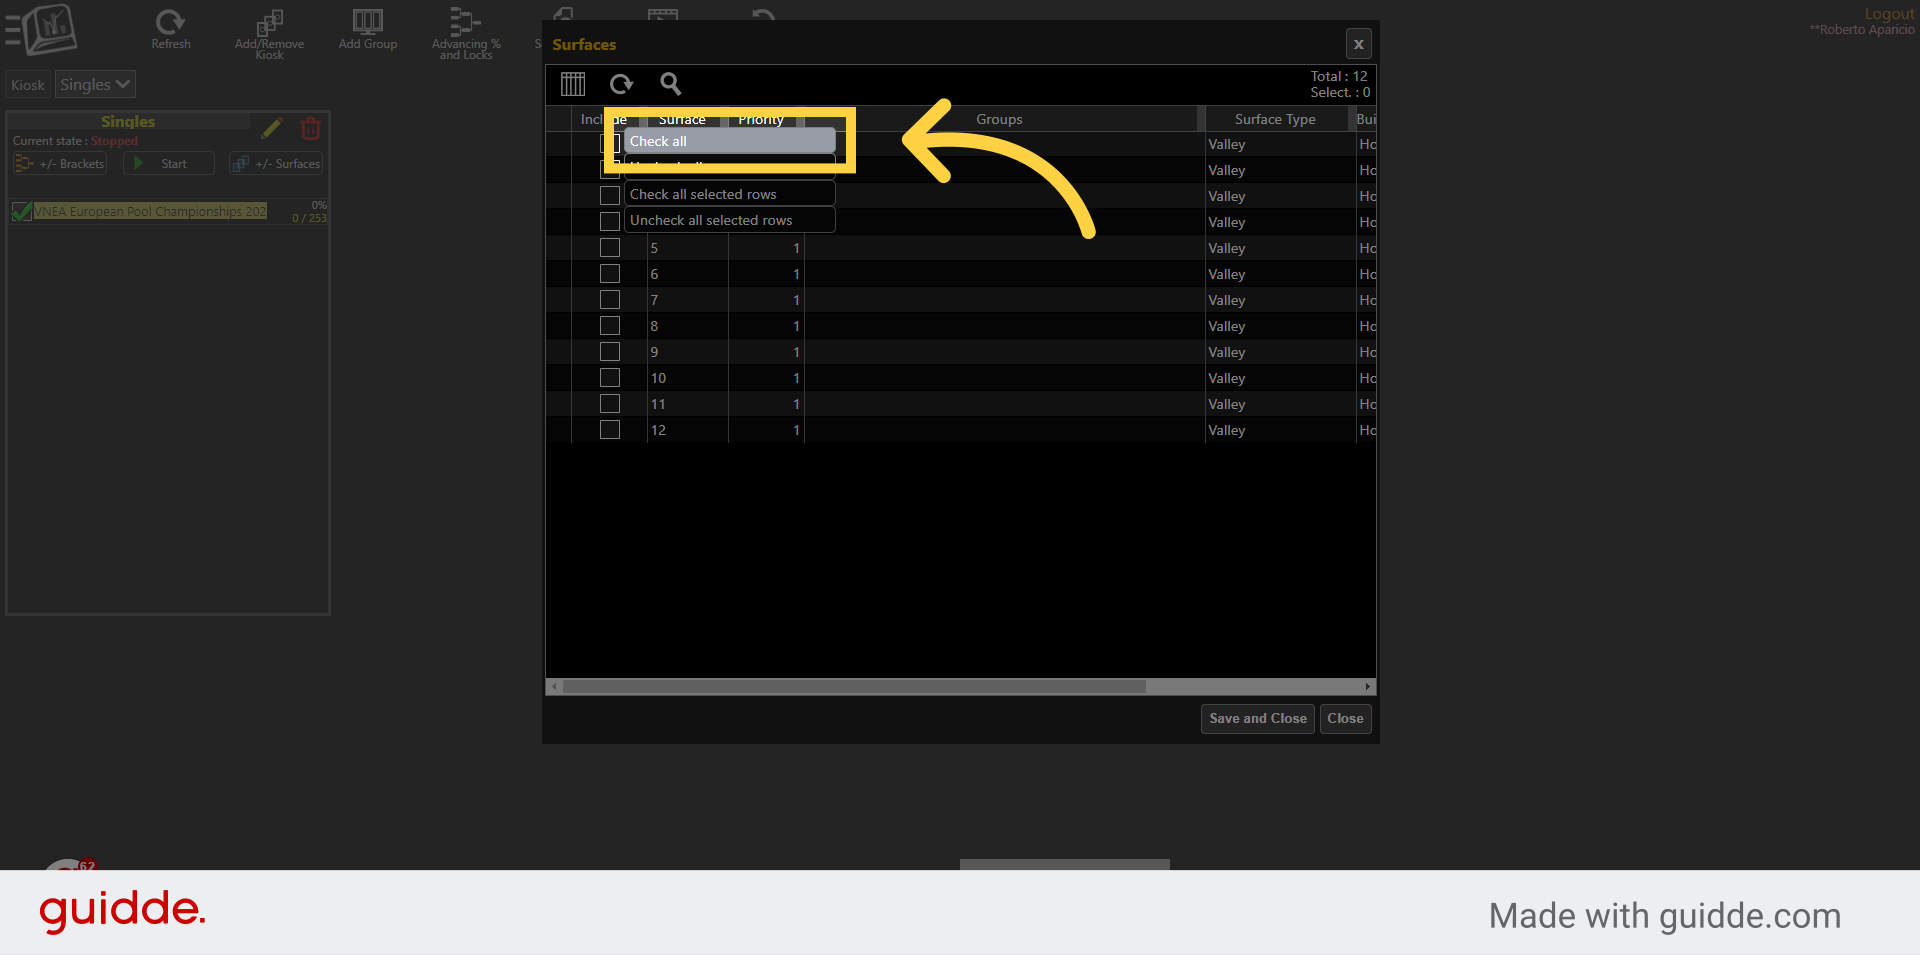
34. Right click the column title "Include"
This is to select multiple surfaces at once. (Or manually select one by one the surfaces you want to use)
35. Click "Check all"
Select the "Check all" option, this will select all the surfaces.
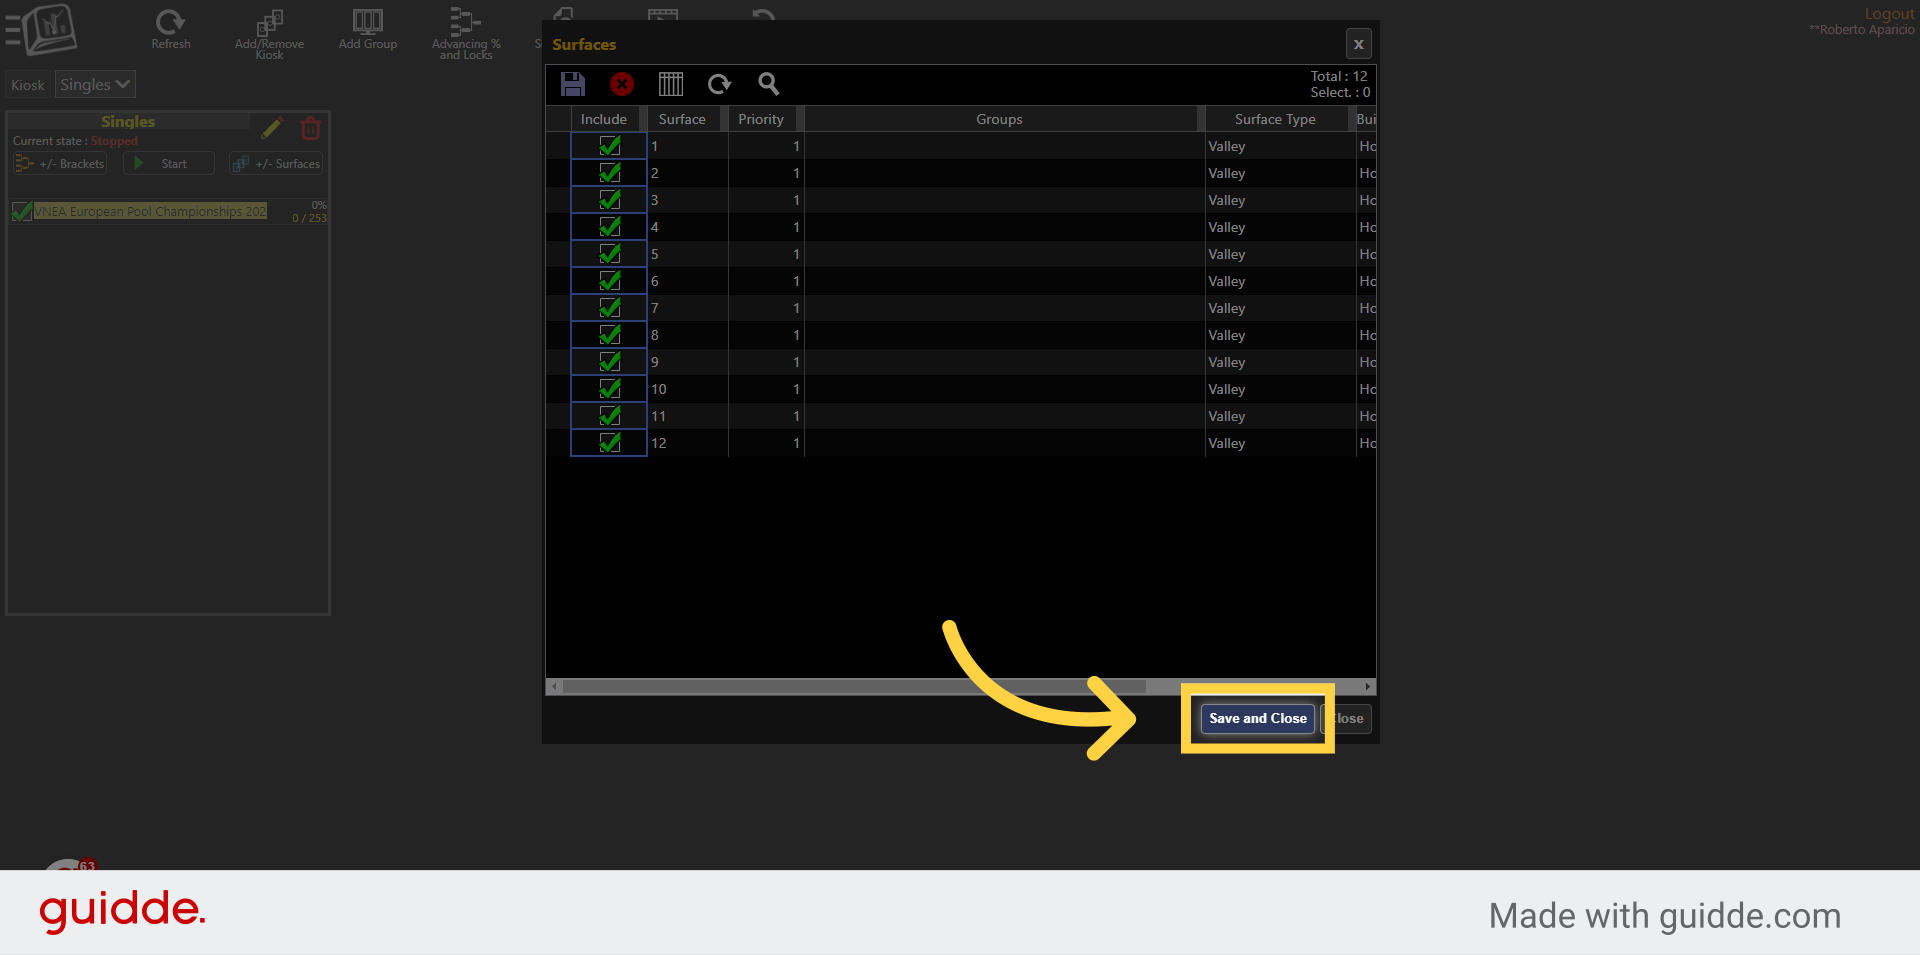
36. Click "SaveAndClose"
Choose the "SaveAndClose" option
37. Click here
Select the pencil to insert the date and time of this group.

38. Click here
Navigate to this section
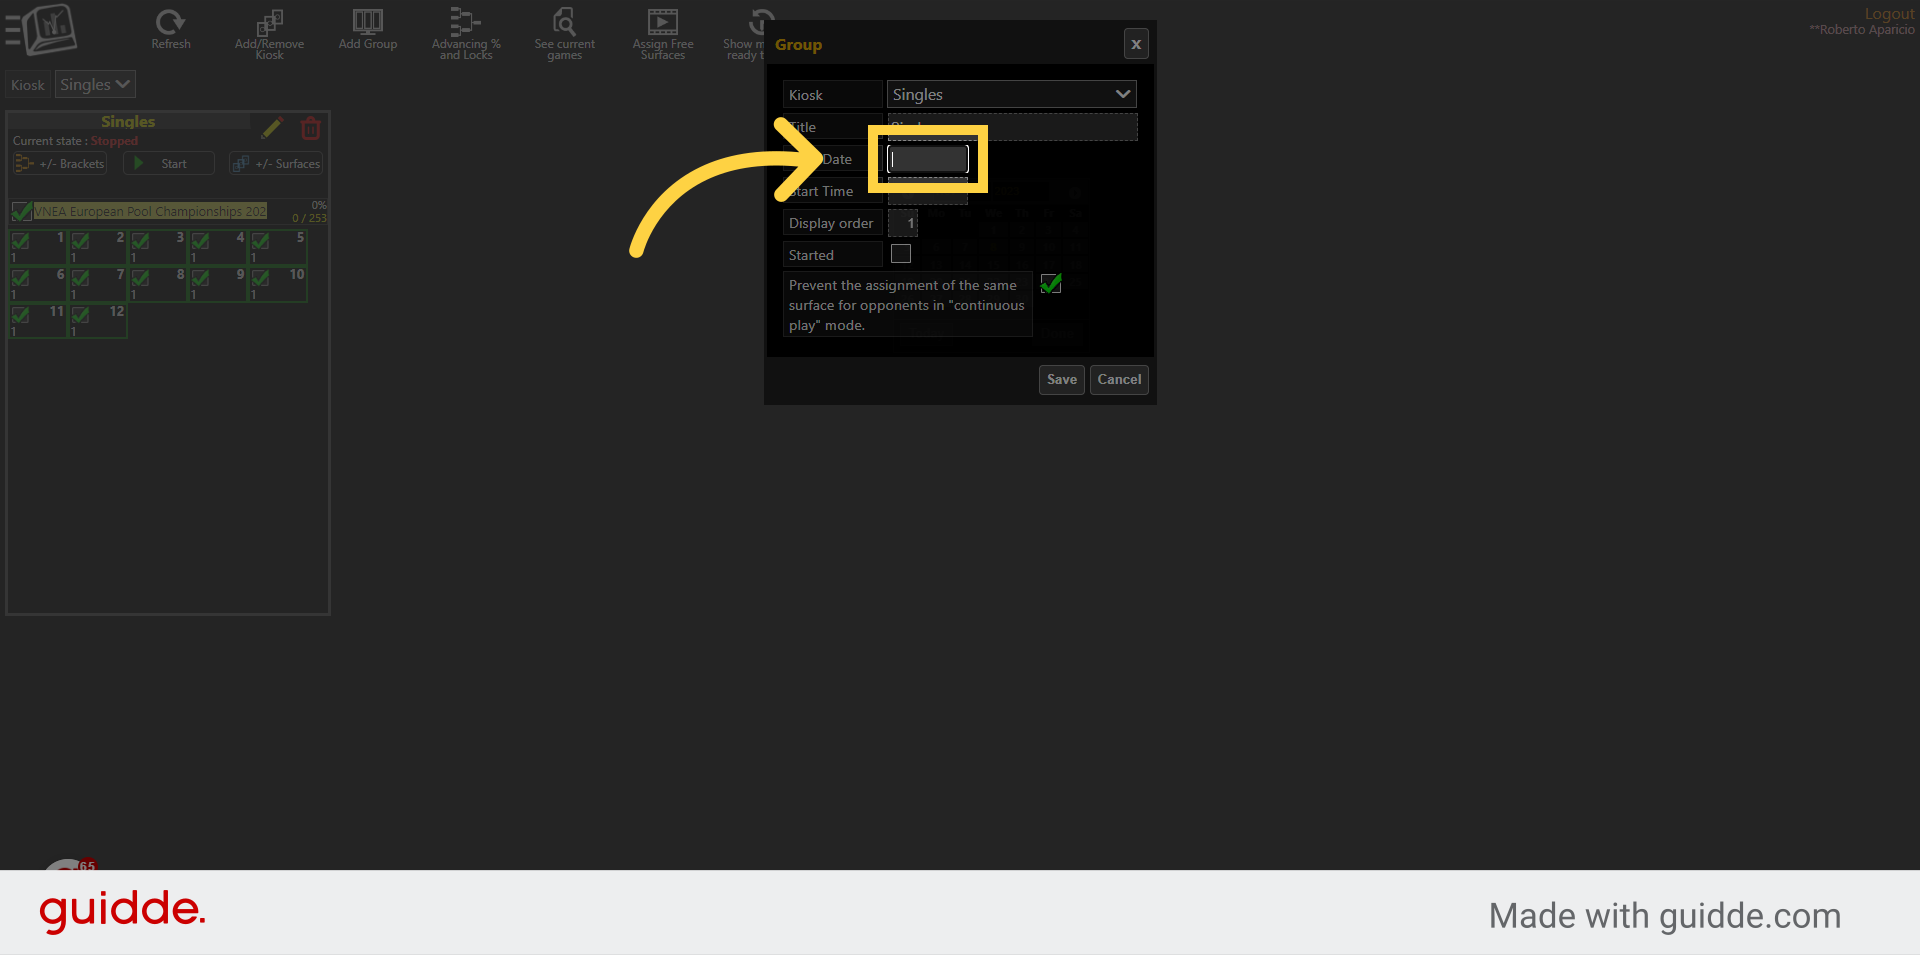
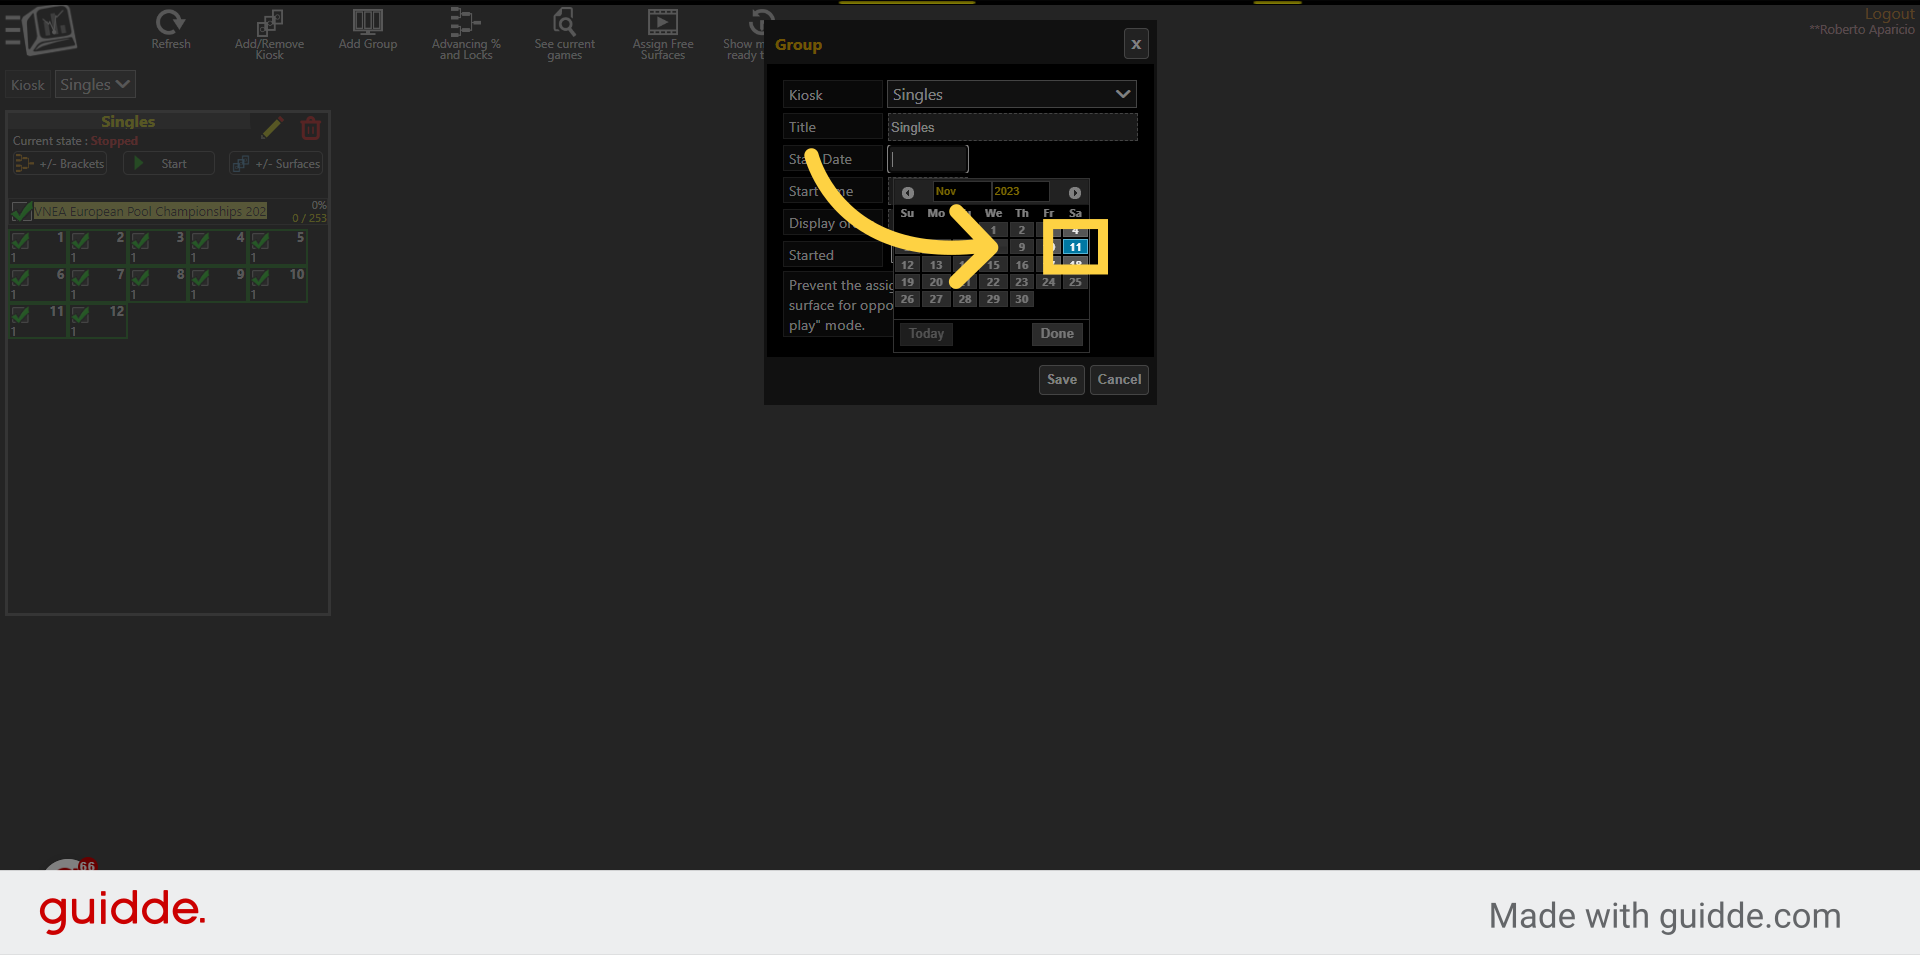
39. Select the date
Select the date
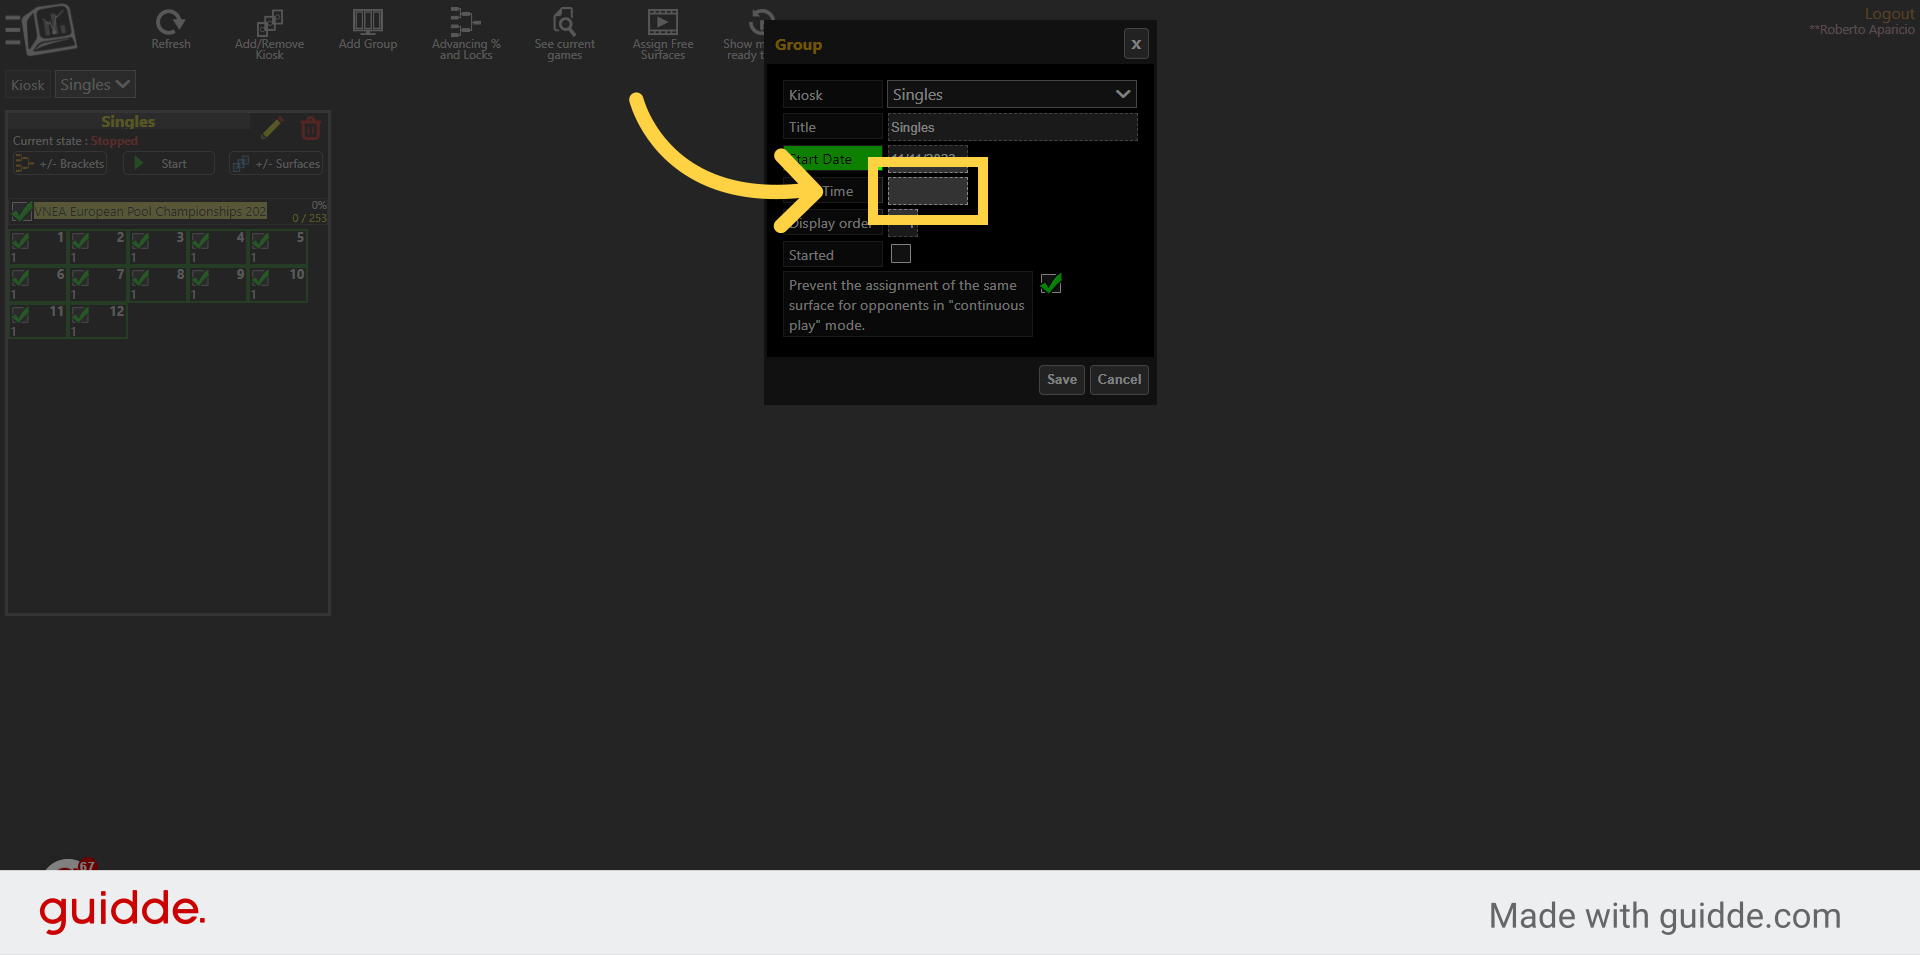
40. Click here
Select the start time,
41. Make sure you select AM or PM properly
Select the hour, make sure you select AM or PM properly.
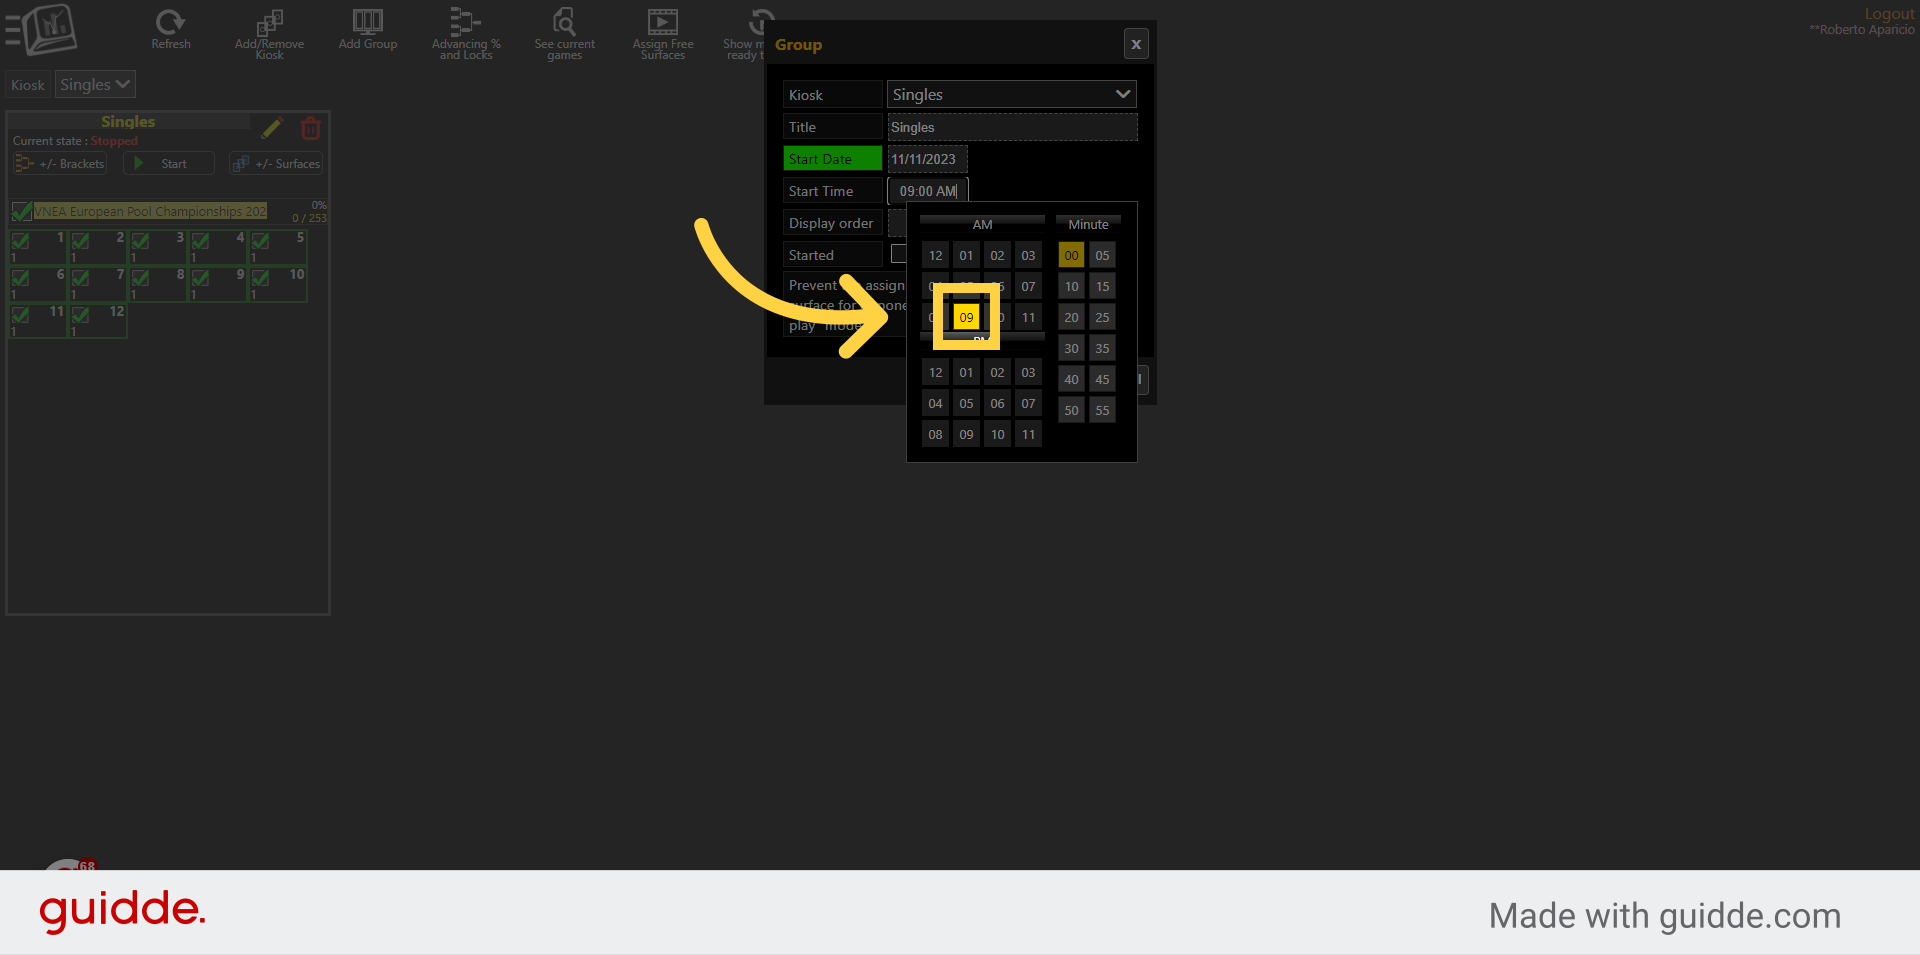
42. Select the minutes
Select the minutes

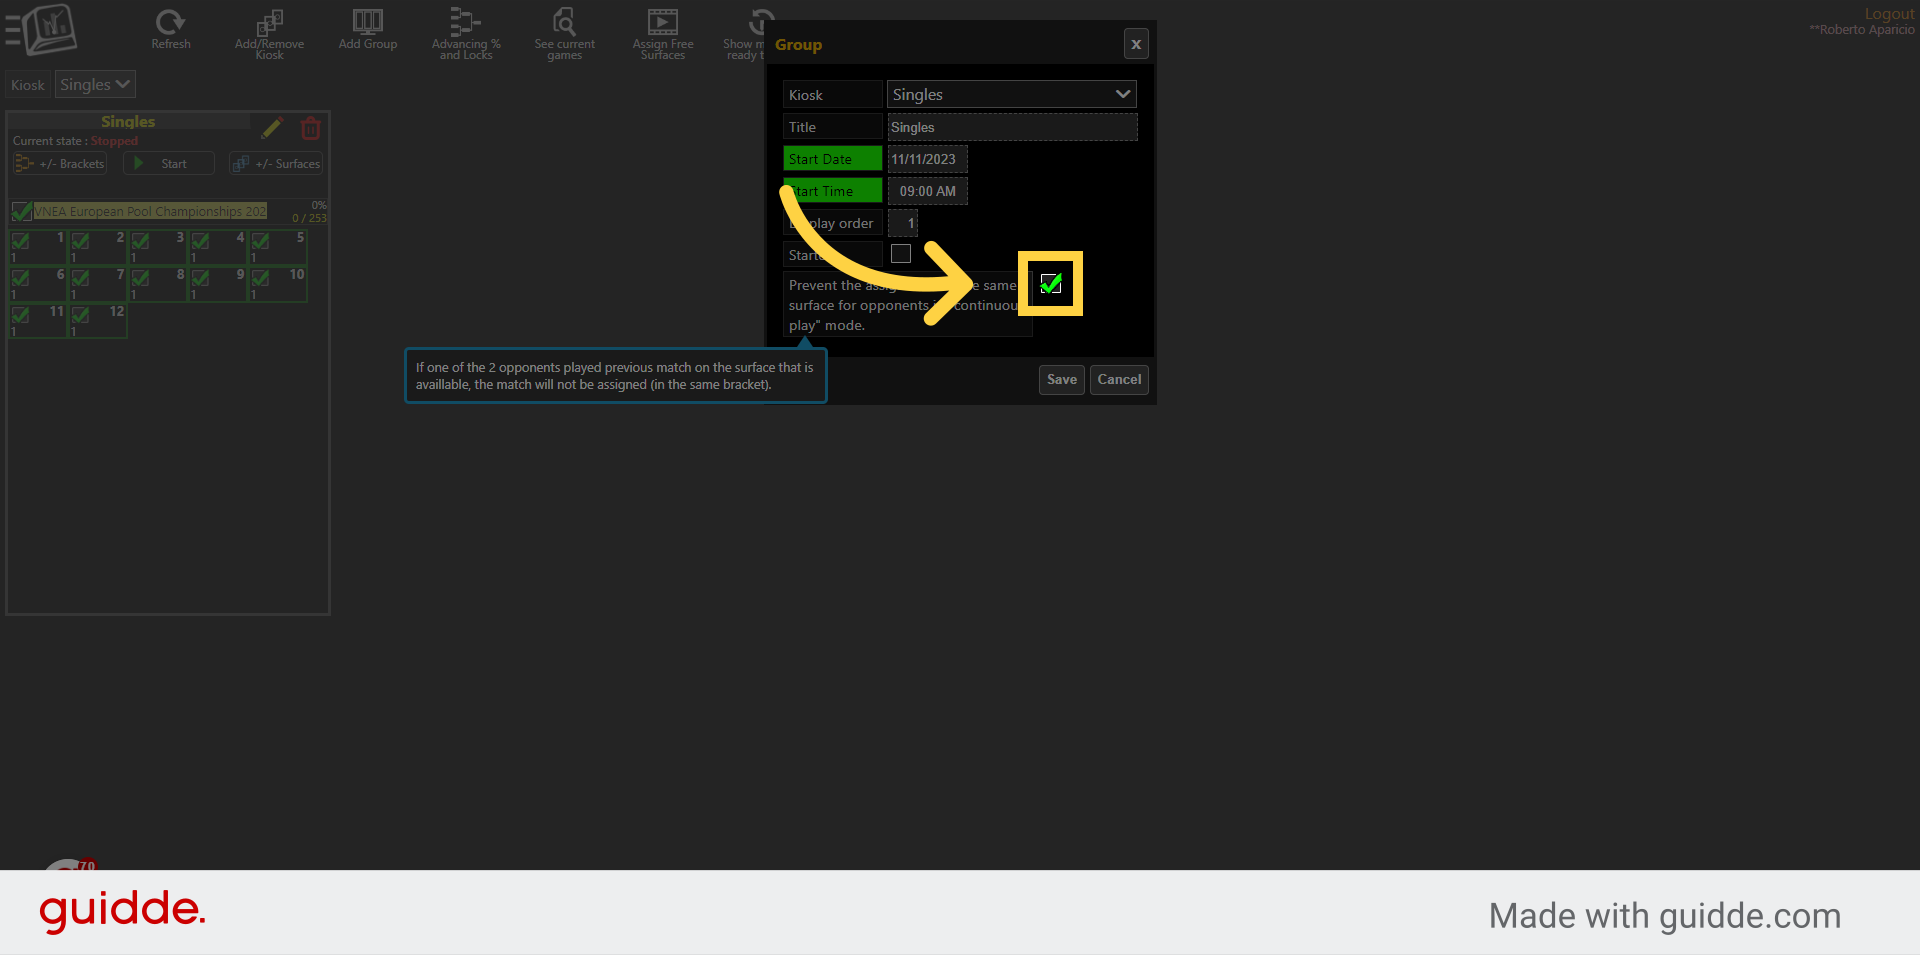
43. Check or uncheck
Choose if want to the system to hold off assigning a surface to a player that just played on this surface. Or assign it anyway cause you don't have the luxury of slowing down your tournament if you do so. Tournaments with limited surfaces and time will not use the option to Prevent the assigned.
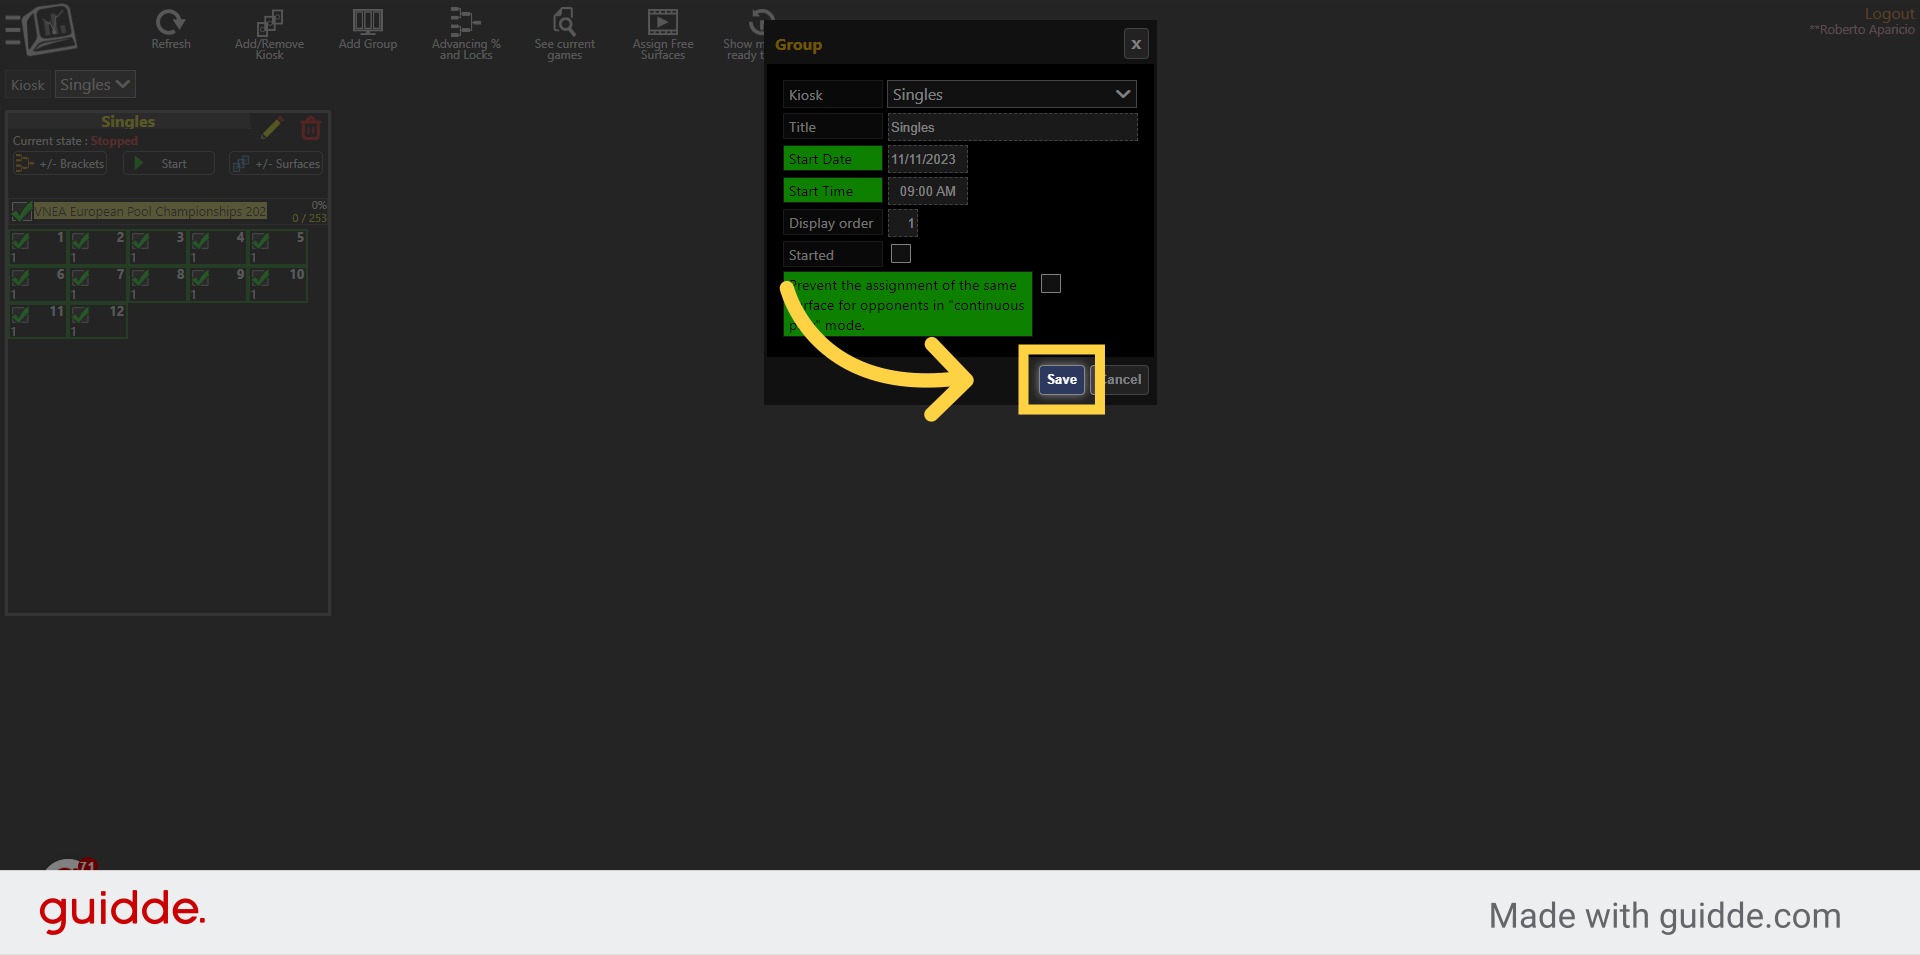
44. Click "Save"
Click on Save.
This guide covered the steps to How to Shuffle your bracket and set up the scheduling tool called Continuous Play.